Integration with Copilot Studio (CP Studio)

1. Azure Portal Configuration (Registering App & API Permissions)
- Go to API permissions for the registered application.
- Add permissions for Microsoft Graph.
Detailed Steps
Refer to Azure AI/ML Onboarding Steps 1 to 8 here for a more detailed guide with screenshots.
- After adding the permissions as per above until step 8, add few more Application permissions:
- Application.Read.All
- AuditLog.Read.All
- AuditLogsQuery-CRM.Read.All
- AuditLogsQuery.Read.All
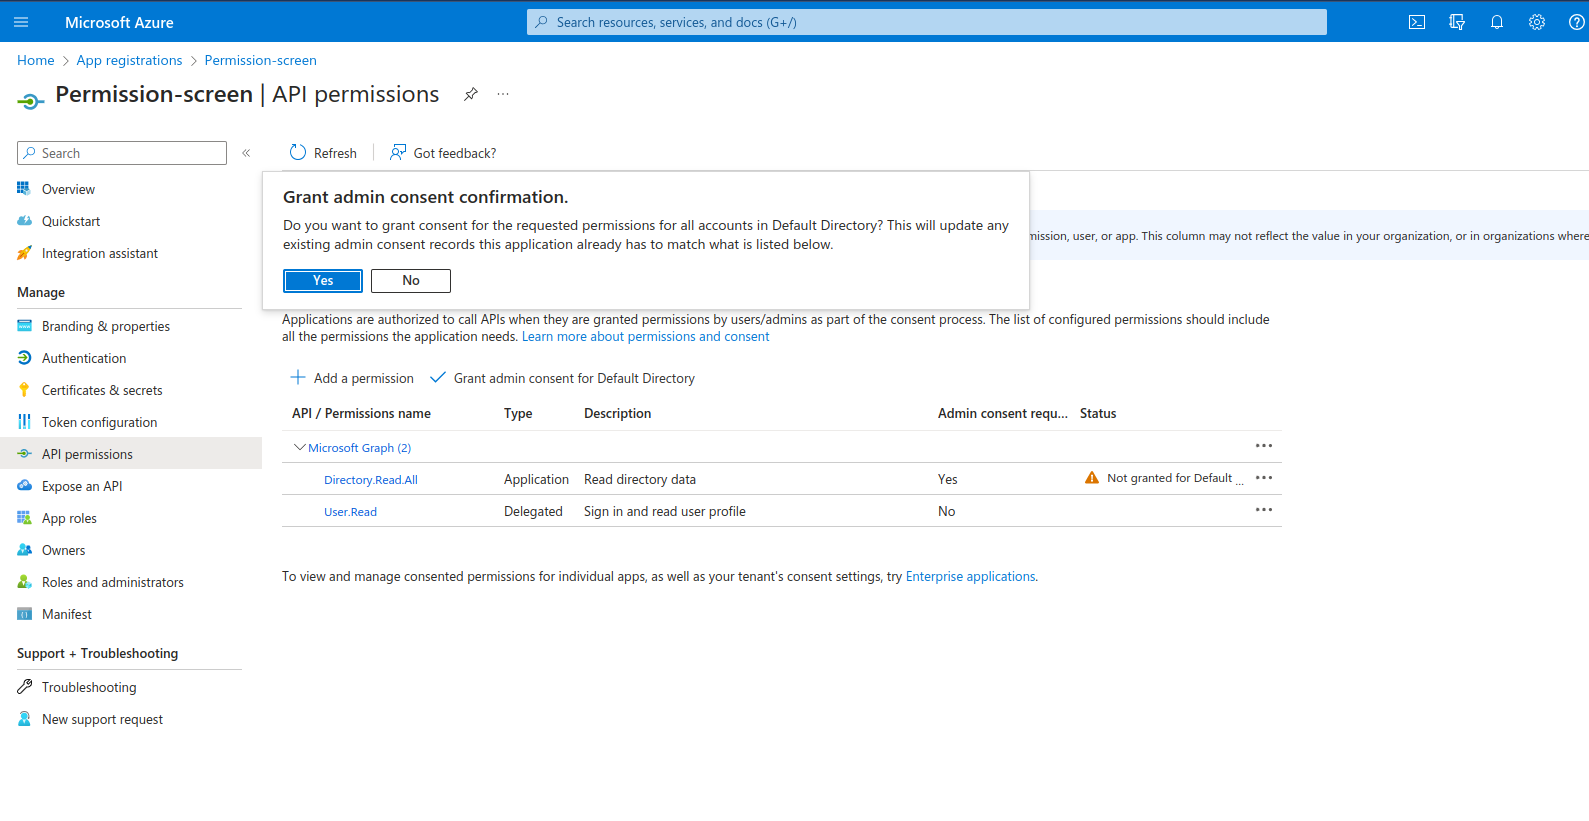
- Now, select
Grant Admin Consentfor Default Directory and say Yes to confirm. Confirm that all permissions show a Granted status.
2. Power Platform Configuration
2.1 Add Application User
- Open the Power Platform Admin Center.
- Select the required Environment.
- Navigate to: Settings → Users + Permissions → Application users
- Click New app user.
- Select the Azure application created earlier.

2.2 Assign Security Role
- Assign the Service Reader role (or another required role based on access needs).
- Save the changes.
Detailed Steps
Once the above is done complete Steps 10 to 17 from Azure AI/ML Onboarding to complete the Copilot studio integration.