GCP Account Onboarding
Here, we will see the steps to onboard a GCP cloud account to the AccuKnox SaaS platform.
Note
Ensure the following API Libraries are enabled in your GCP account before onboarding to AccuKnox SaaS:
- Compute Engine API
- Identity and Access Management (IAM) API
- Cloud Resource Manager API
- Cloud Functions API
- KMS API
- Kubernetes API
- Cloud SQL Admin API
For GCP there is a requirement for IAM Service Account Access.
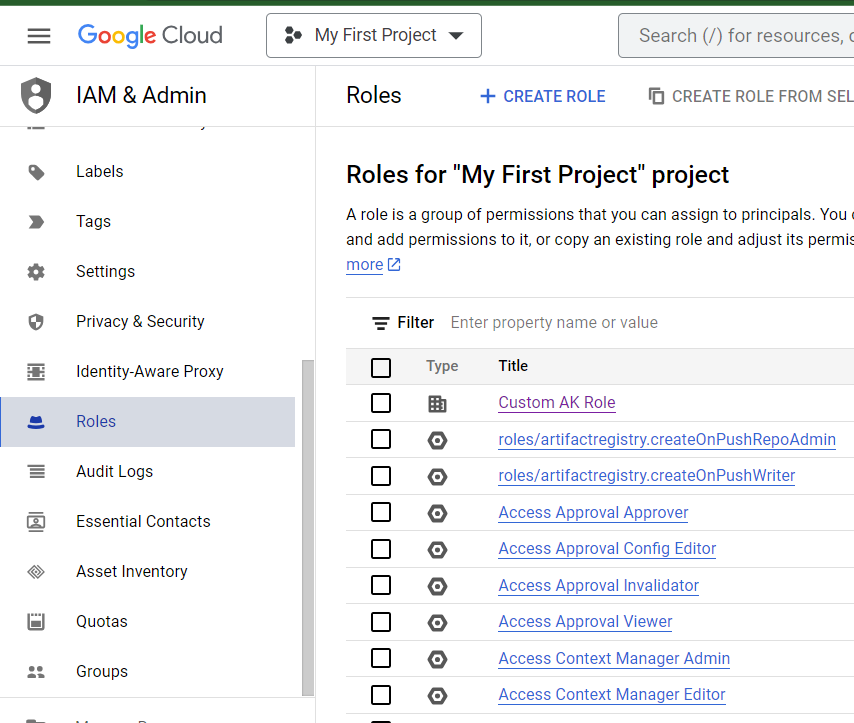
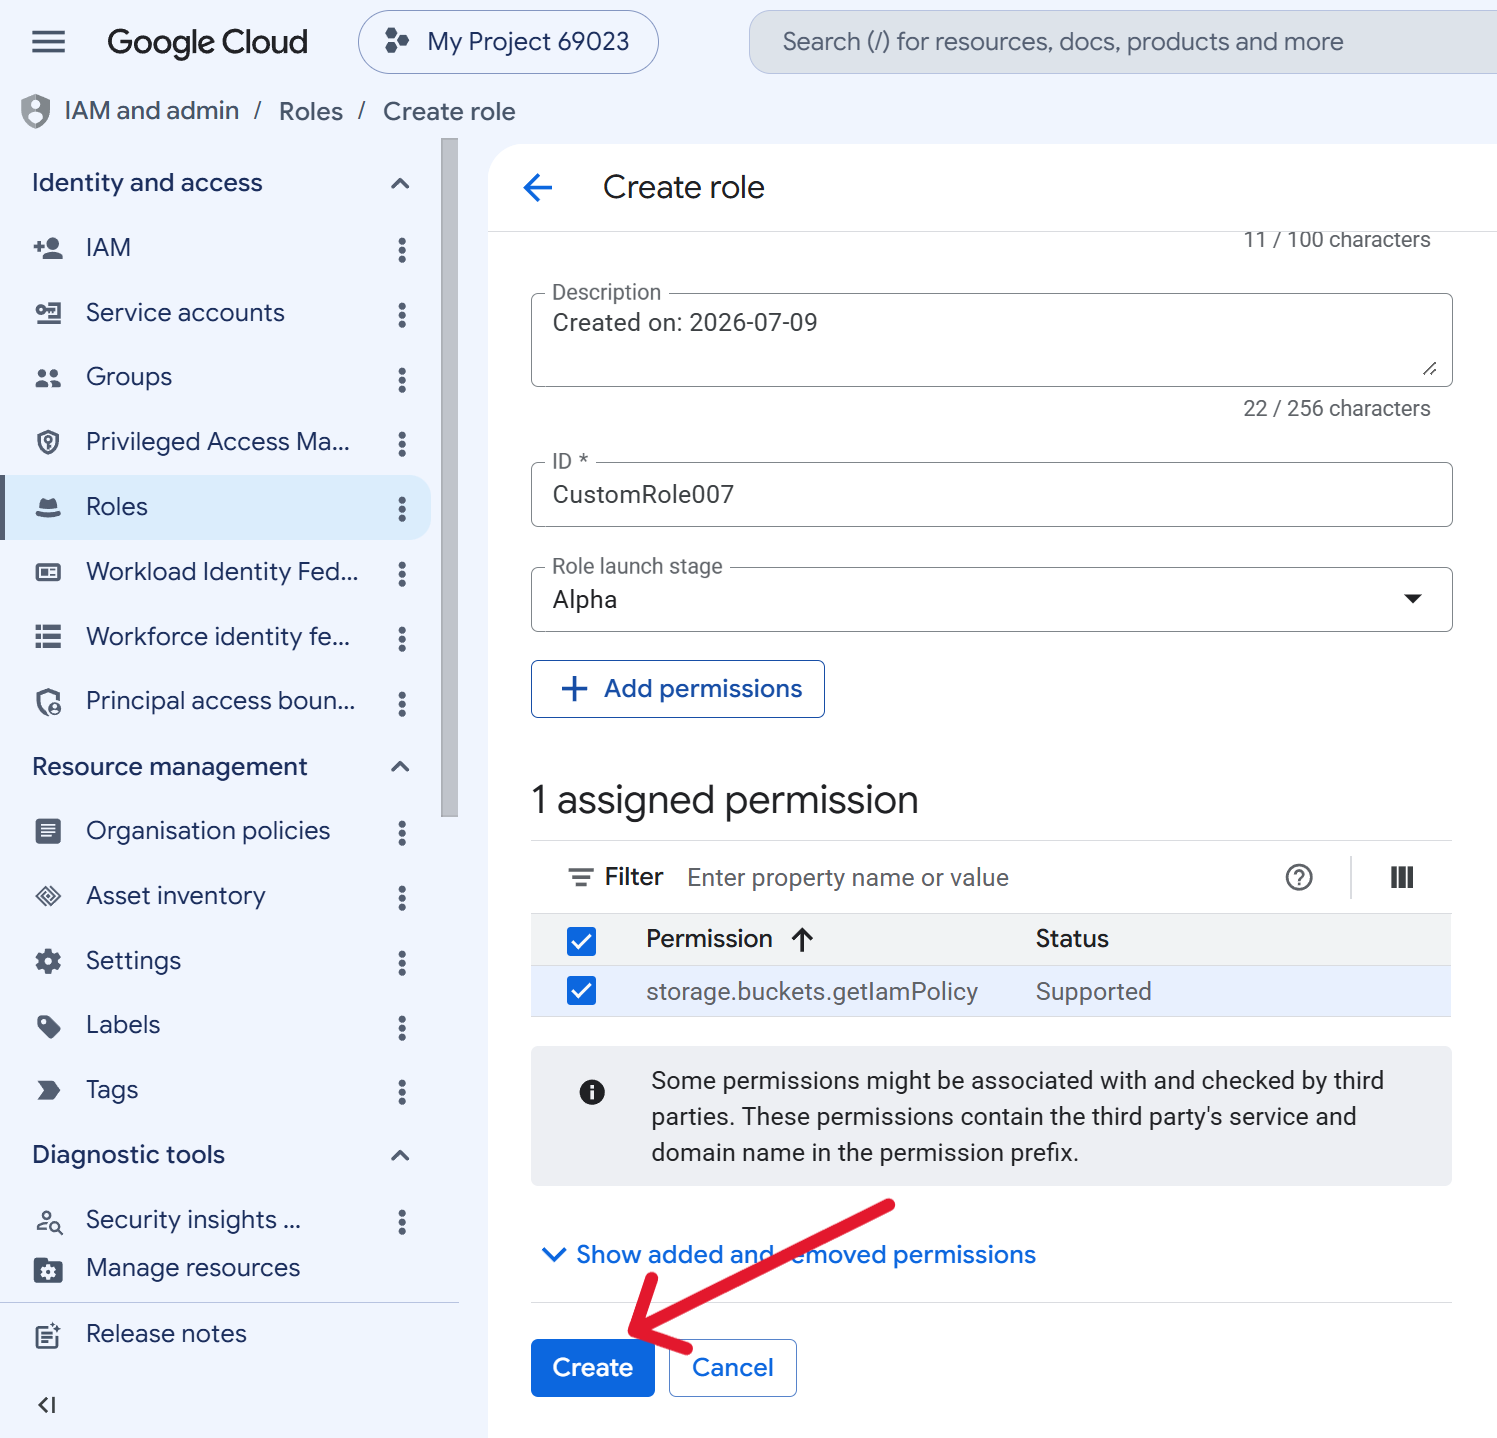
Step 1: Log into your Google Cloud console, navigate to IAM & Admin → Roles, and click “Create custom role”
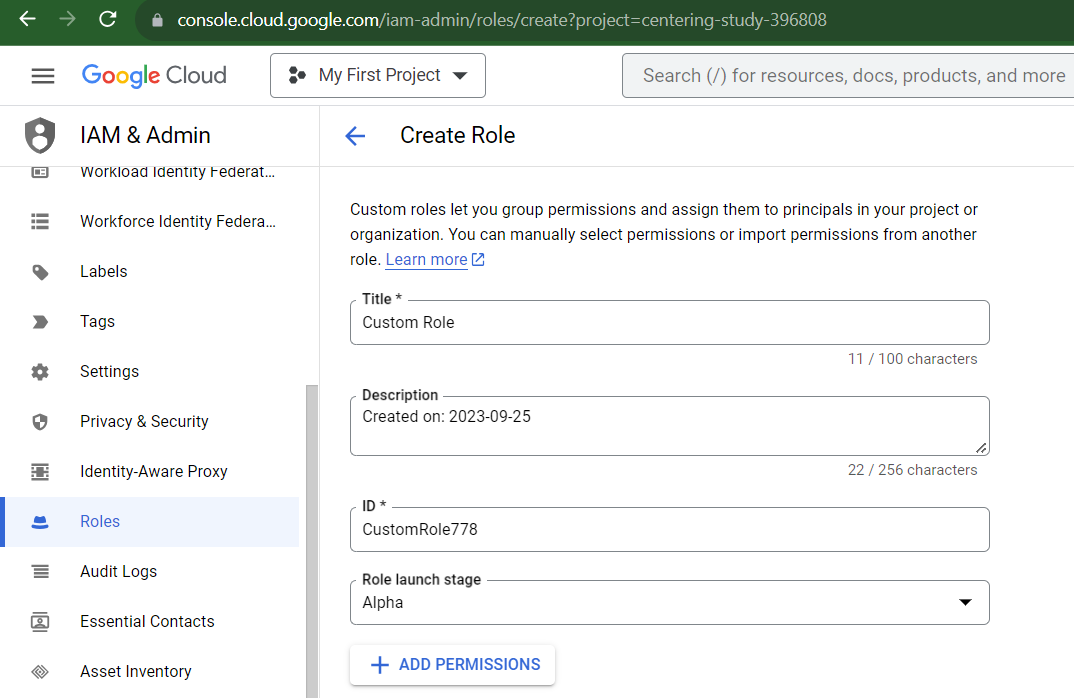
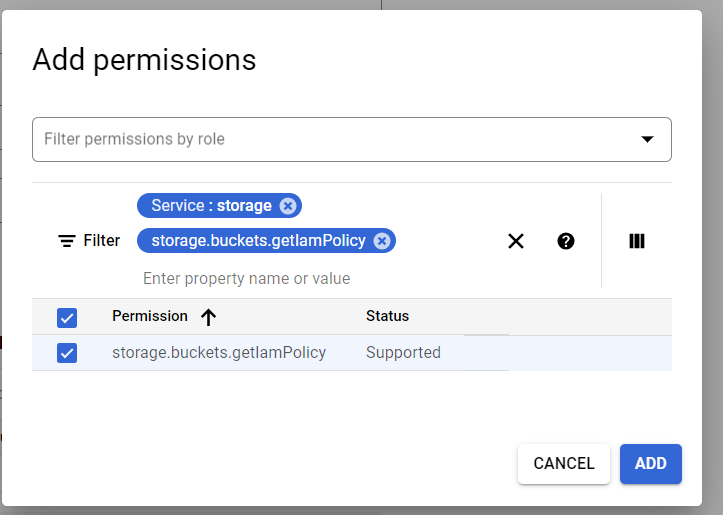
Step 2: Name the Role and Click “Add Permission”
Step 3: Use the Service: storage filter then value as “storage.buckets.getIamPolicy“
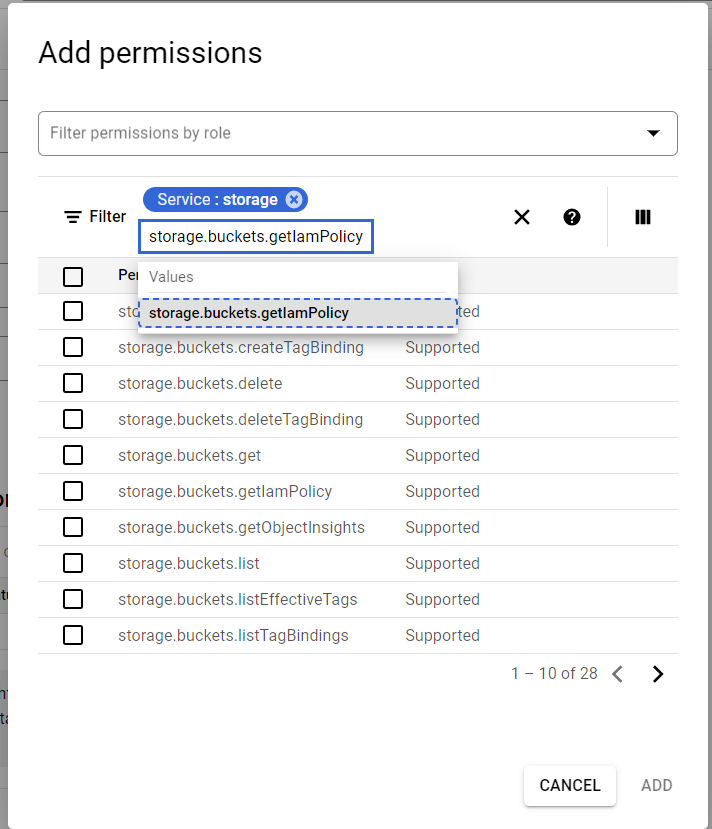
Step 4: Choose the permission and Click “Add“ then Click Create in the same page.
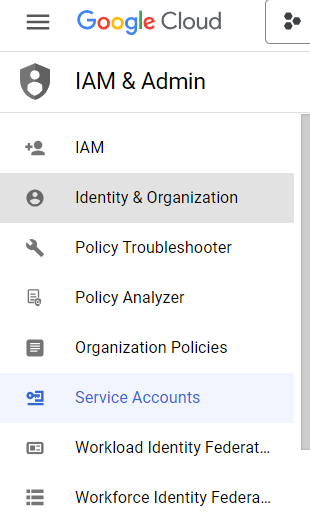
Step 5: In the Navigation Panel, navigate to IAM Admin > Service Accounts.
Step 6: Click on "Create Service Account"
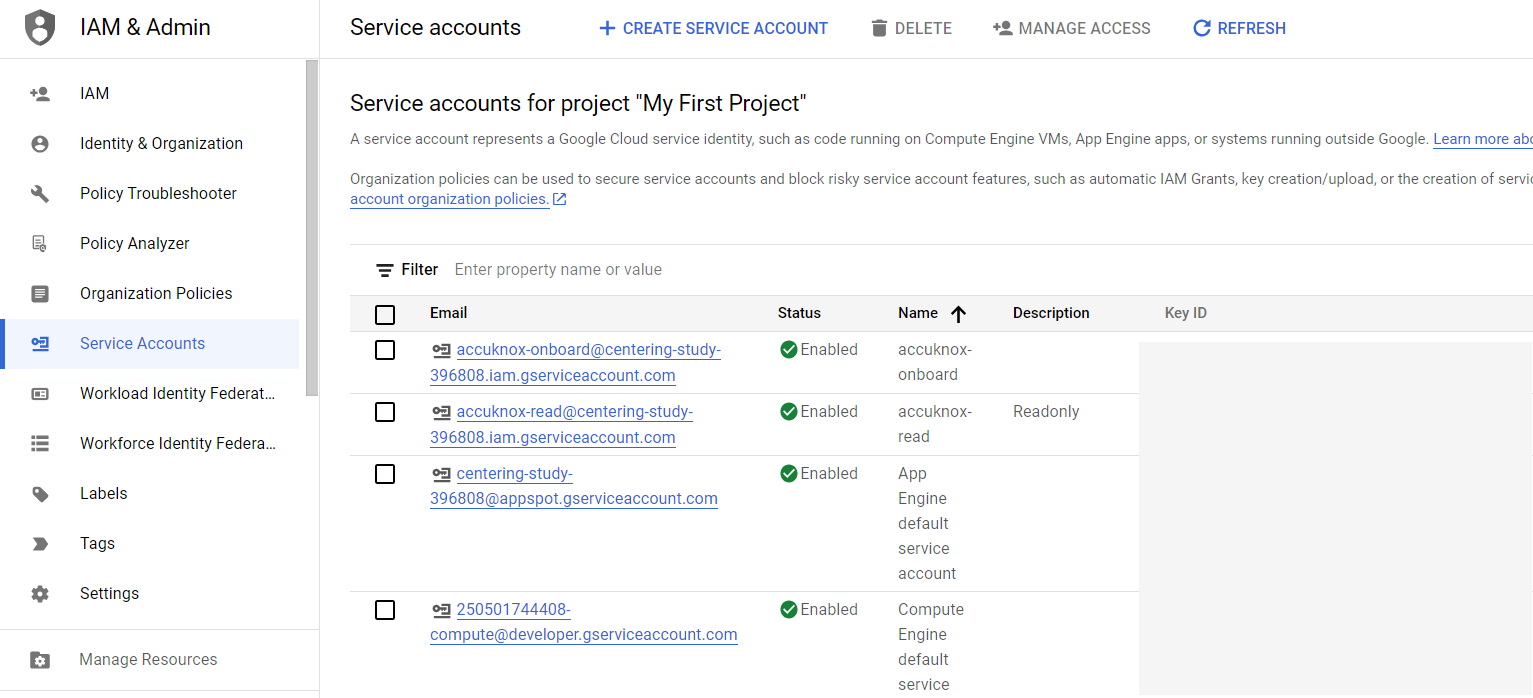
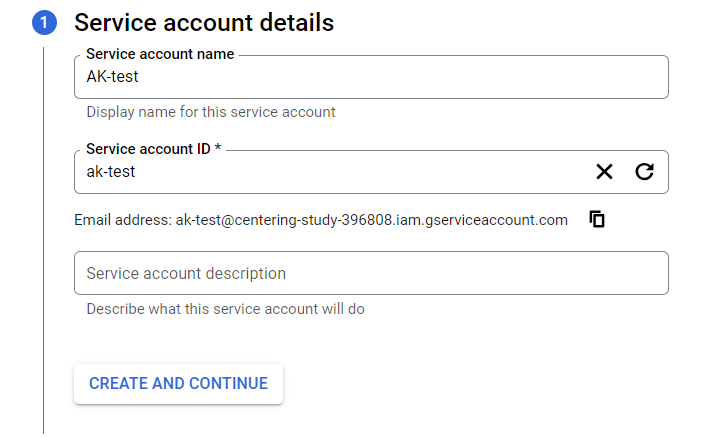
Step 7: Enter any name that you want on Service Account Name.
Step 8: Click on Continue.
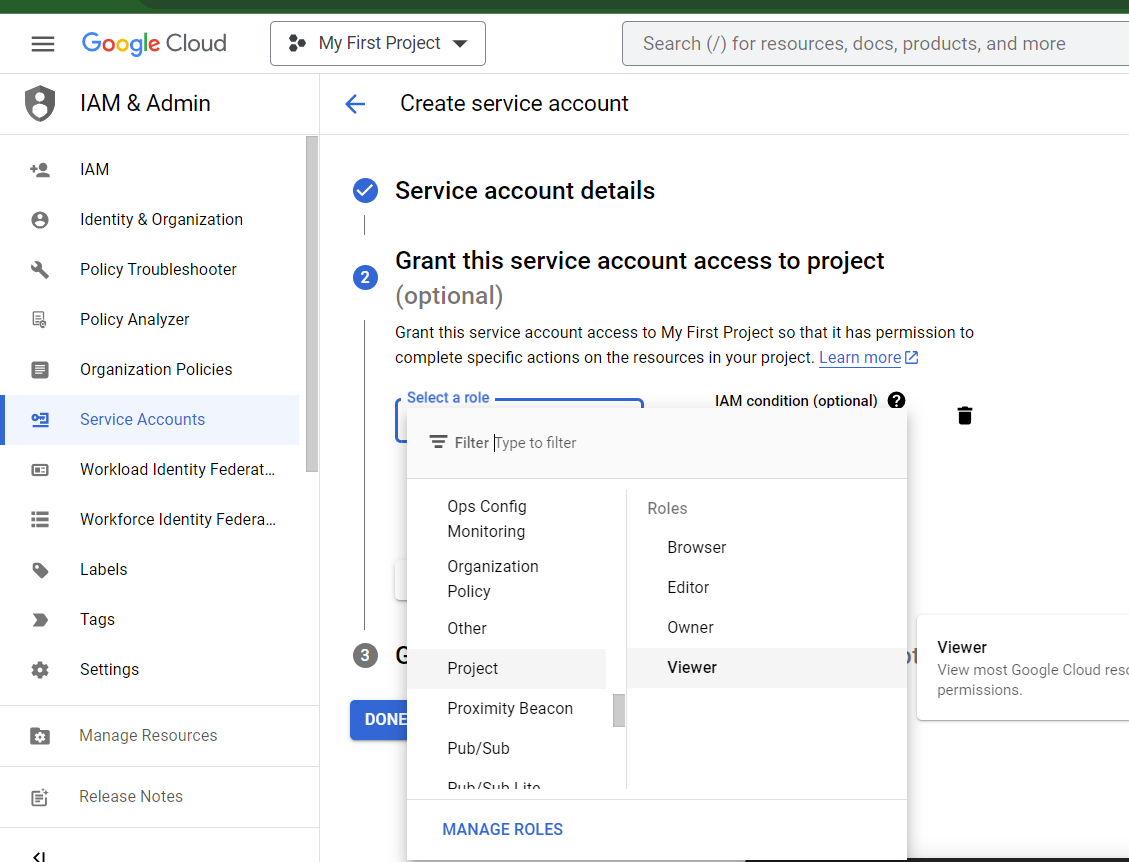
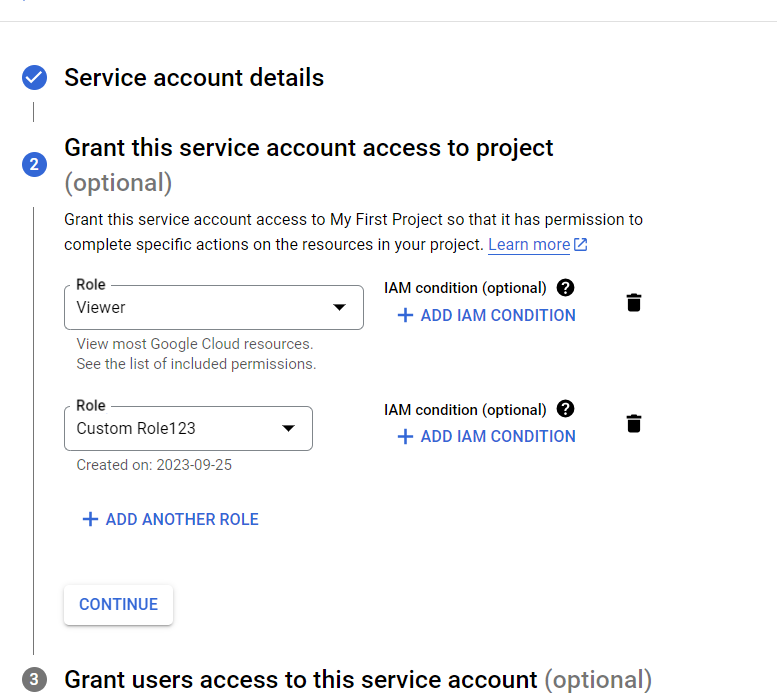
Step 9: Select the role: Project > Viewer and click Add another Role.
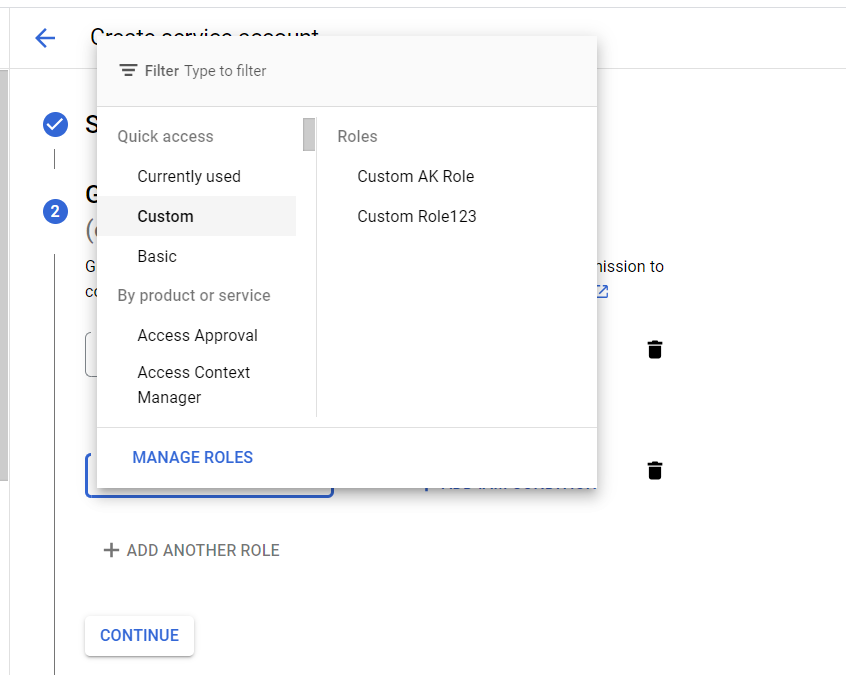
Step 10: Click Add Another Role, choose Custom, then select the created custom role.
Step 11: Click on “Continue“ and ”Done”
Step 12: Go to the created Service Account, click on it, then navigate to the Keys section.
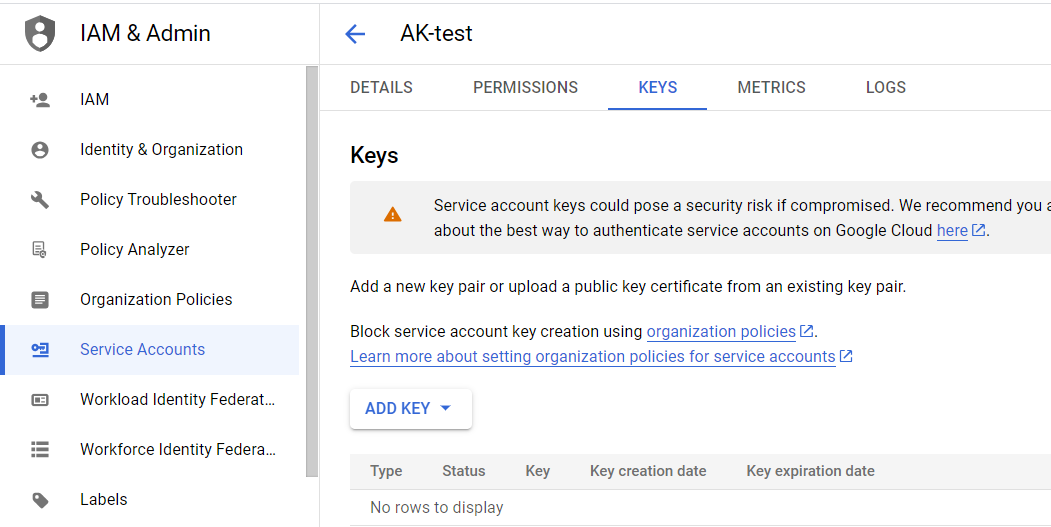
Step 13: Click the “Add key“ button and “Create new key “ . Chosen Key type should be JSON format.
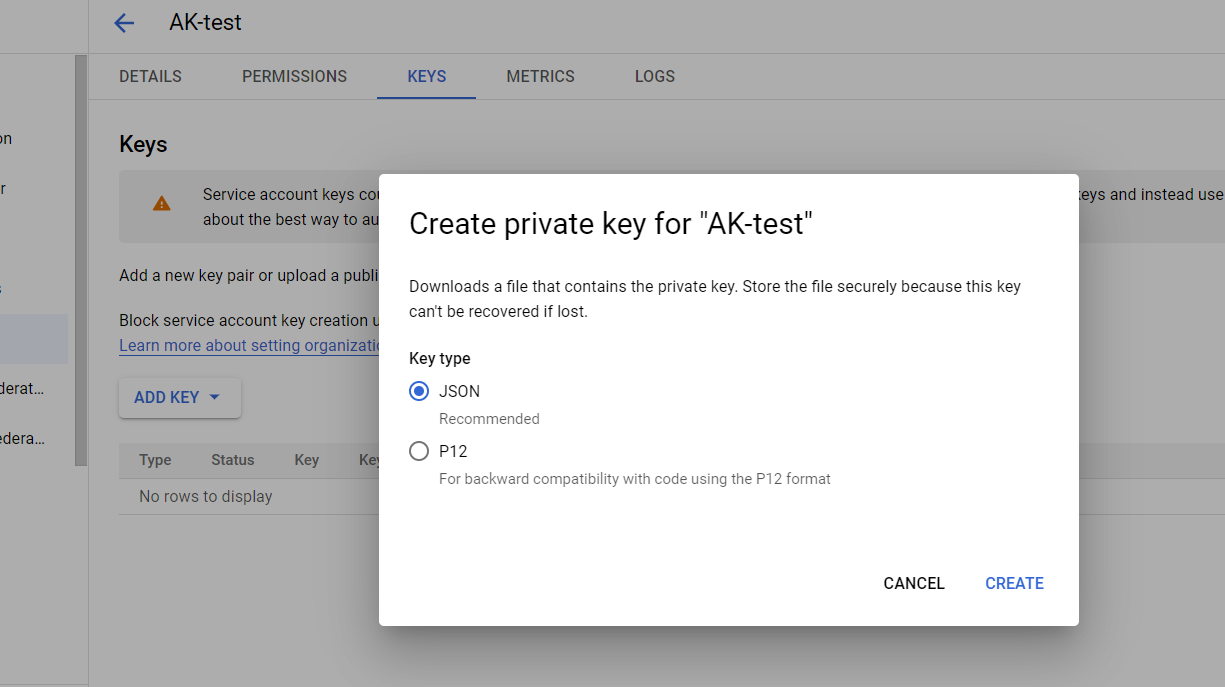
Step 14: Click the “Create“ button it will automatically download the JSON key.
From AccuKnox SaaS UI
Step 1: Go to the AccuKnox SaaS. Navigate to the “Settings” → “Cloud Accounts” then “Onboard Account”.
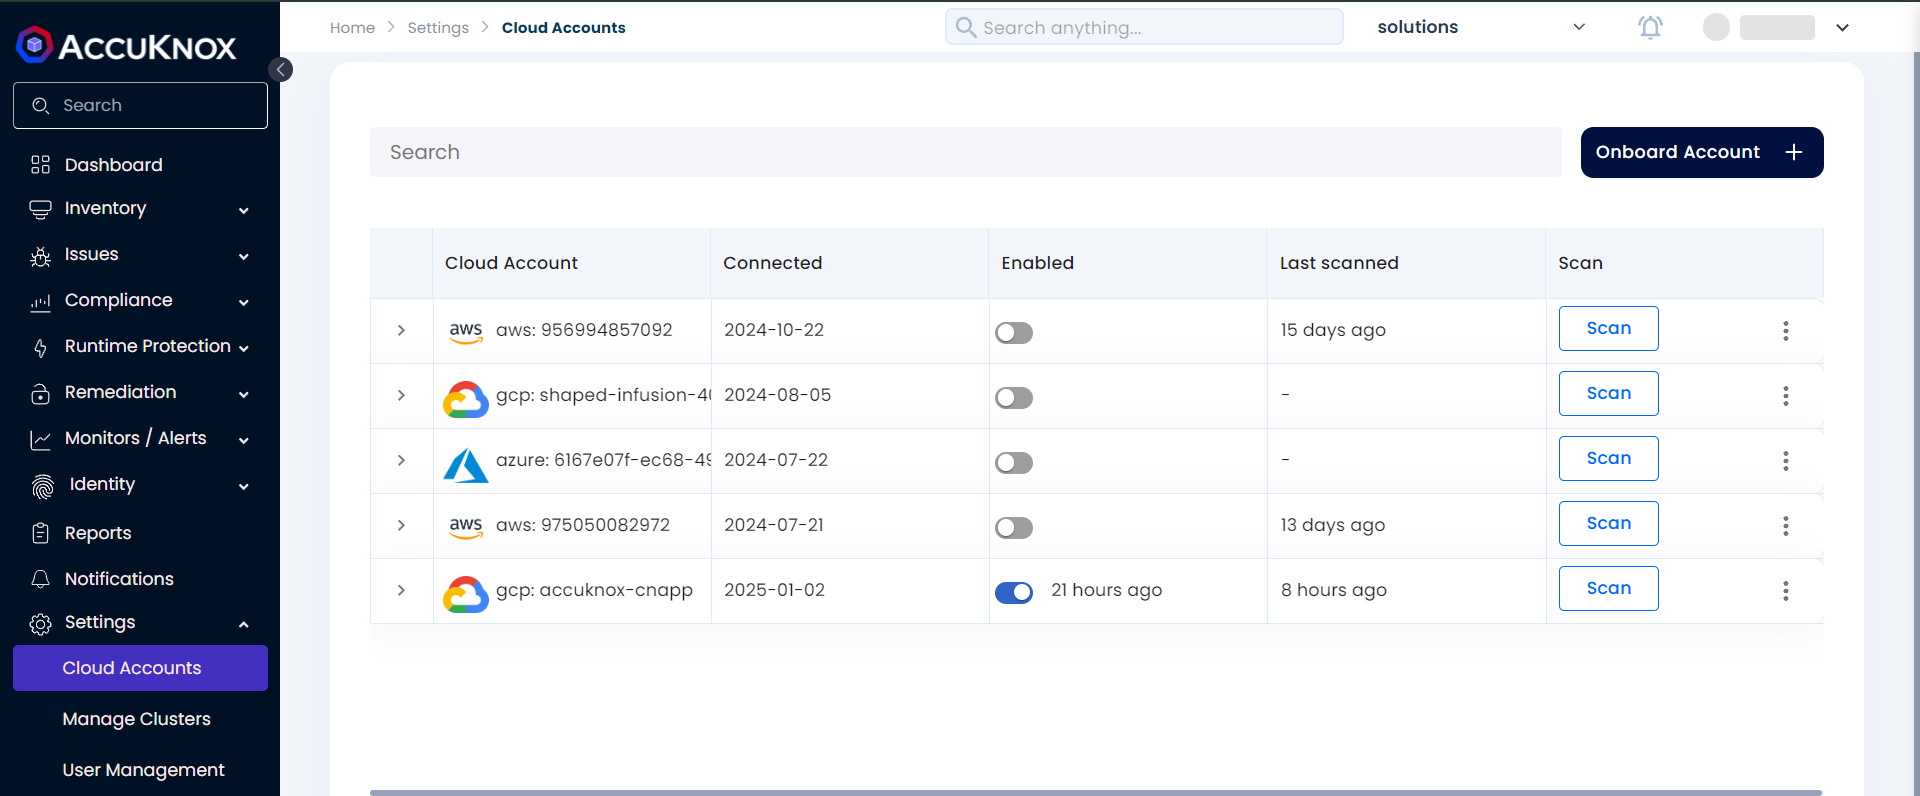
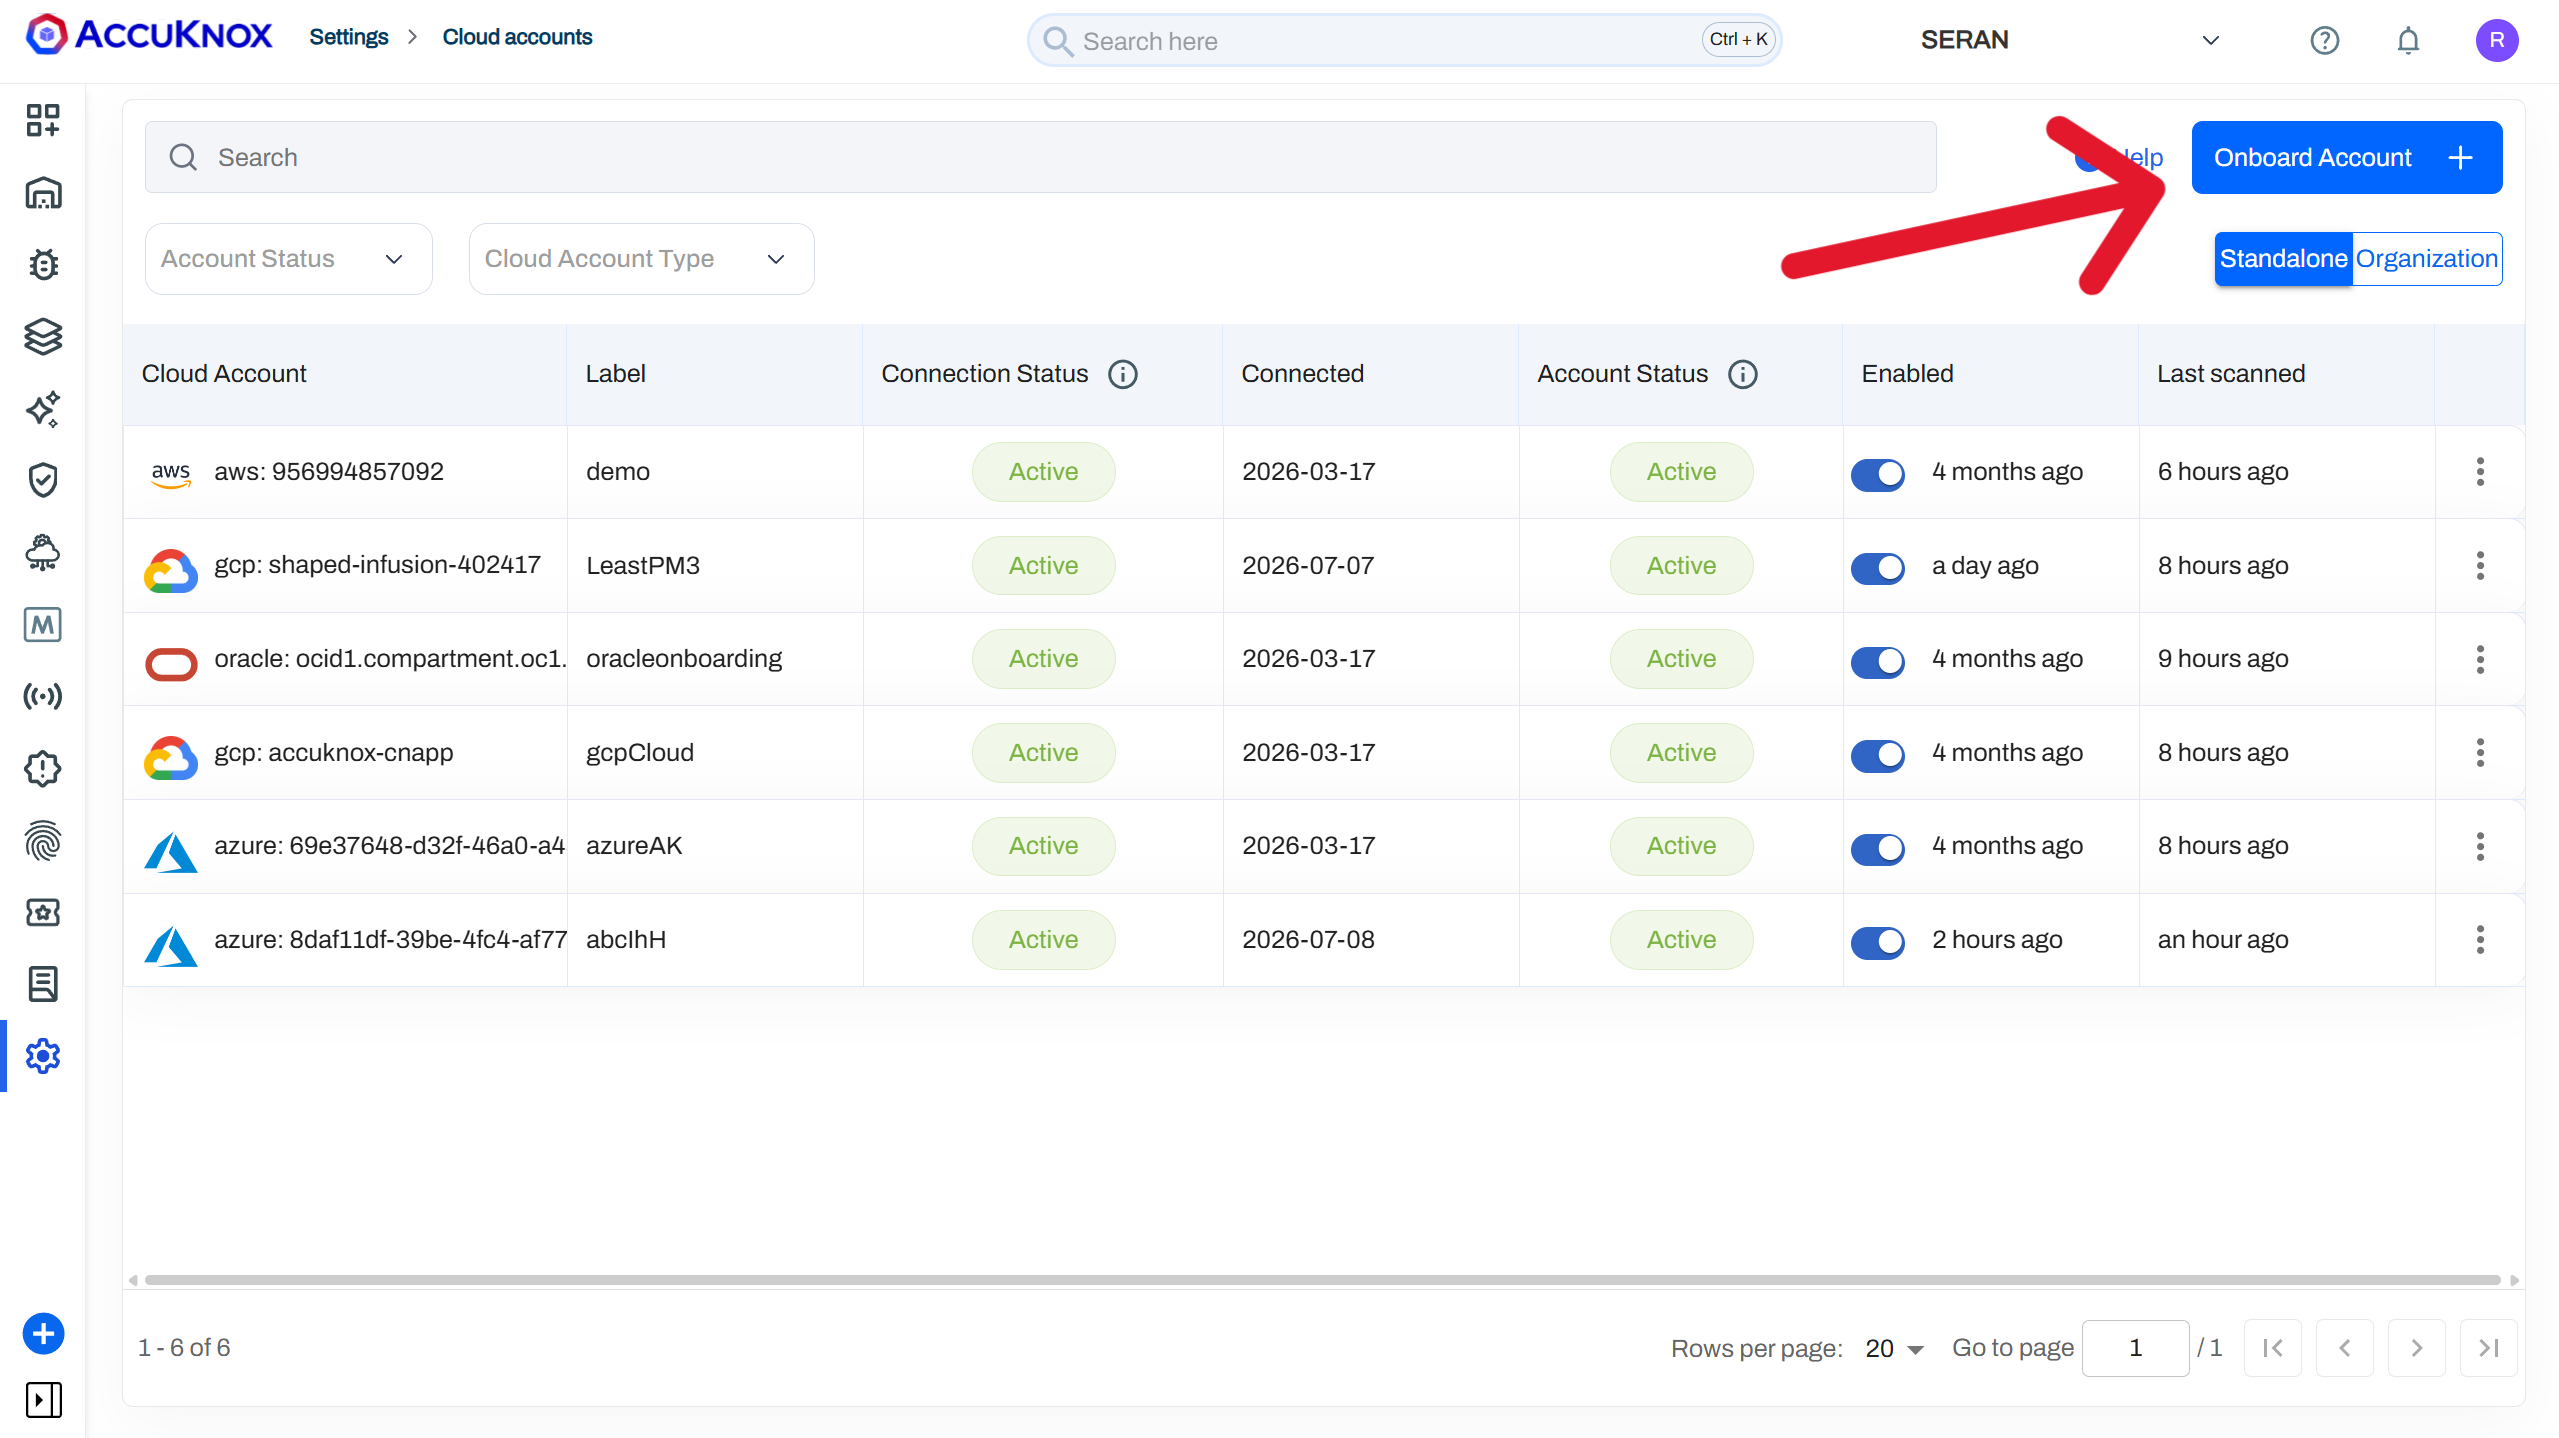
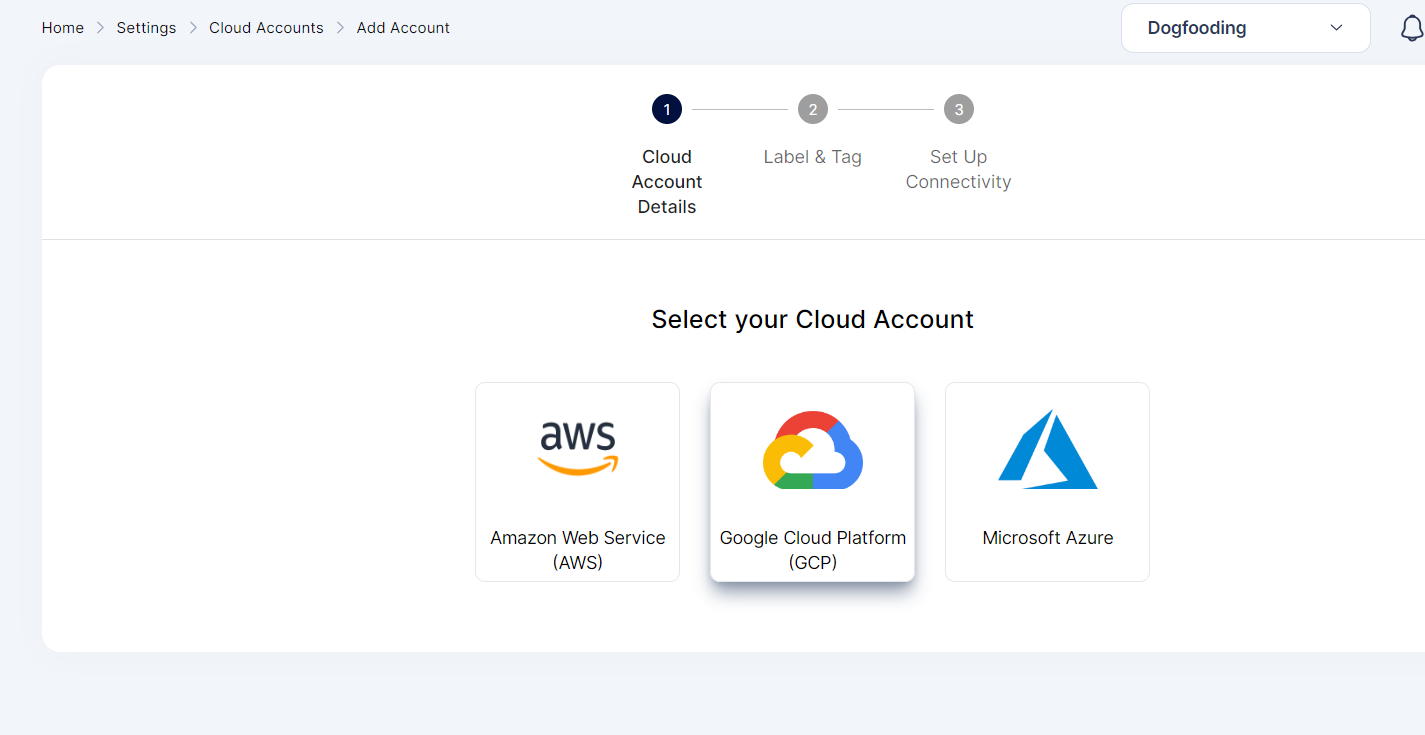
Step 2: Select the “Google Cloud Platform” options and click "Next"
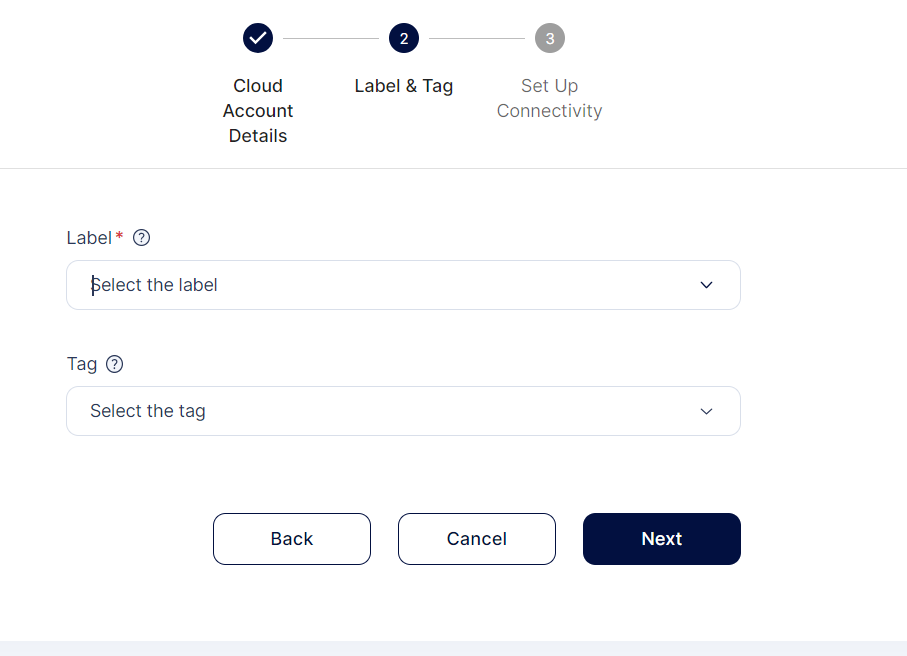
Step 3: Select or create a label and Tags that will be associated with this Cloud Account
Step 4: Follow the instructions on the next page
Note
Ensure you enter the "Project ID" before copying and adding the Terraform script
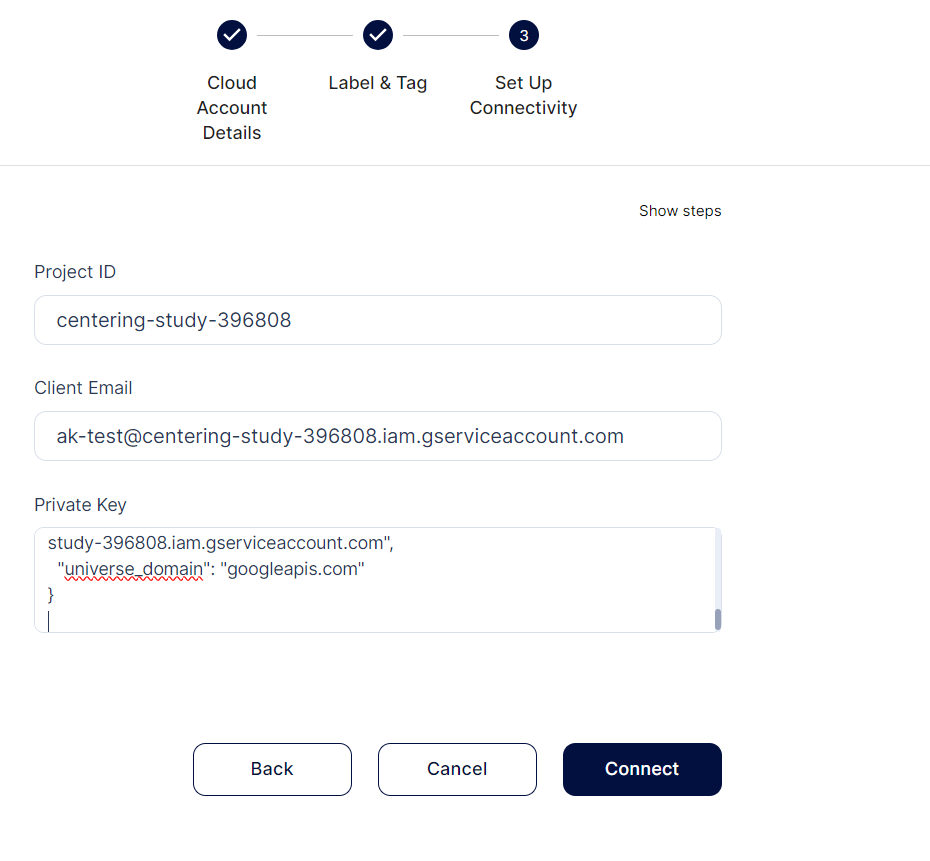
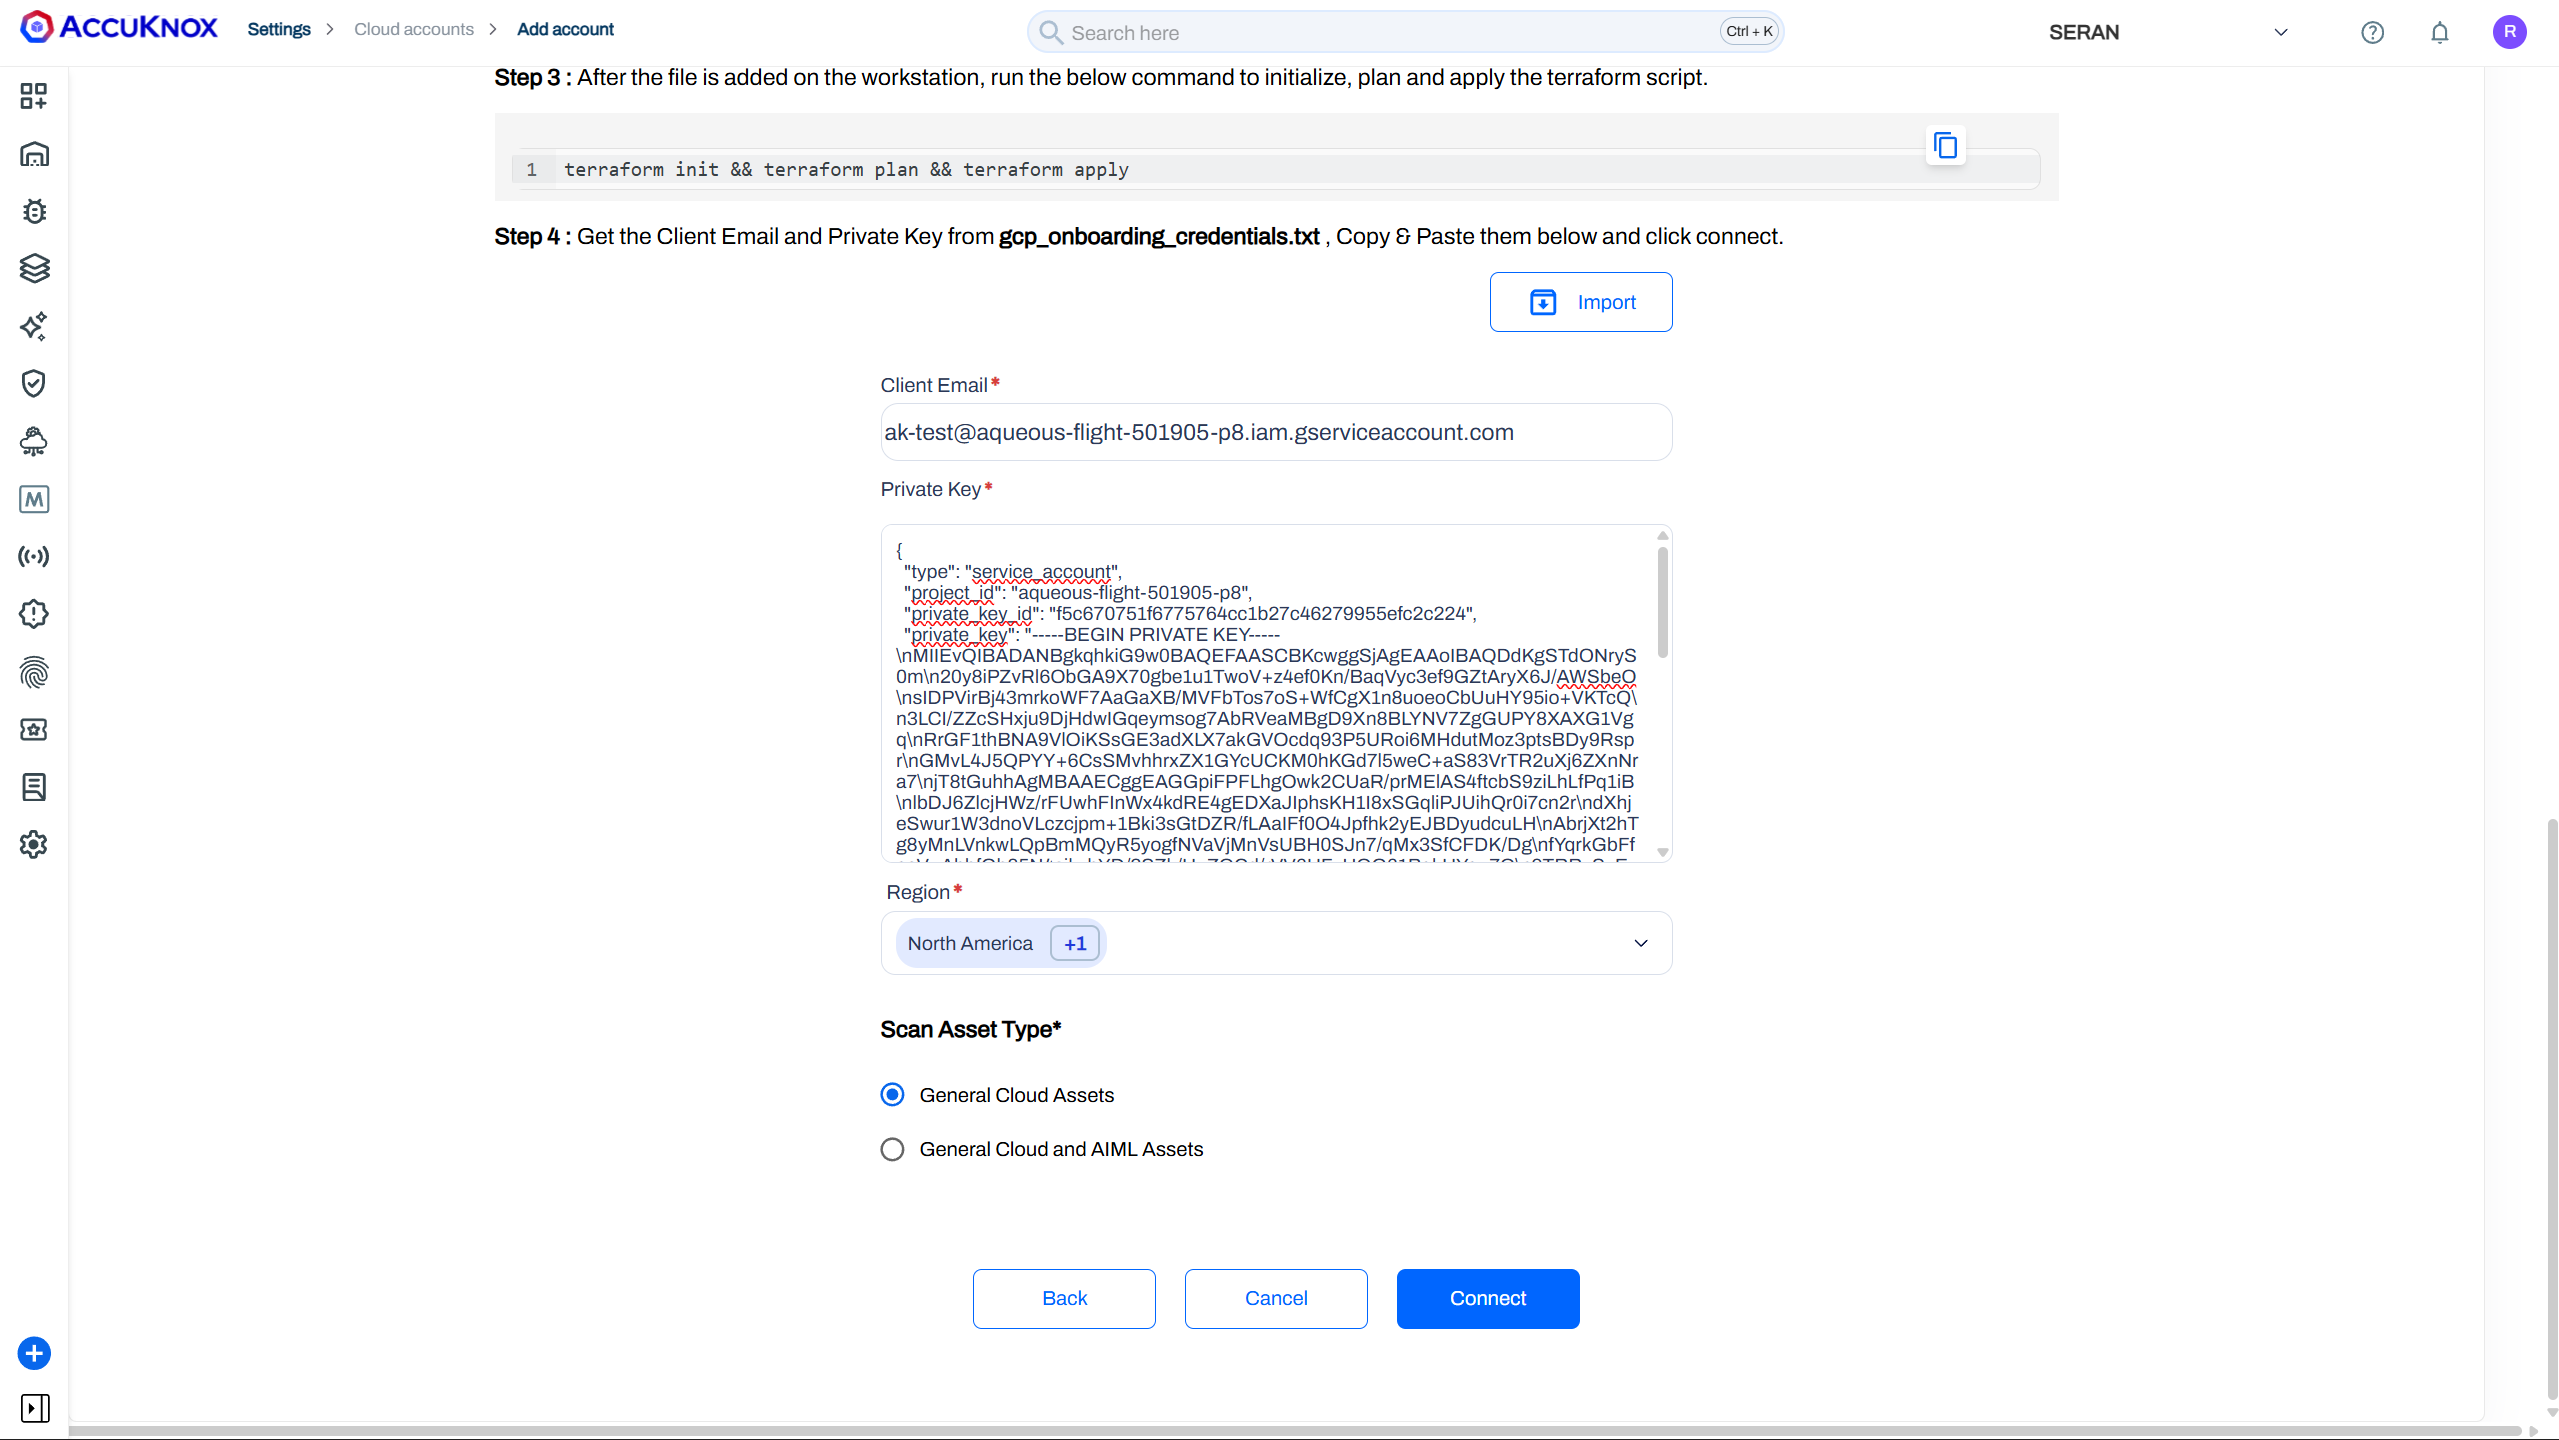
Step 5: Scroll down and enter the “Client Email” (the service account email address) and “Private Key” from the downloaded file. Copy and paste the entire downloaded file into the ”Private Key” field, then click “Connect“
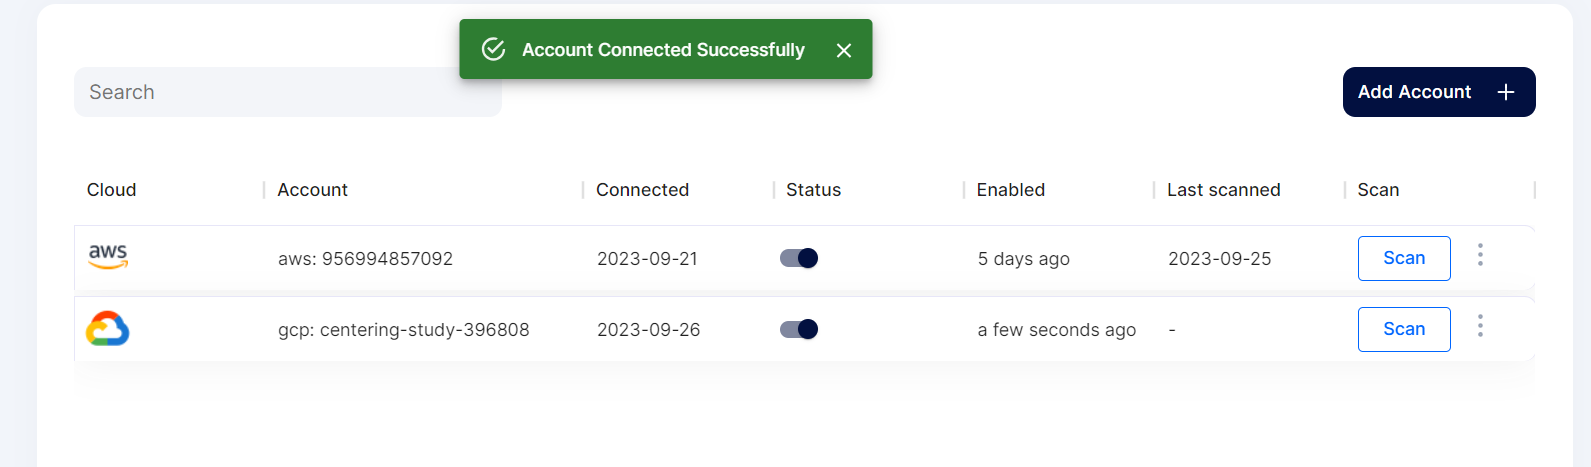
The cloud account has been onboarded successfully