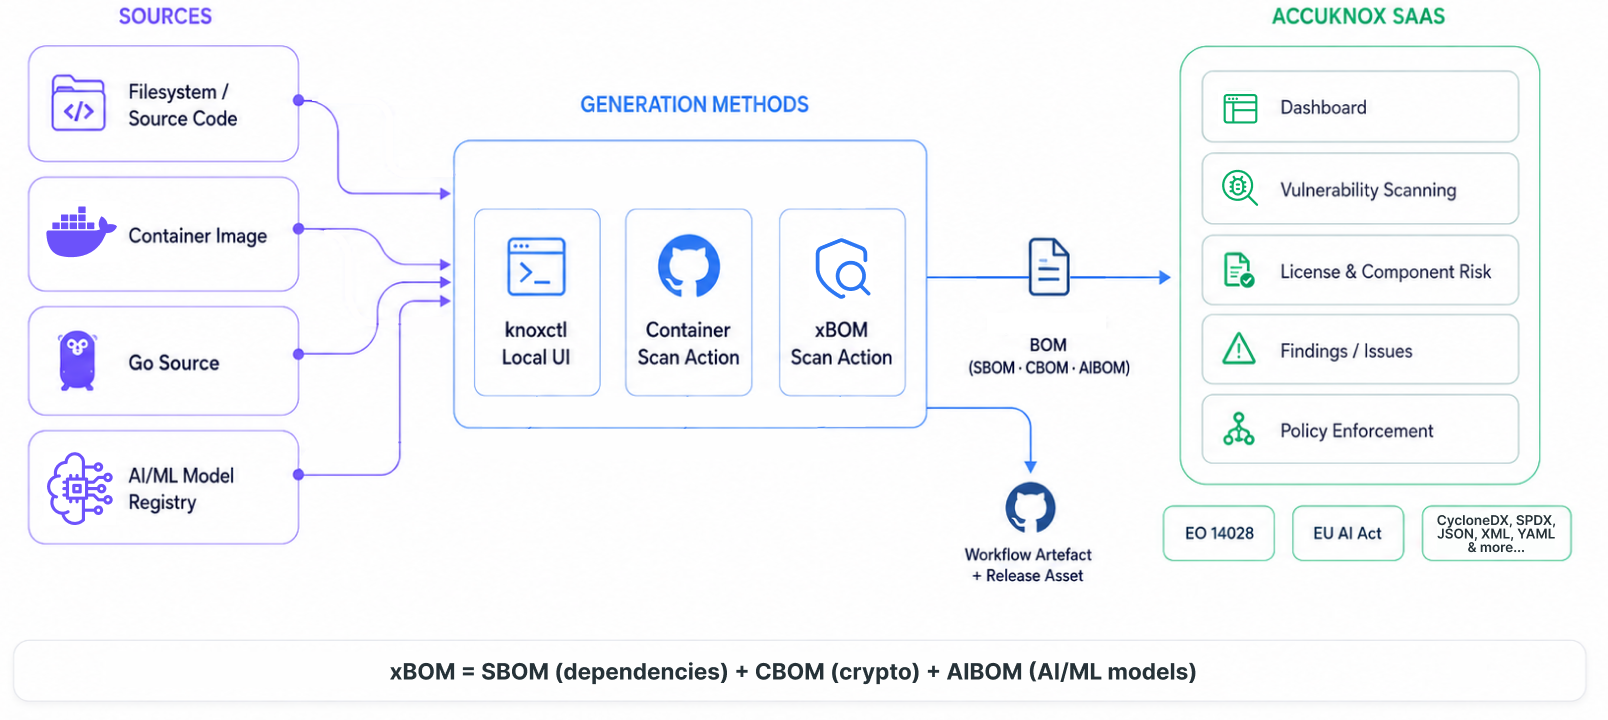
xBOM
xBOM is an umbrella term covering SBOM (software dependencies), CBOM (cryptographic assets), and AIBOM (AI/ML models). Each maps a different layer of the supply chain to track risk, meet compliance requirements like EO 14028 and the EU AI Act, and respond to vulnerabilities faster.
Choose a Generation Method
Common Prerequisites
These setup steps are required regardless of which generation method you choose.
Step 0: Install knoxctl
Install knoxctl before starting xBOM generation.
- Installation guide: knoxctl documentation
- Source and releases: accuknox-cli-v2 on GitHub
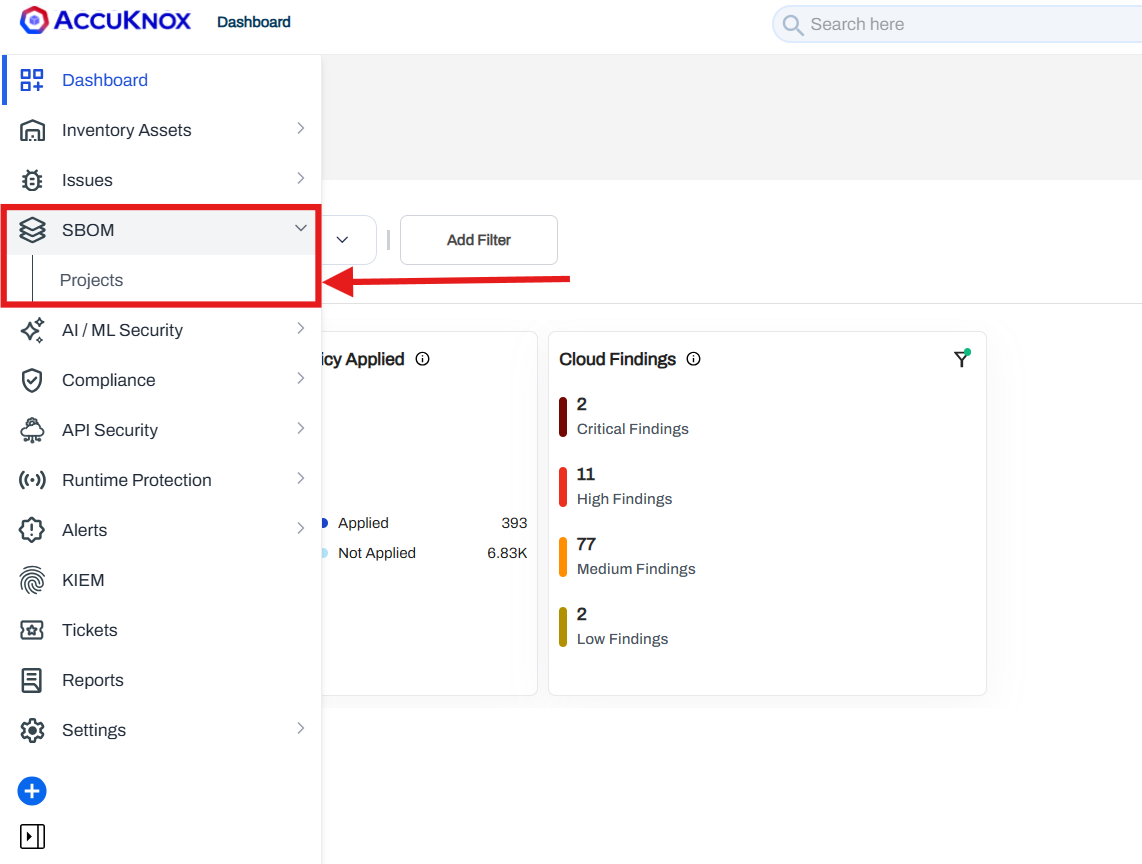
Step 1: Create Project and Classifier
-
Log in to the AccuKnox UI.
-
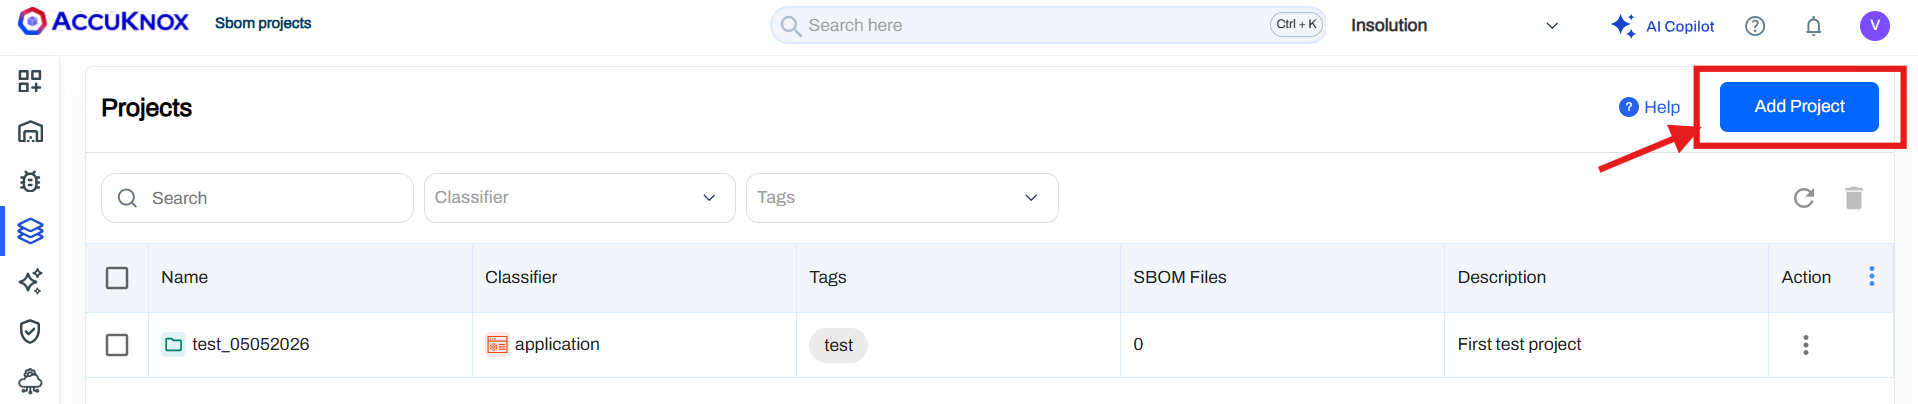
Navigate to SBOM > Projects.
-
Click Add Project.
-
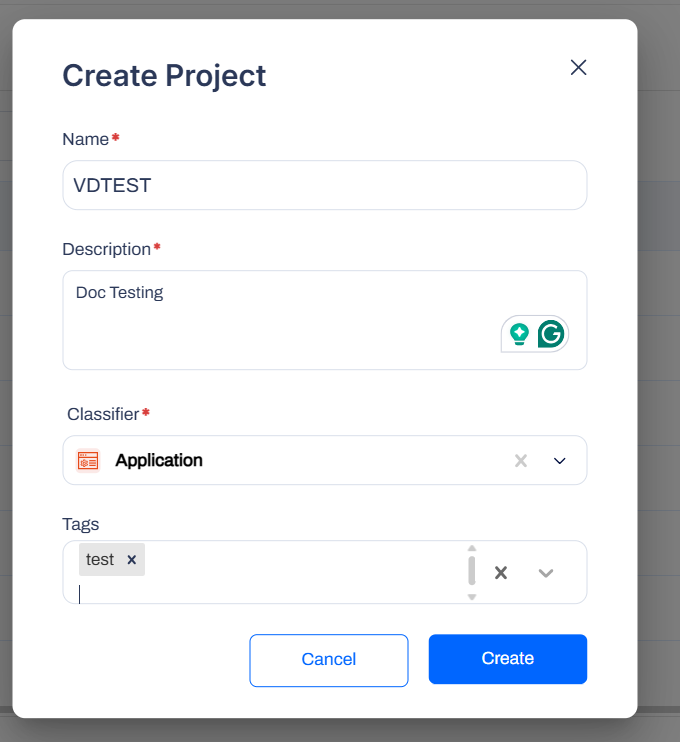
Fill in the following fields:
- Project name
- Description
- Classifier
-
Click the Create button.
Note
The Project Name and Classifier must exactly match the values you pass in your workflow or knoxctl configuration.
Step 2: Create Labels
-
In the AccuKnox UI, navigate to Settings.
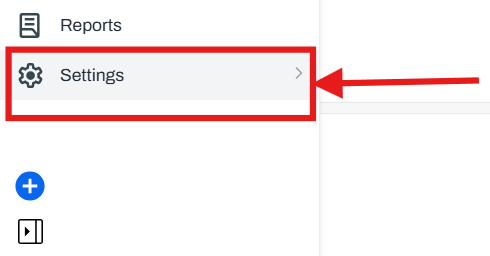
-
Go to Labels.
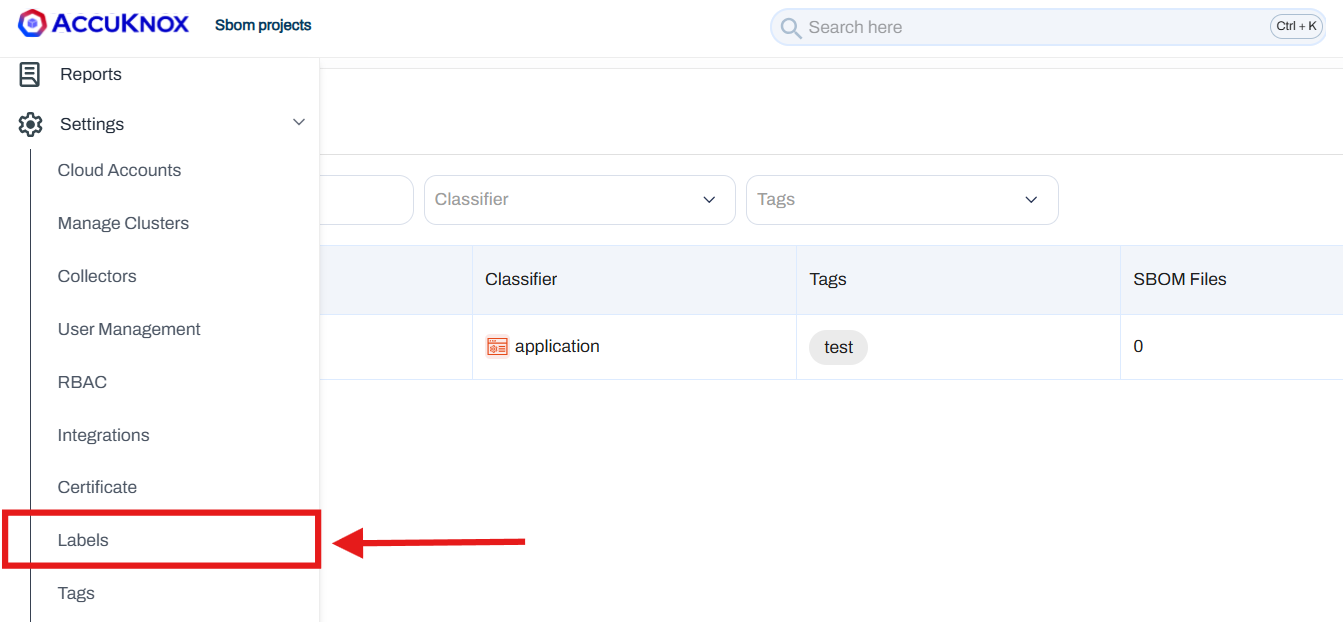
-
Click the Label+ button.

-
Create the labels you need for organising your projects.
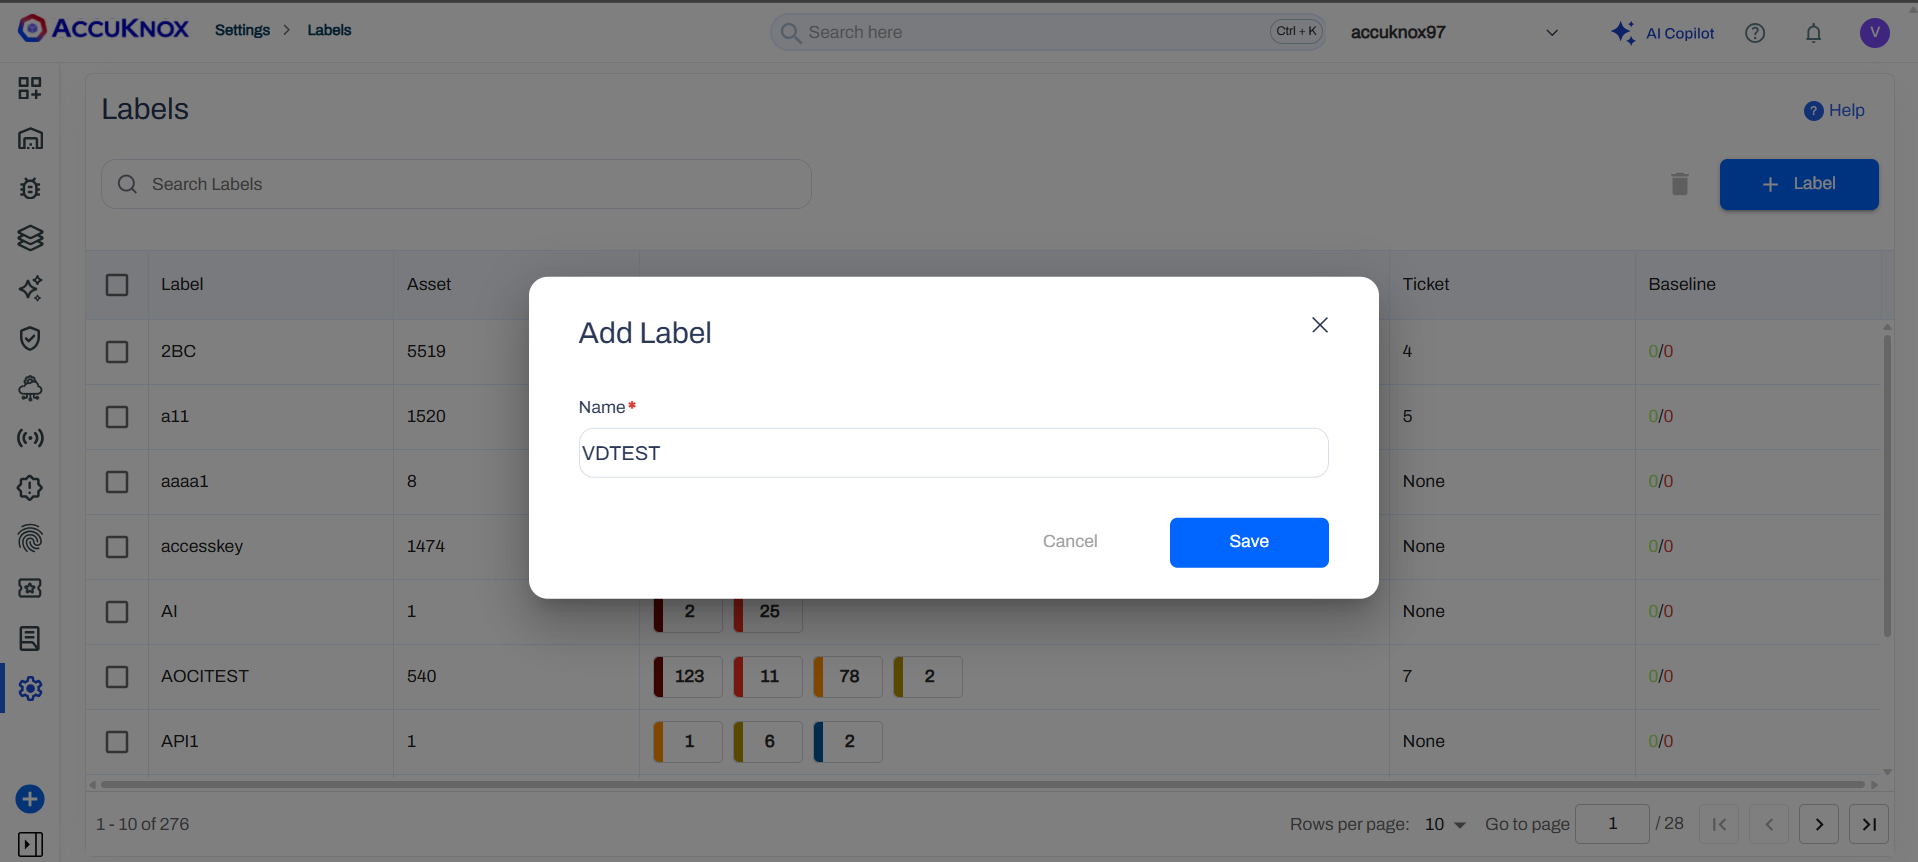
-
Save your label configuration.
Reference: How to Create Labels
Step 3: Generate Access Key
-
Navigate to Settings > User Management.
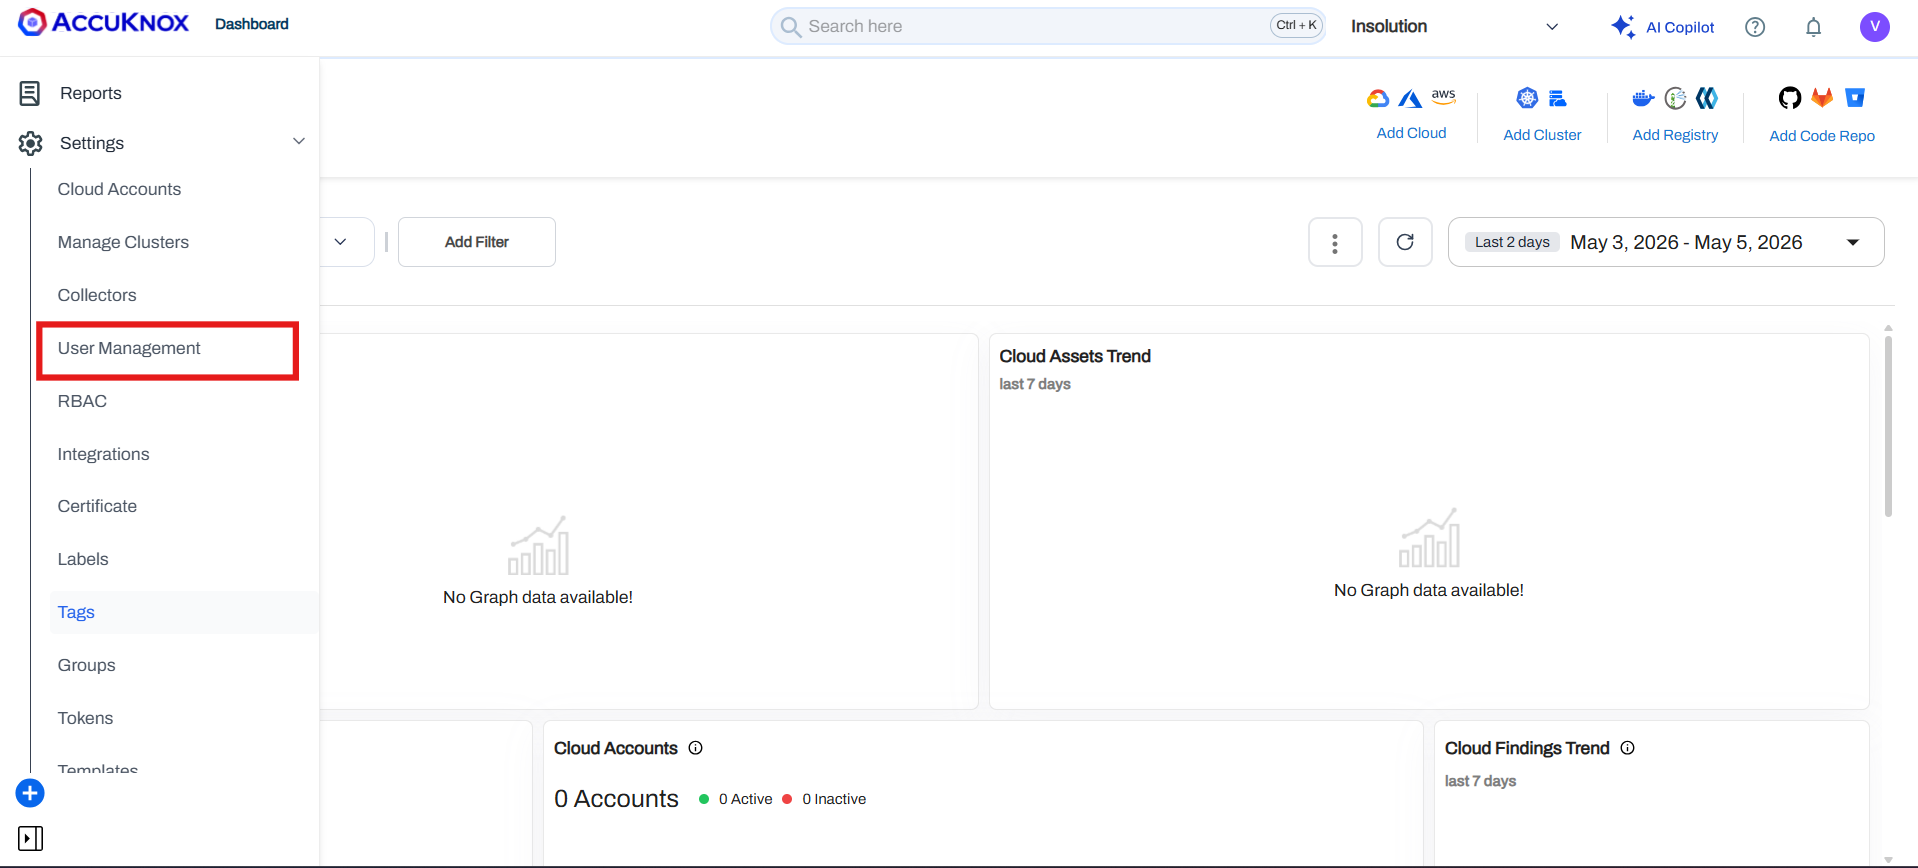
-
Click on your user profile.
-
Click the three-dot icon (⋮).
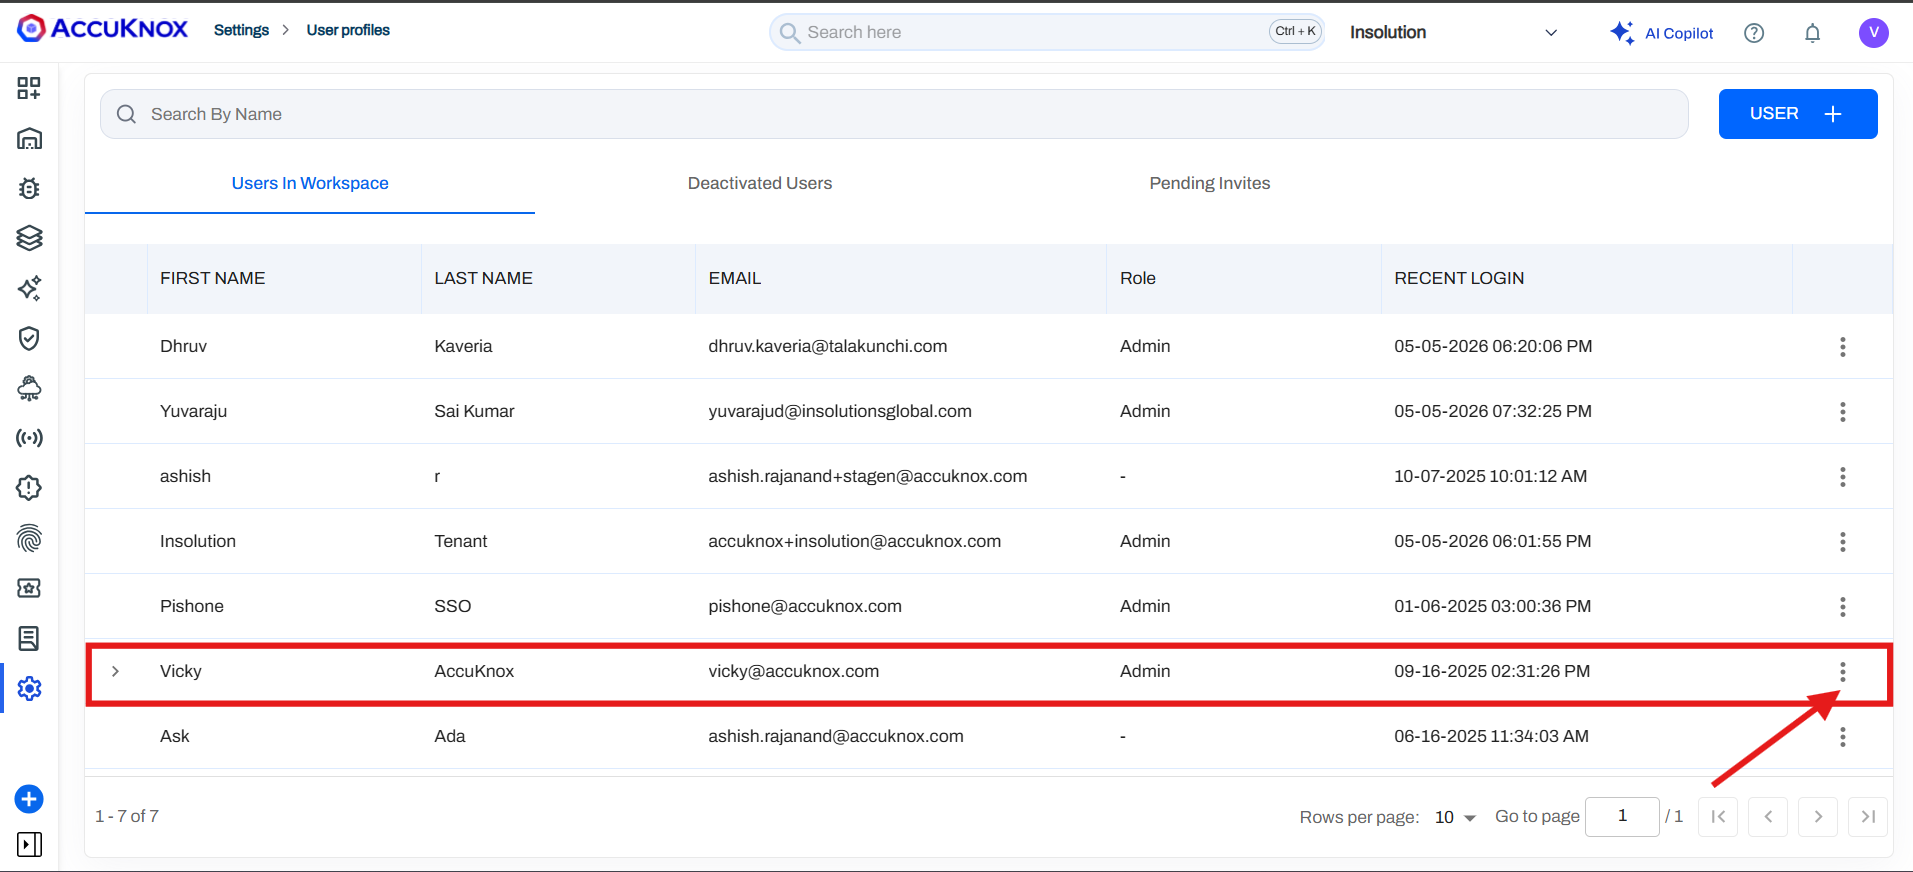
-
Select Create Access Key.
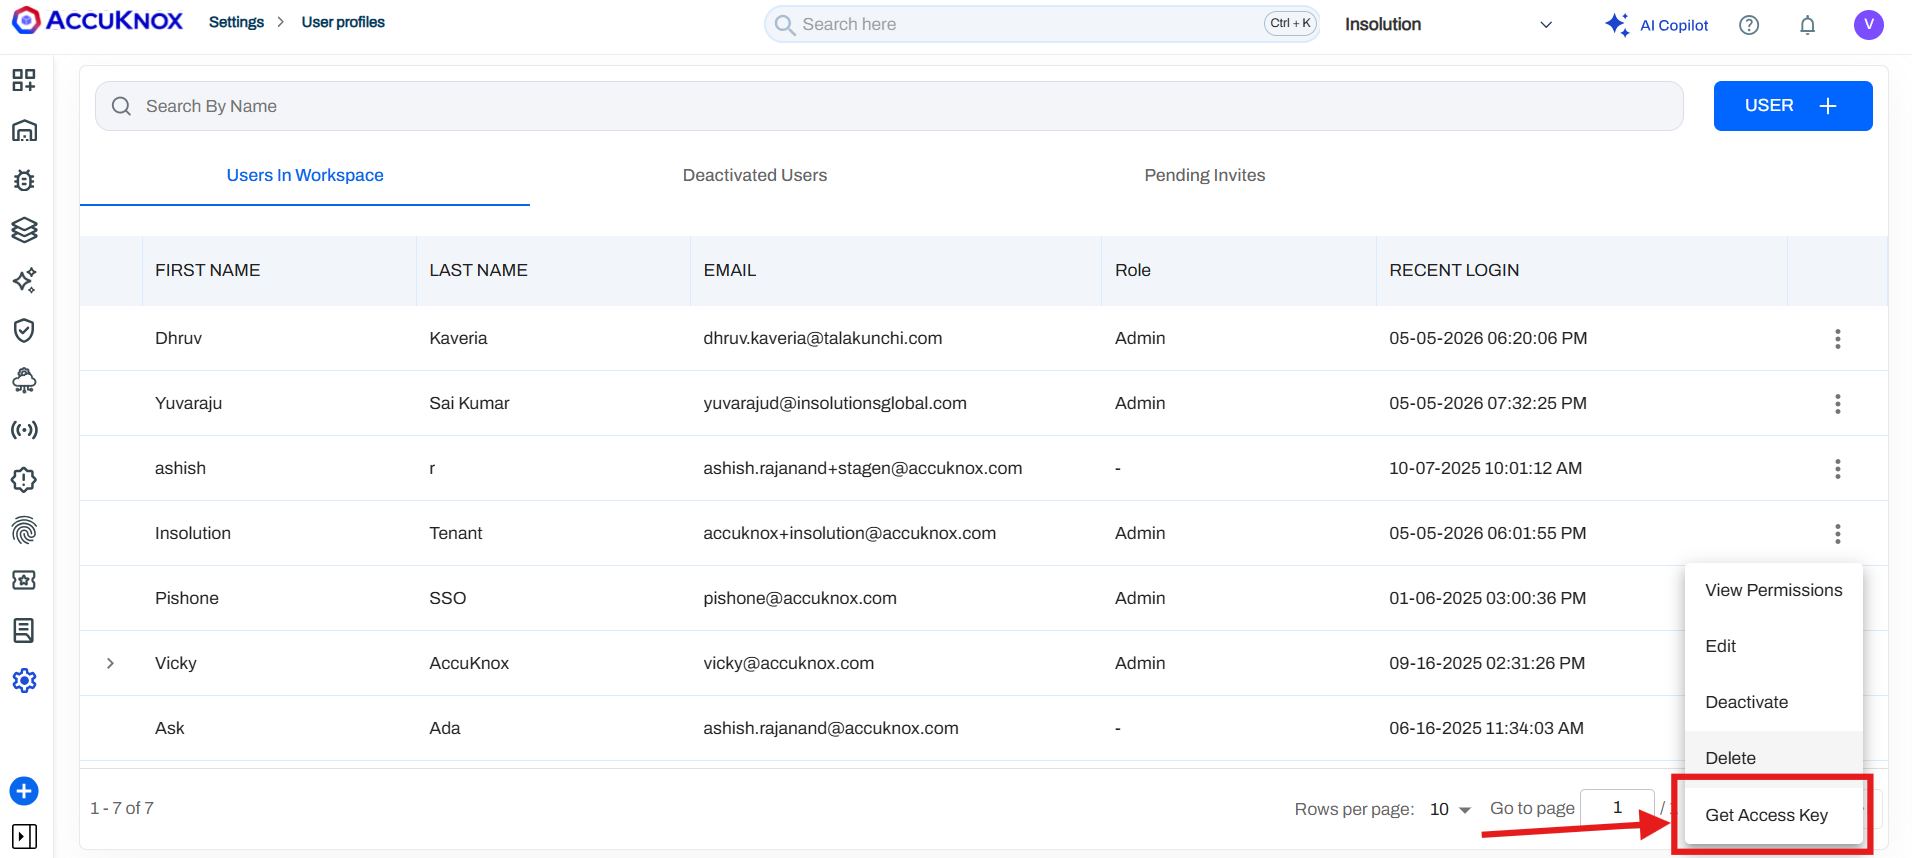
-
Copy the access key and save it securely.
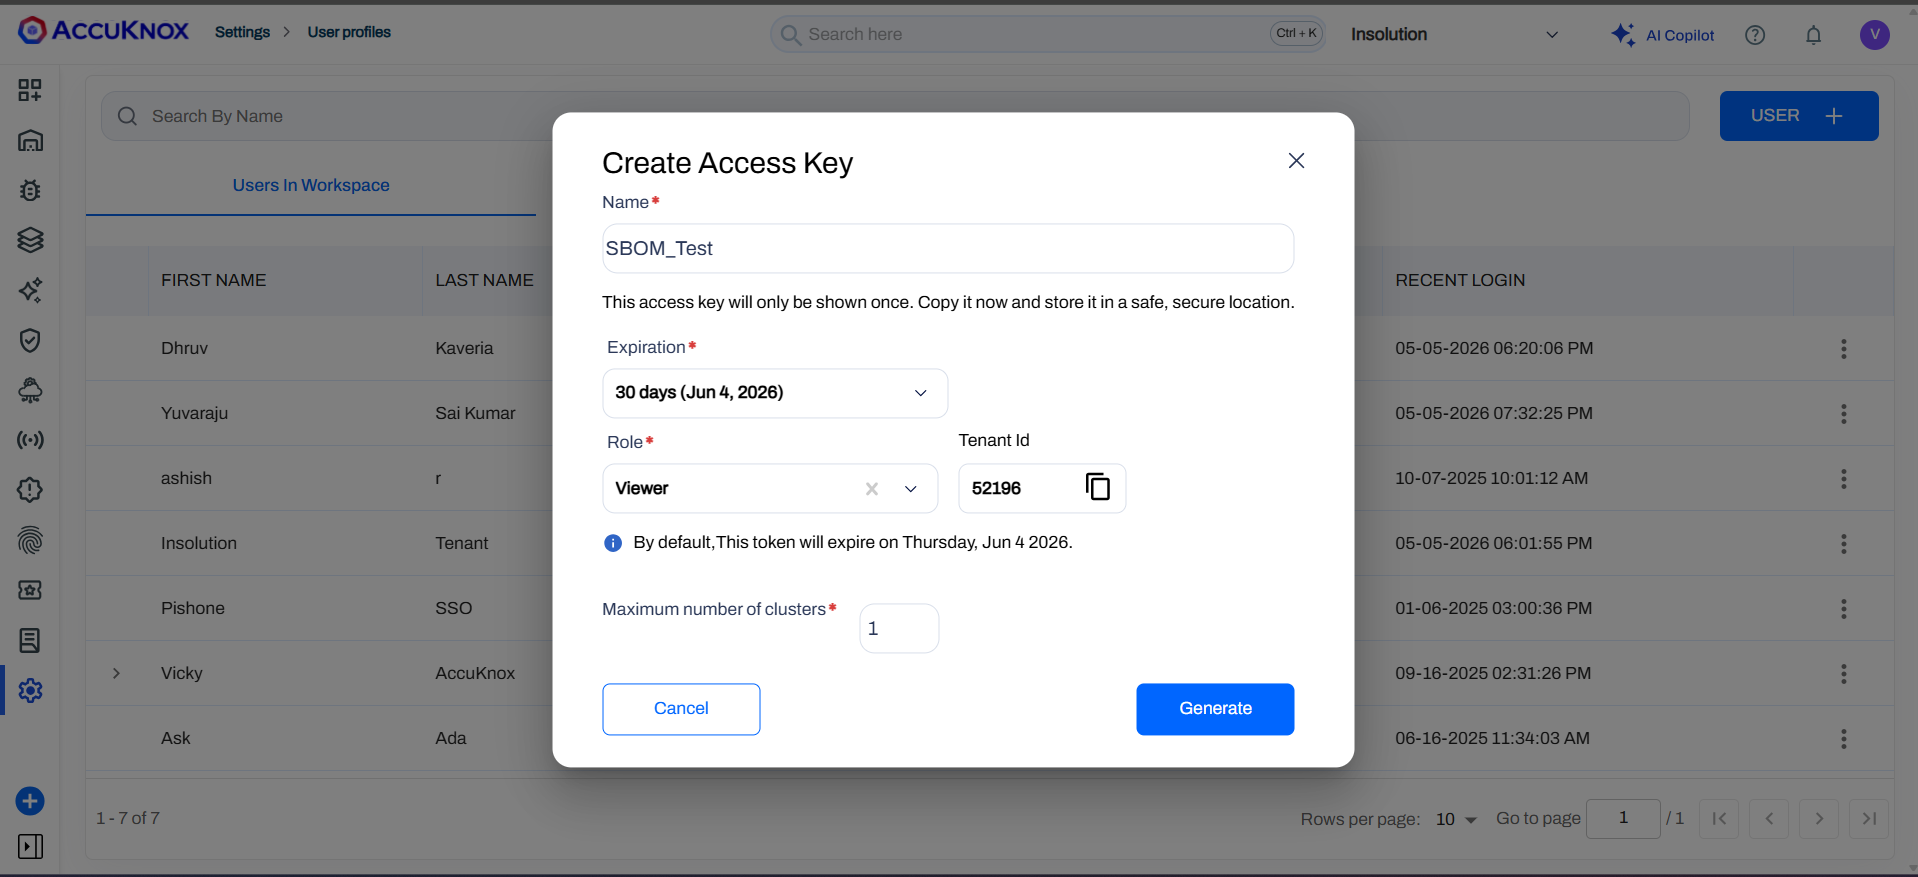
Note
You will need this key for API authentication in the next steps.
Reference: How to Create Access Keys
Post-Generation Workflow
Once generated, BOMs automatically appear in your SBOM dashboard, where AccuKnox scans them for known CVEs, license issues, and outdated components. View vulnerability details, track remediation, and export reports under SBOM > Projects > [Your Project Name].