Okta SSO with AccuKnox
This guide helps you integrate Okta with AccuKnox using OpenID Connect (OIDC) for Single Sign-On (SSO).
Prerequisites
- Okta account with admin access.
- Access to AccuKnox Tenant for user invitation
1. Create Okta Application Integration
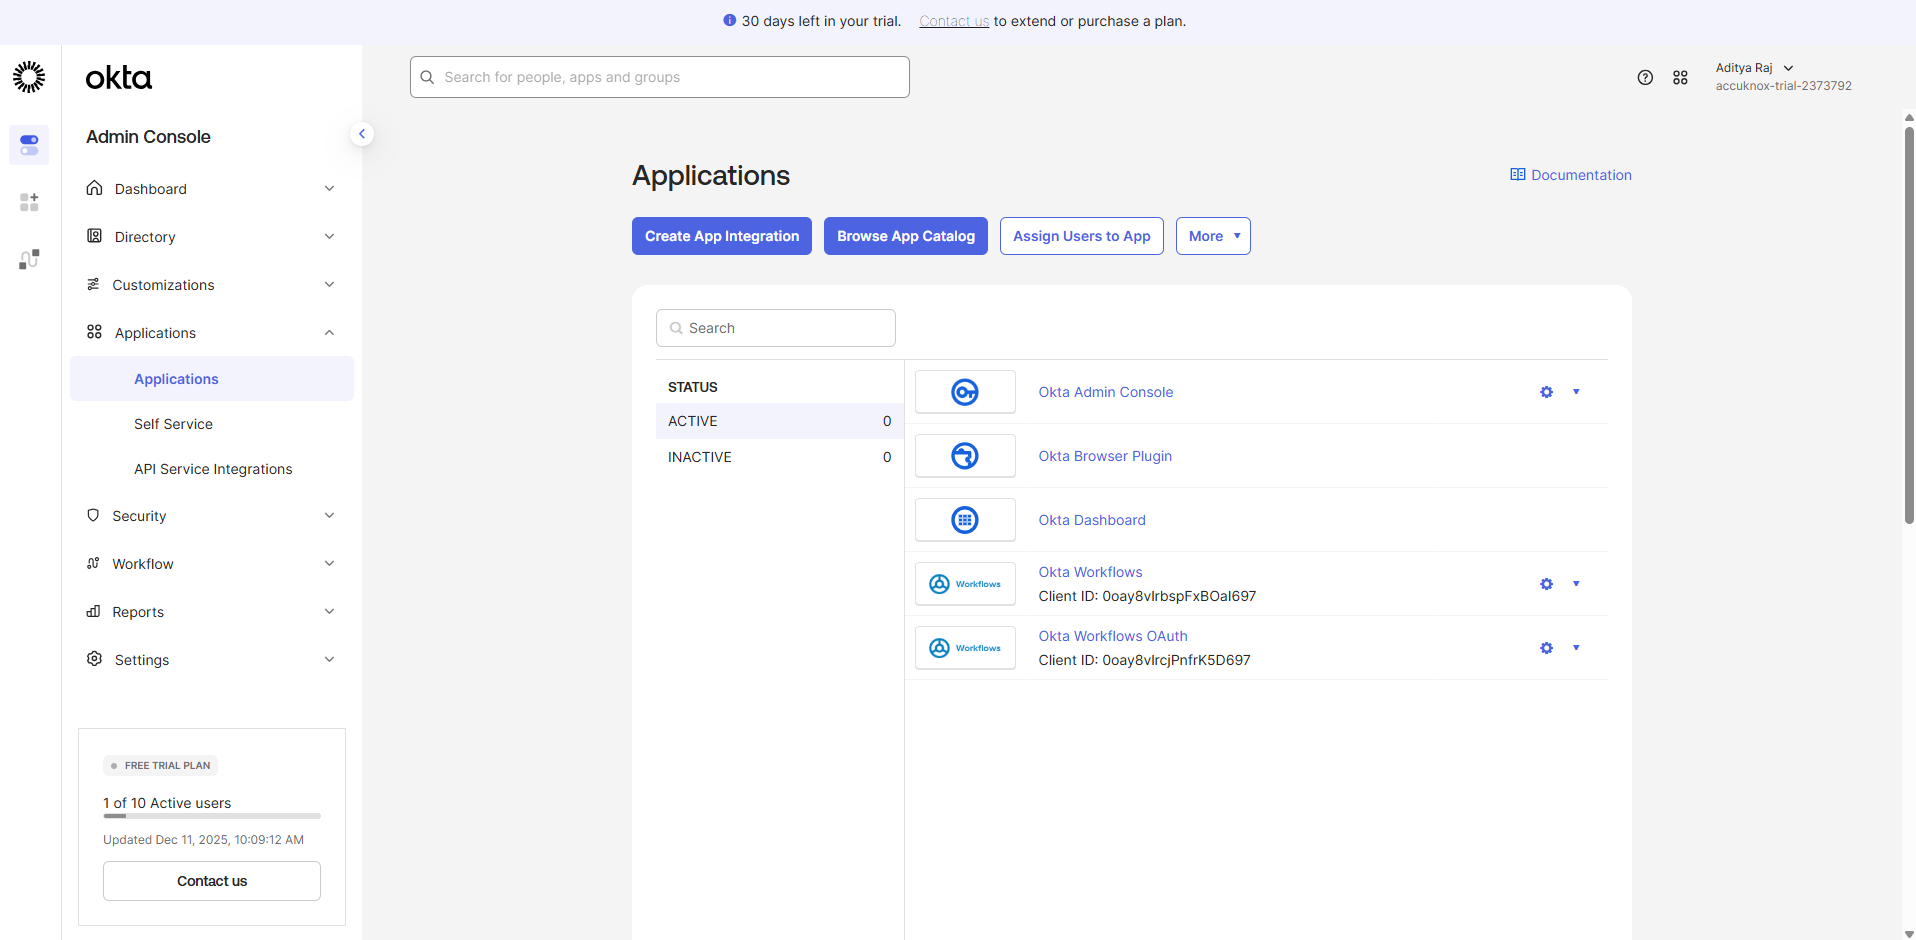
- Sign in to your Okta Dashboard.
-
Navigate to Applications > Applications.
-
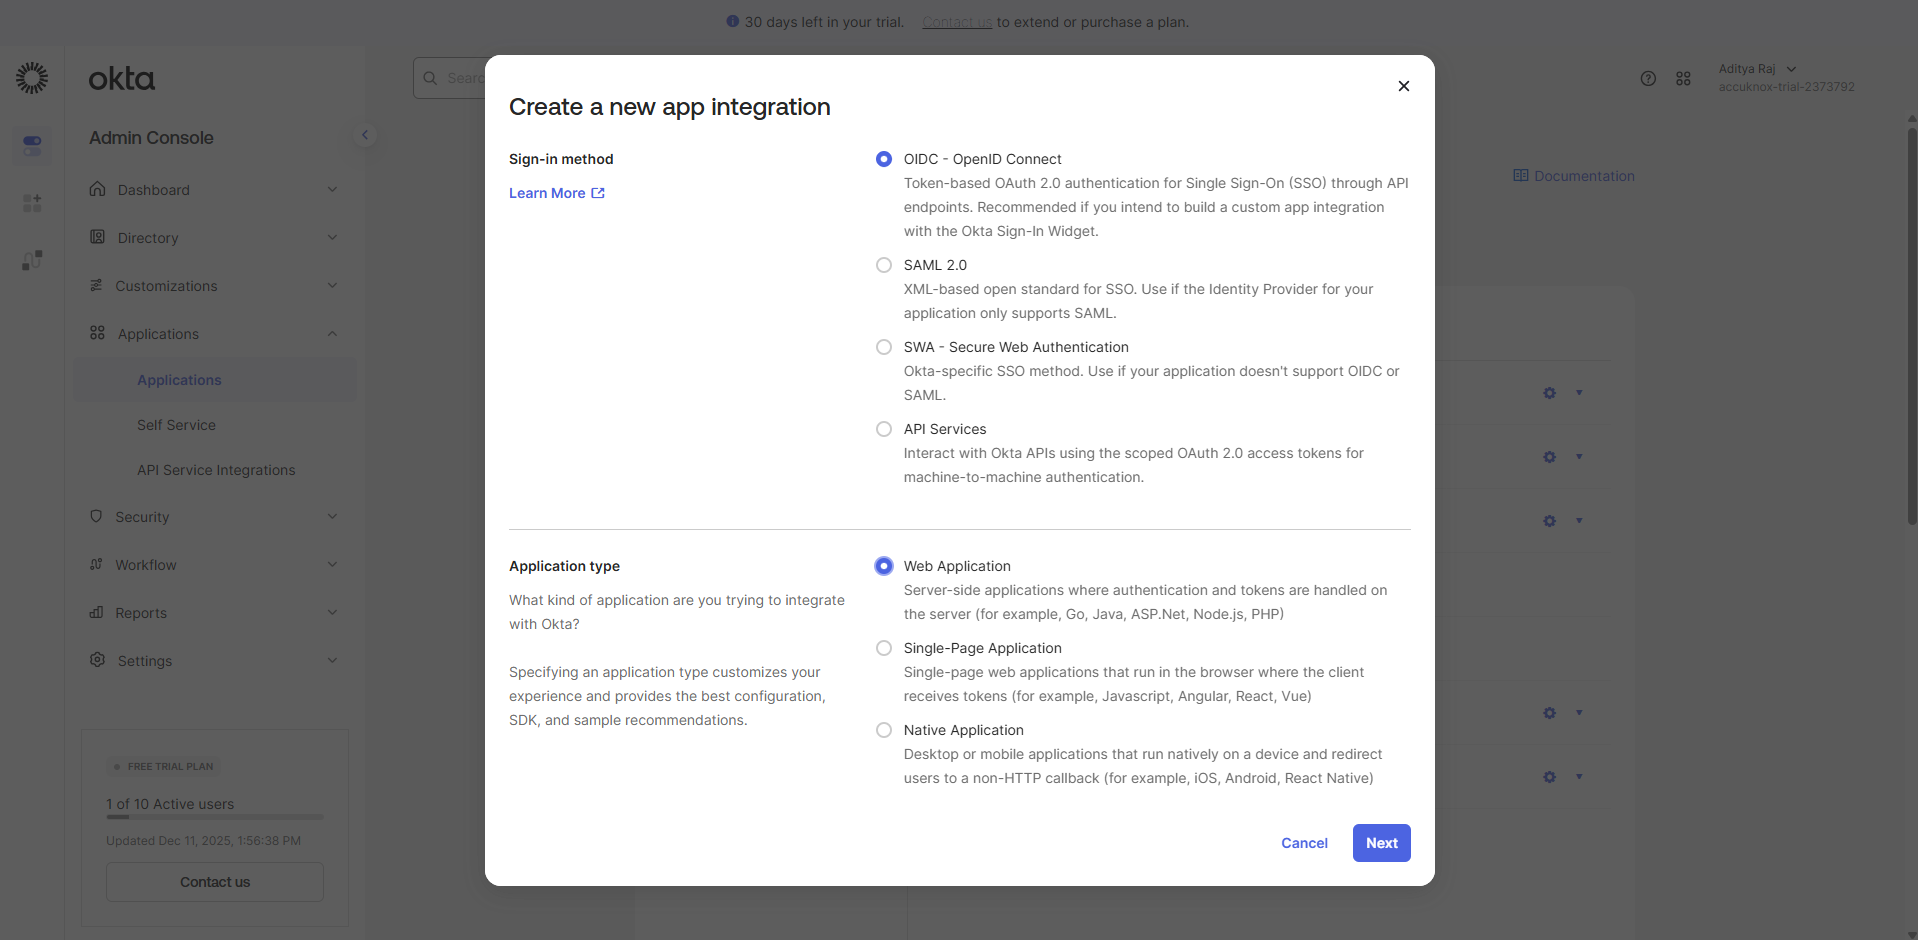
Create a new App integration → Select OIDC.
-
App Integration Settings:
- App integration name: Any meaningful name (e.g.,
AccuKnox SSO). - Sign-in redirect URIs: Enter:
https://cspm.accuknox.com/oidc/callback/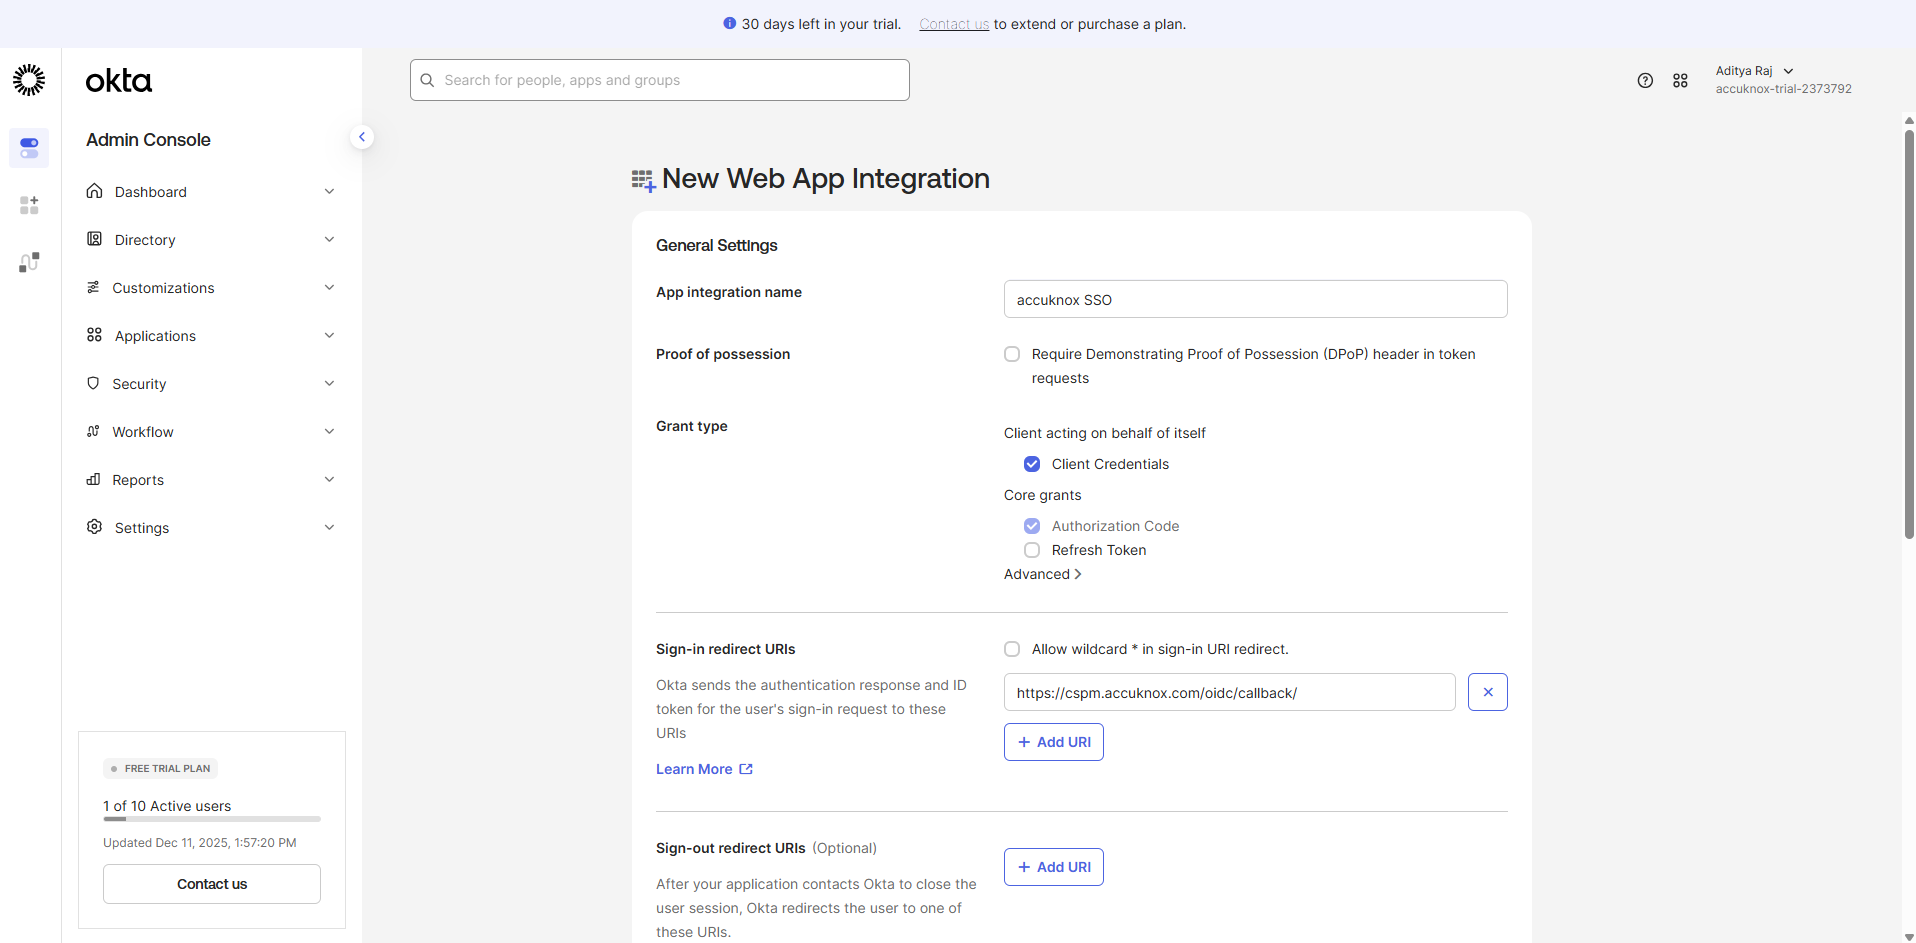
- App integration name: Any meaningful name (e.g.,
-
Enable Client Credentials (leave other fields as default).
- Click Save.
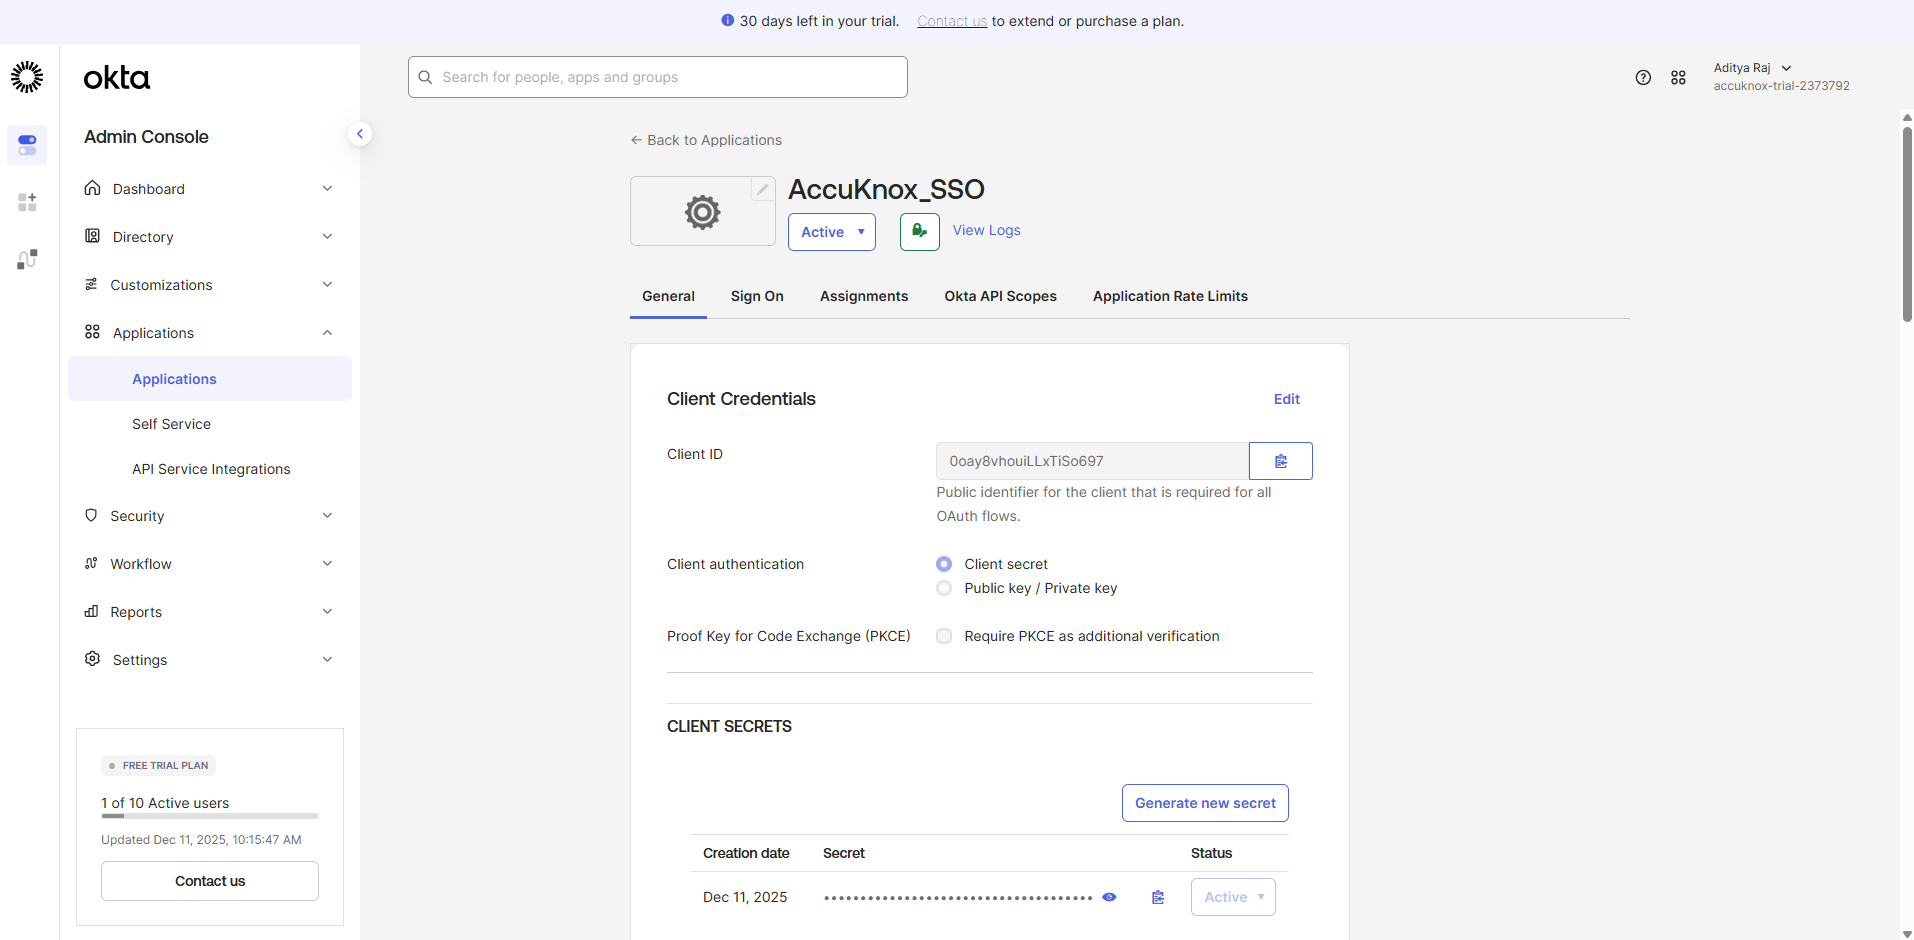
2. Gather Required Information
Once the application is created, you will be on the application's General tab. You need to collect specific details to complete the setup with AccuKnox.
- Copy the Domain (from Security → API → Issue URI).
- Copy the Client ID.
- Copy the Client Secret.
Provide Details to AccuKnox
- Share the Client ID, Client Secret, and Okta Domain securely with the AccuKnox support team.
- The team will configure the OIDC backend for your organization.
3. Provide API Permission
- Navigate to Security → API in Okta.
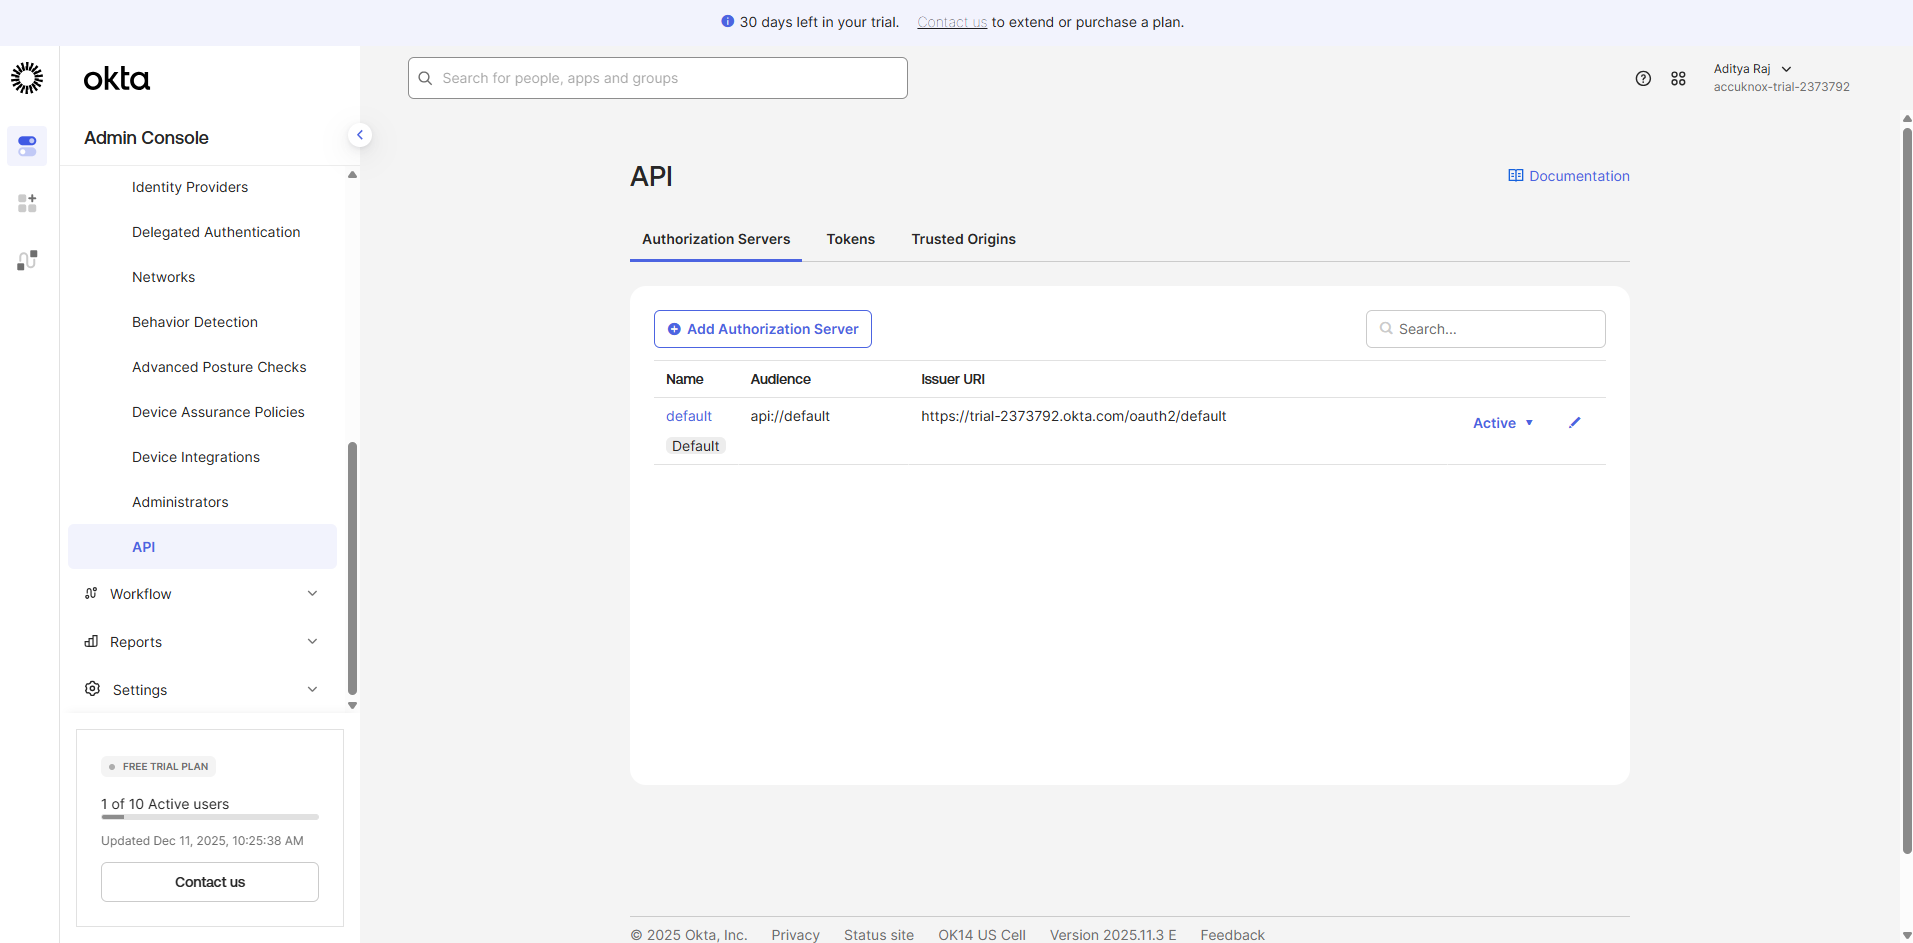
- Click on the Authorization Server (default) → Access Policies.
- Add a policy:
- Enter a Name and Assign to.
- Select the following clients: provide the Client_ID of the application created in Step 1.
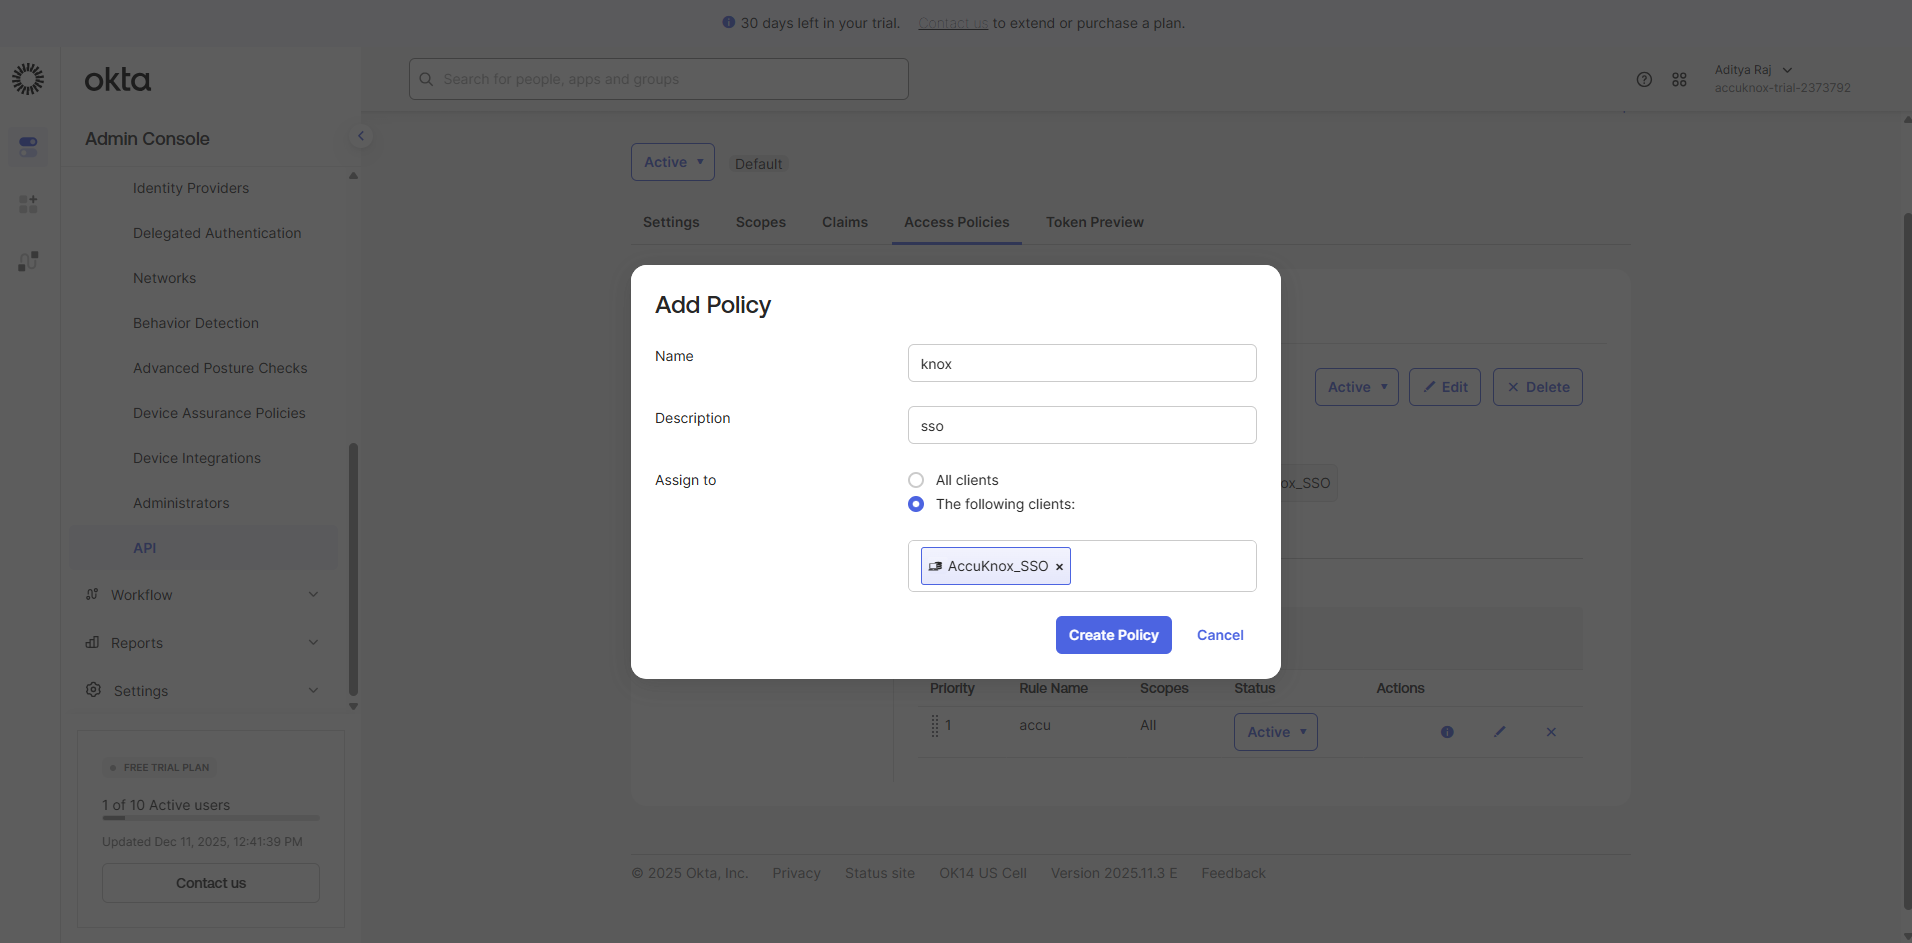
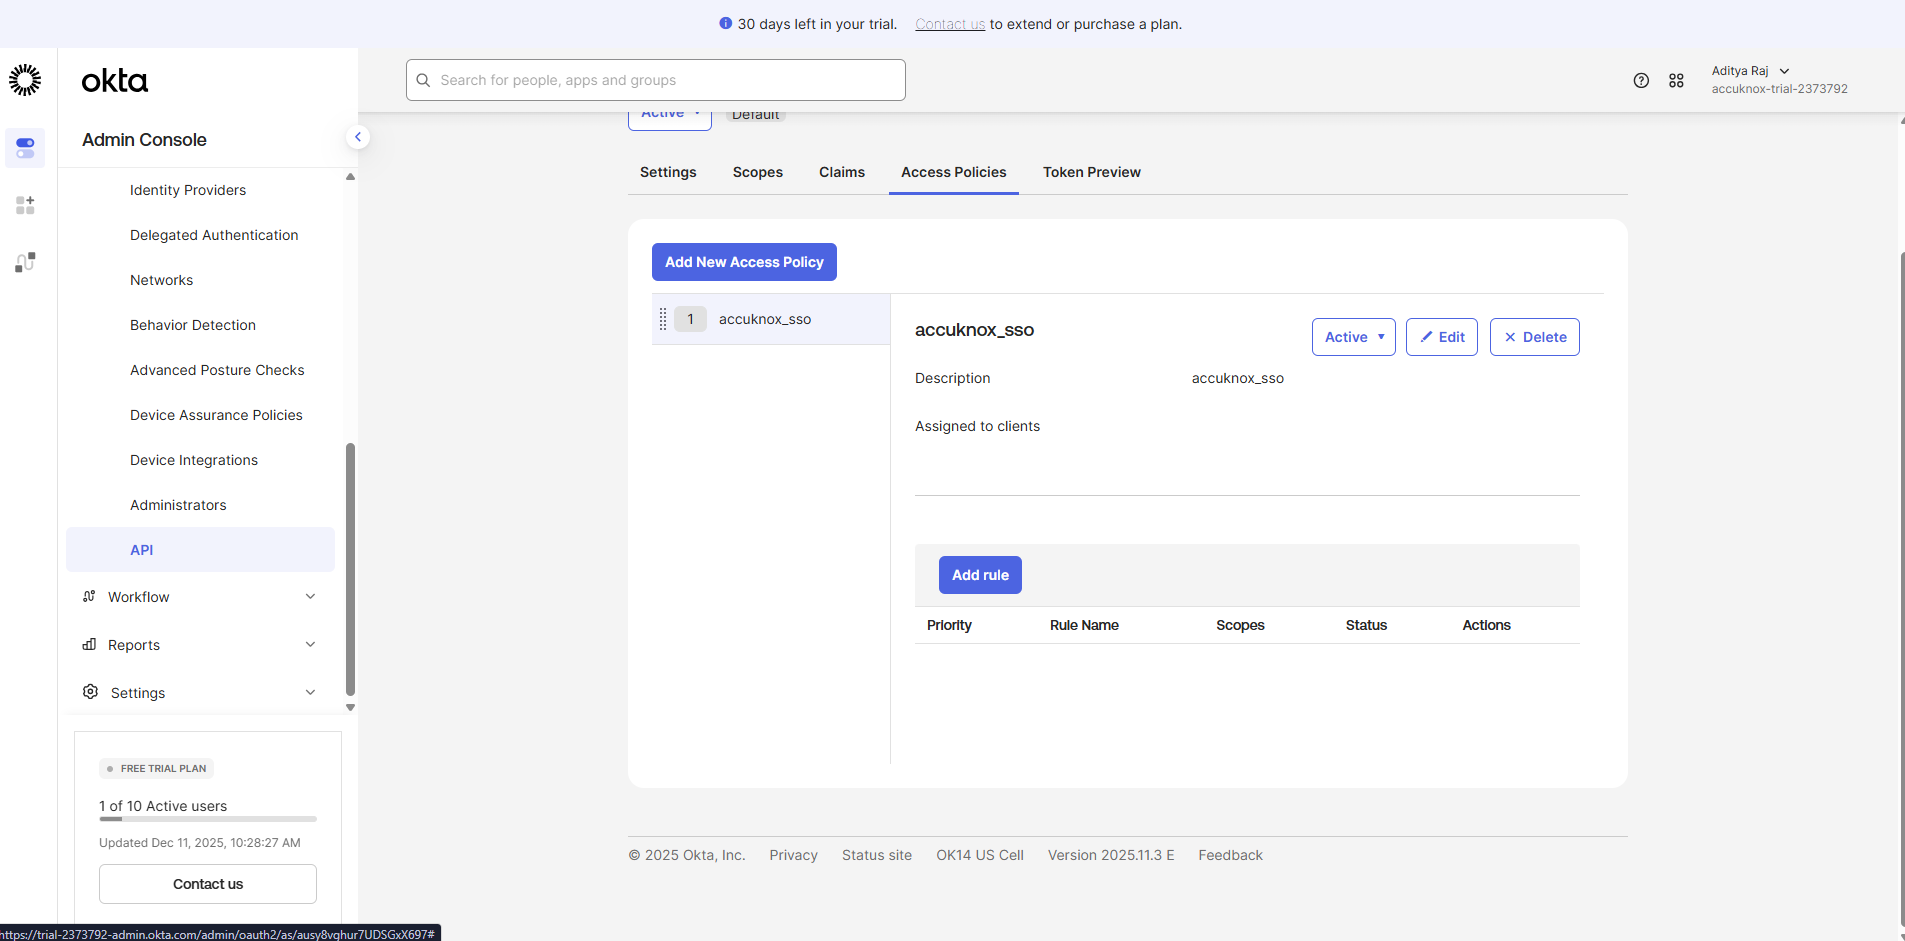
- Click Create Policy.
- Click Add Rule.
- Provide a Rule name and leave other fields as default.
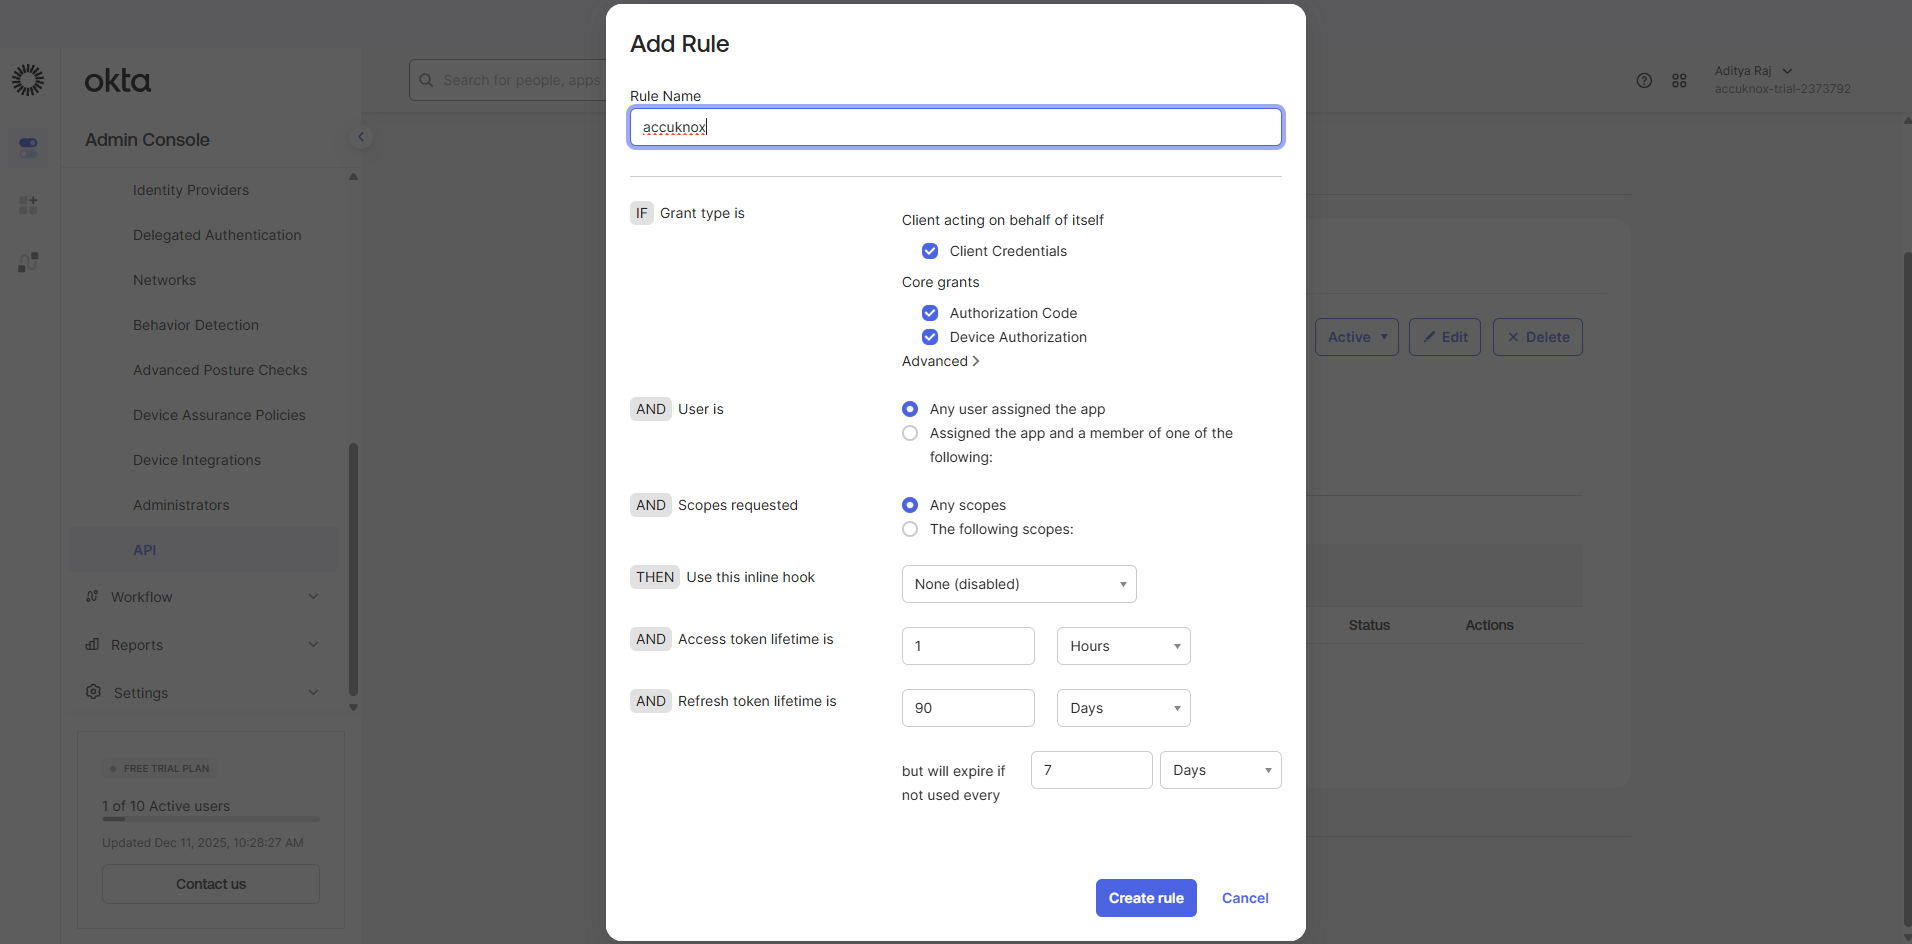
- Create rule.
- Send the following to AccuKnox (for BE configuration):
- Client ID
- Client Secret
- URL (Domain / Issue URI)
4. Invite Okta Users to AccuKnox
- Log in to the AccuKnox SaaS console.
- Go to User Management > Invite User.
- Enter the email address of the user along with other details and send the invite.
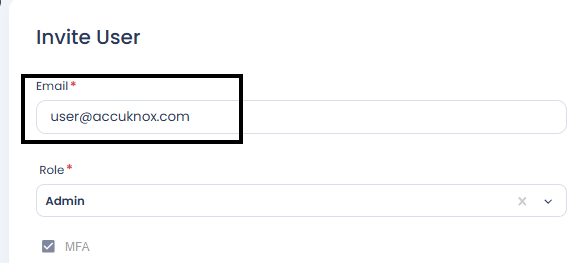
Note
Ensure the invited Okta user has their email field filled in within their Okta profile. The email must exactly match the one used during the AccuKnox invitation.
5. Logging in to AccuKnox via Okta SSO
- Navigate to the AccuKnox Login Page.
- Click OpenID.
- Enter your organization name.
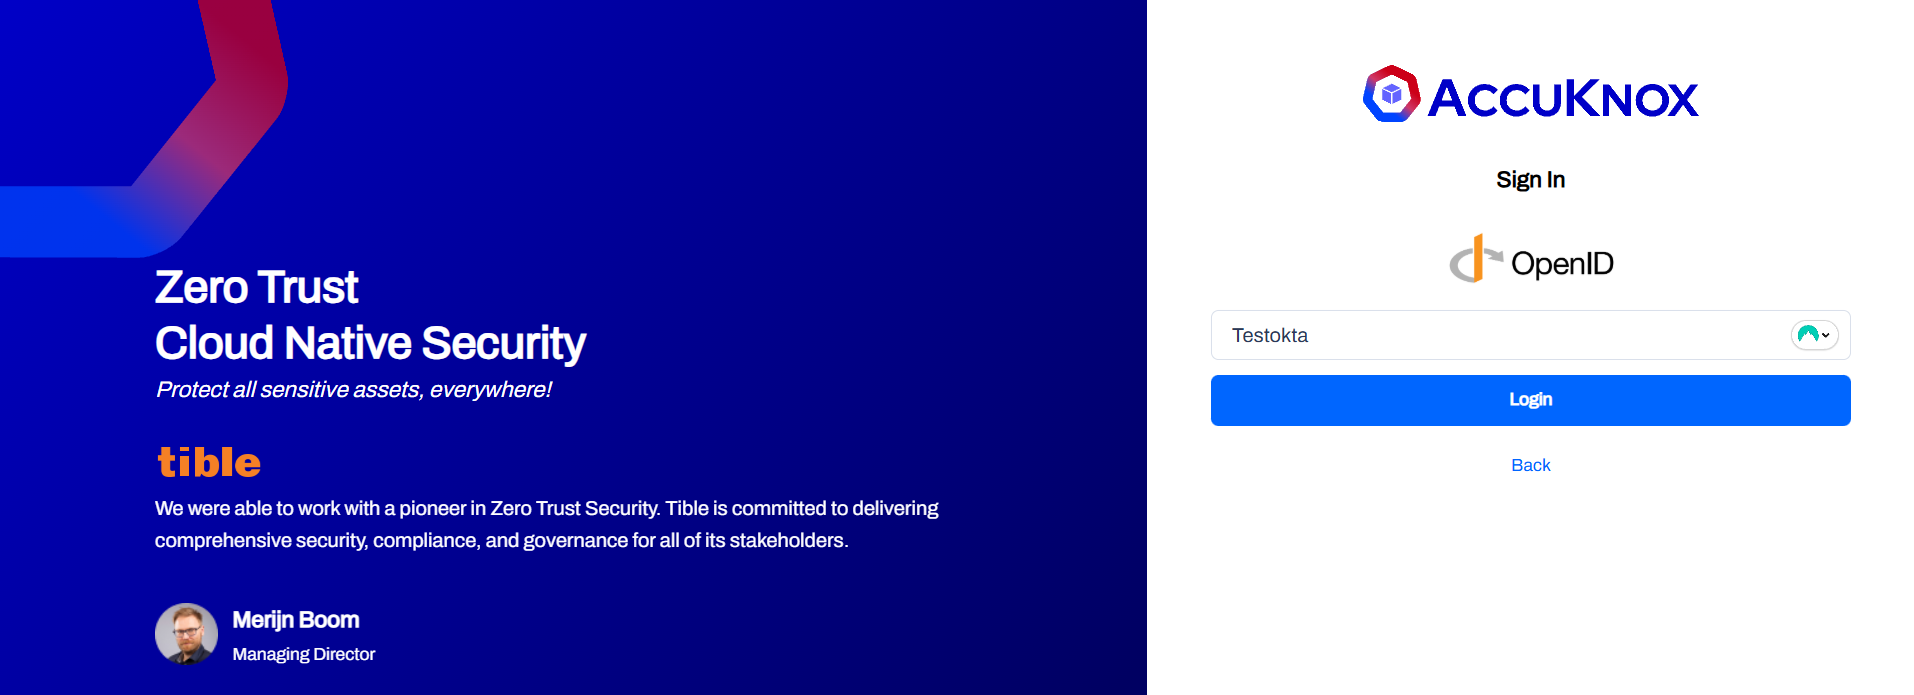
- You will be redirected to Okta. Sign in using your Okta credentials.
- Upon successful authentication, you will be logged into the AccuKnox dashboard.