GCP
Overview
Terraform automatically provisions the required Google Cloud IAM resources needed to connect a standalone GCP project to the AccuKnox platform.
Prerequisites
- Terraform is installed.
- Google Cloud CLI is installed and authenticated.
- The target GCP project is selected.
- You have sufficient permissions to create service accounts, IAM roles, and service account keys.
- You have access to the AccuKnox platform.
Step 1: Select the Cloud Account
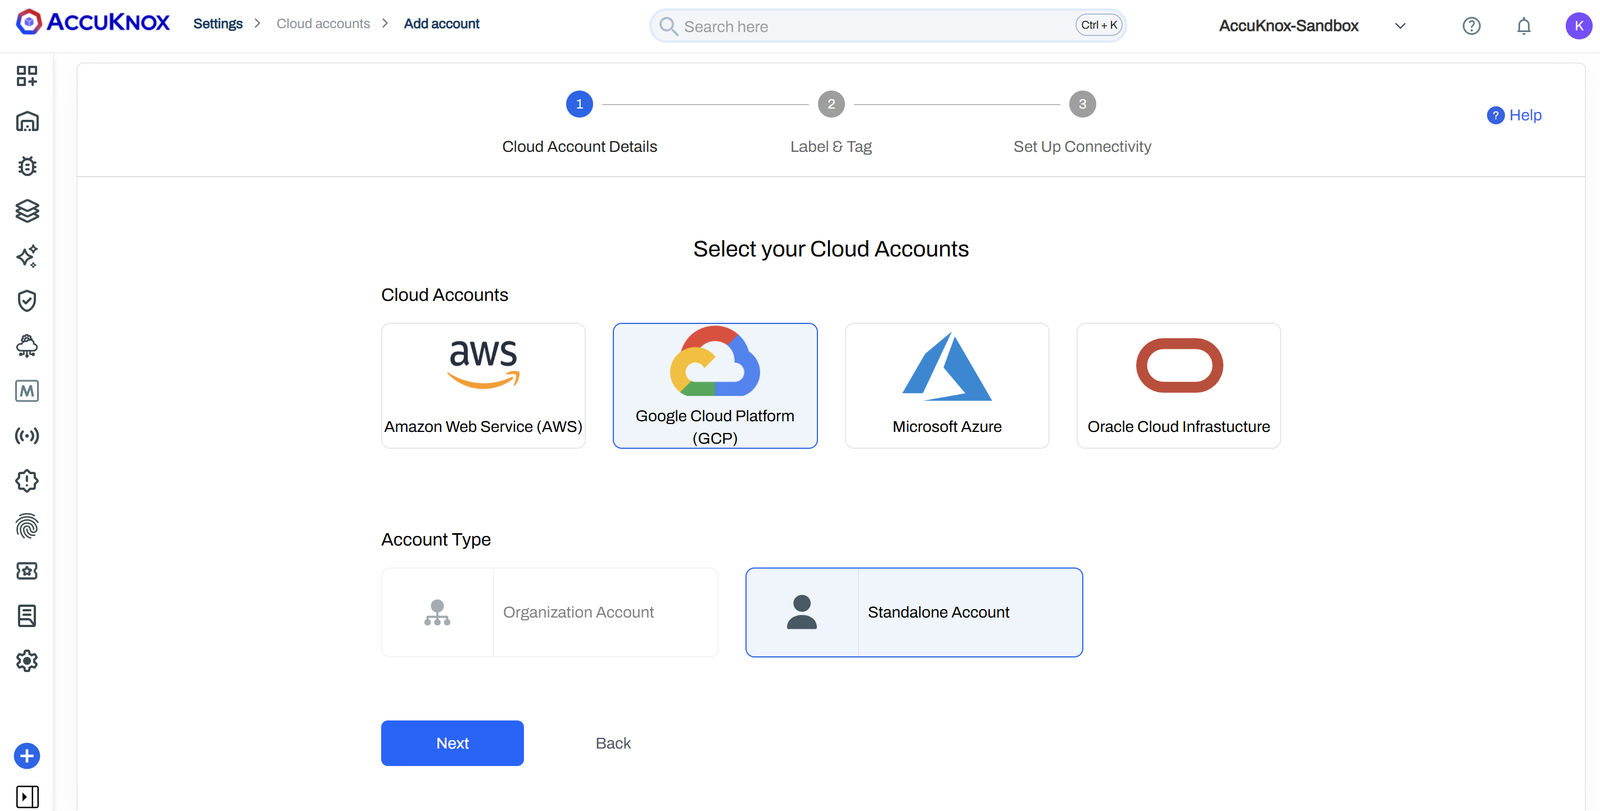
- Open the AccuKnox Platform: https://app.demo.accuknox.com/.
- Log in using your credentials.
- Navigate to Settings → Cloud Accounts.
- Click Add Account.
- Select Google Cloud Platform (GCP).
- Select Standalone Account.
- Click Next.
Step 2: Configure Label and Tag
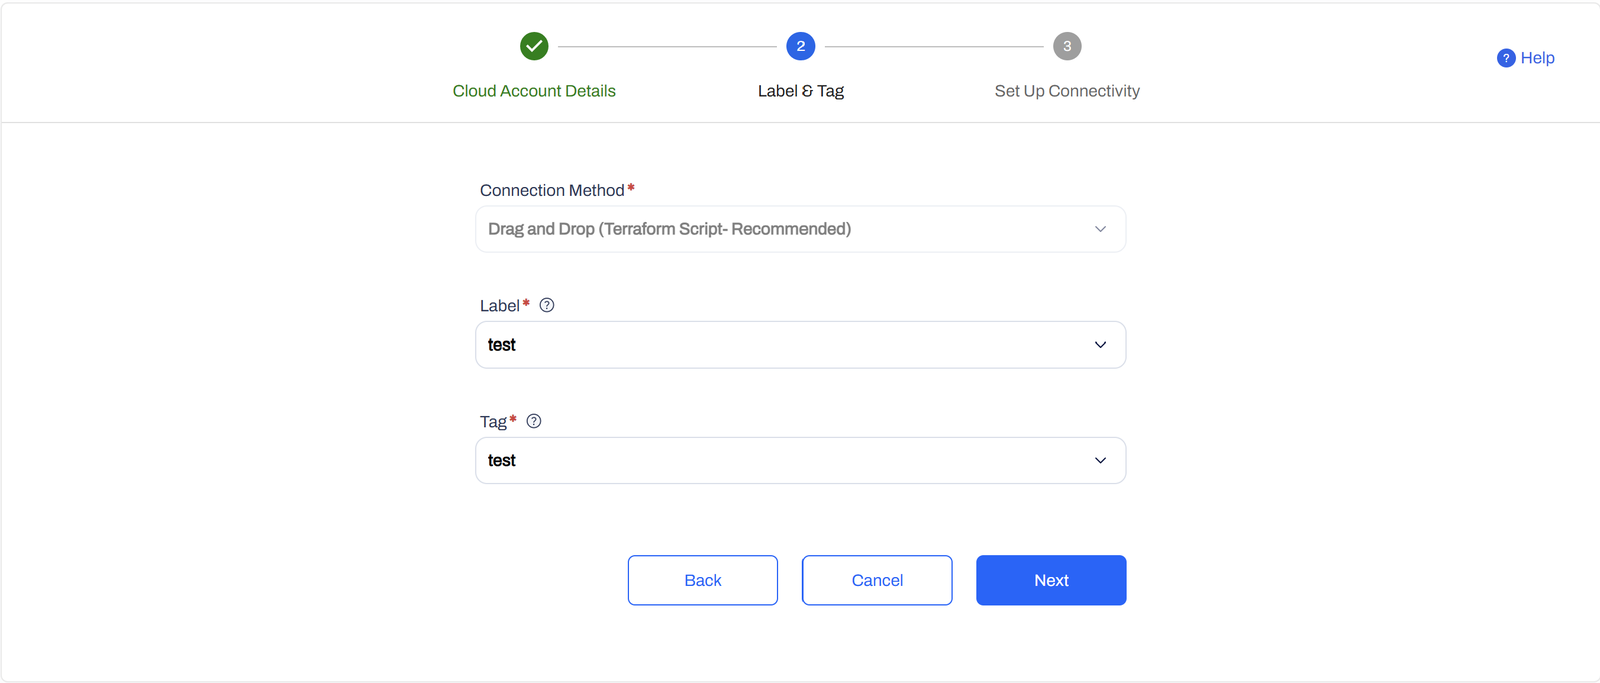
- Select Terraform Script as the connection method.
- Select the required Label.
- Select the required Tag.
- Click Next.
Step 3: Create the Terraform Configuration
- Install Terraform if it is not already installed.
-
Enter the Project ID in the Terraform configuration.

-
Create a file named gcp_onboard.tf.
- Copy the Terraform script from the onboarding page.
- Paste the script into gcp_onboard.tf.
provider "google" {
    project = "accuknox-cnapp"
  }

  # Step 1: Create Custom Role
  resource "google_project_iam_custom_role" "custom_role" {
    project     = "accuknox-cnapp"
    role_id     = "terraform_gcp_onboard_role"
    title       = "Terraform GCP Onboard Role"
    description = "Custom role to allow getting IAM policy for storage buckets"
    permissions = ["storage.buckets.getIamPolicy"]
  }

  # Step 2: Create Service Account
  resource "google_service_account" "service_account" {
    account_id   = "terraform-gcp-onboard"
    display_name = "Terraform GCP Onboard"
  }

  # Step 3: Assign roles to the service account
  resource "google_project_iam_member" "viewer_role" {
    project = "accuknox-cnapp"
    role    = "roles/viewer"
    member  = "serviceAccount:${google_service_account.service_account.email}"
  }

  # Step 4: Assign custom role to the service account
  resource "google_project_iam_member" "custom_role_assignment" {
    project = "accuknox-cnapp"
    role    = google_project_iam_custom_role.custom_role.name
    member  = "serviceAccount:${google_service_account.service_account.email}"
  }
  # Step 5: Generate JSON key for service account
  resource "null_resource" "save_key_locally" {
    depends_on = [google_service_account.service_account]
    provisioner "local-exec" {
      command = <<EOF
  gcloud iam service-accounts keys create service_account_key.json --iam-account=${google_service_account.service_account.email} --format=json
  EOF
    }
  }
  output "key_file_path" {
    value = "service_account_key.json"
  }
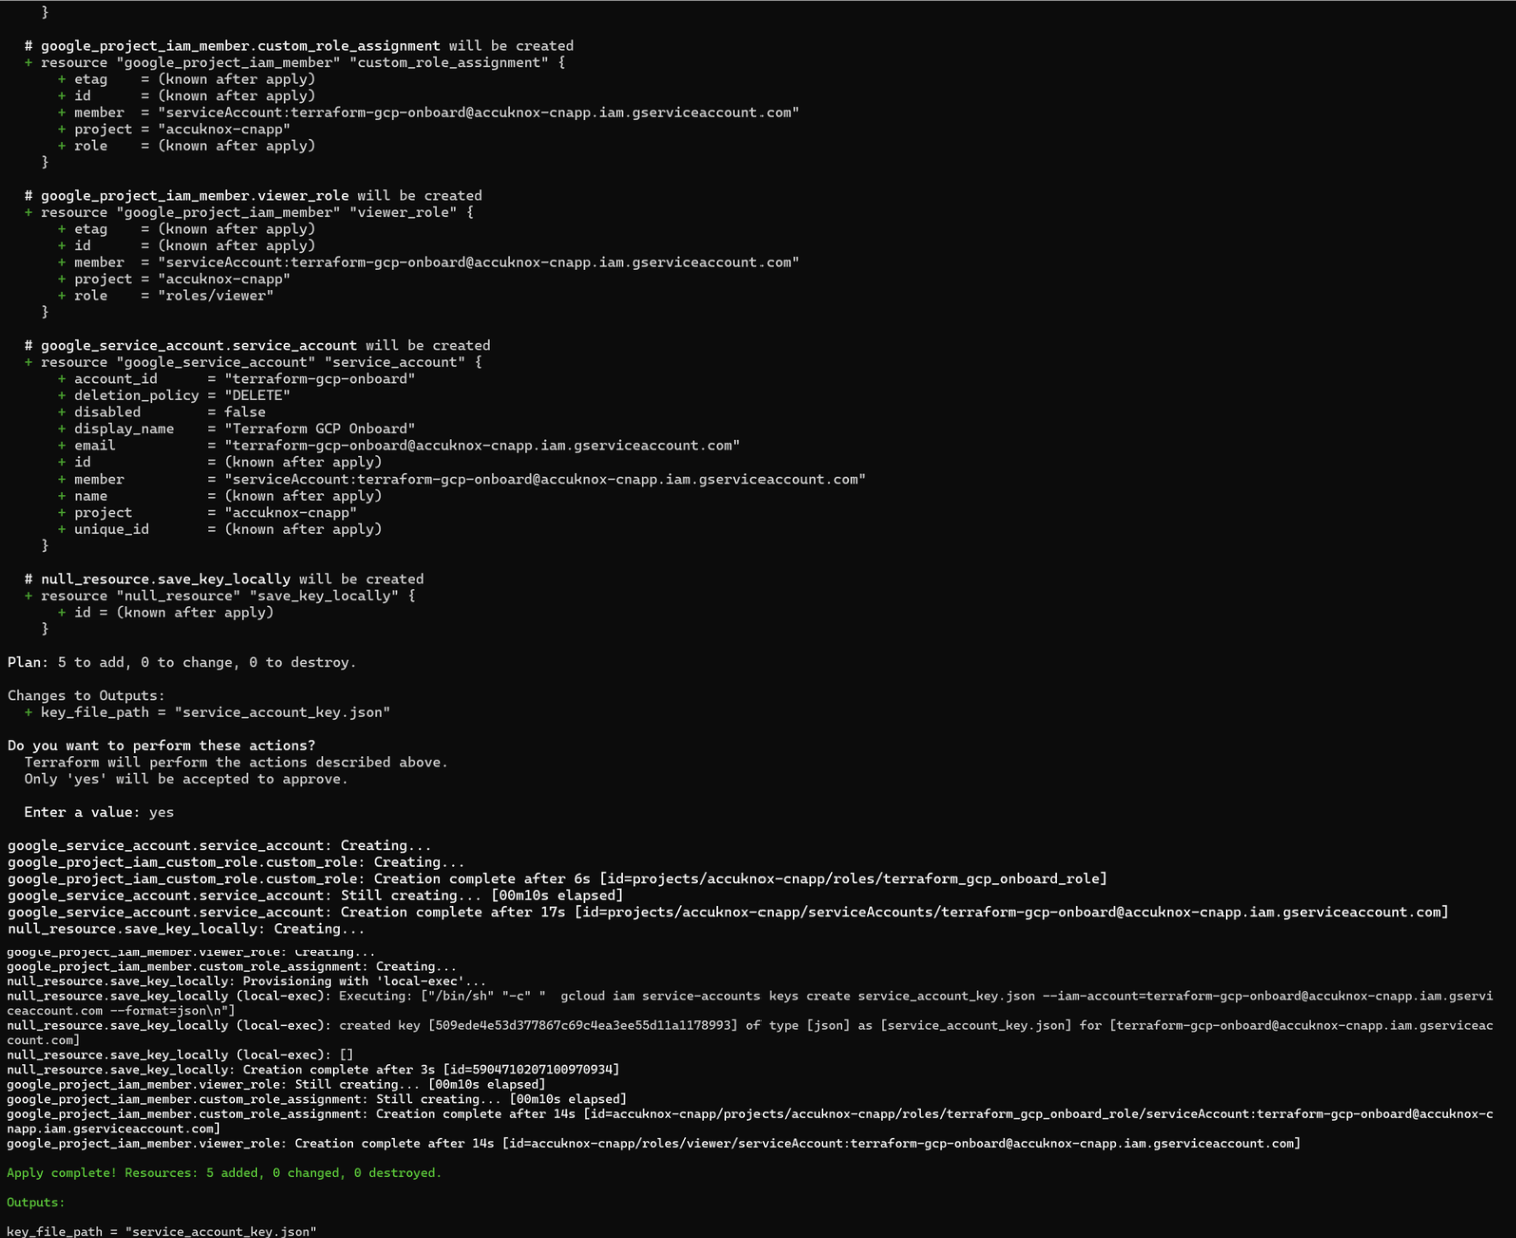
Step 4: Apply the Terraform Configuration
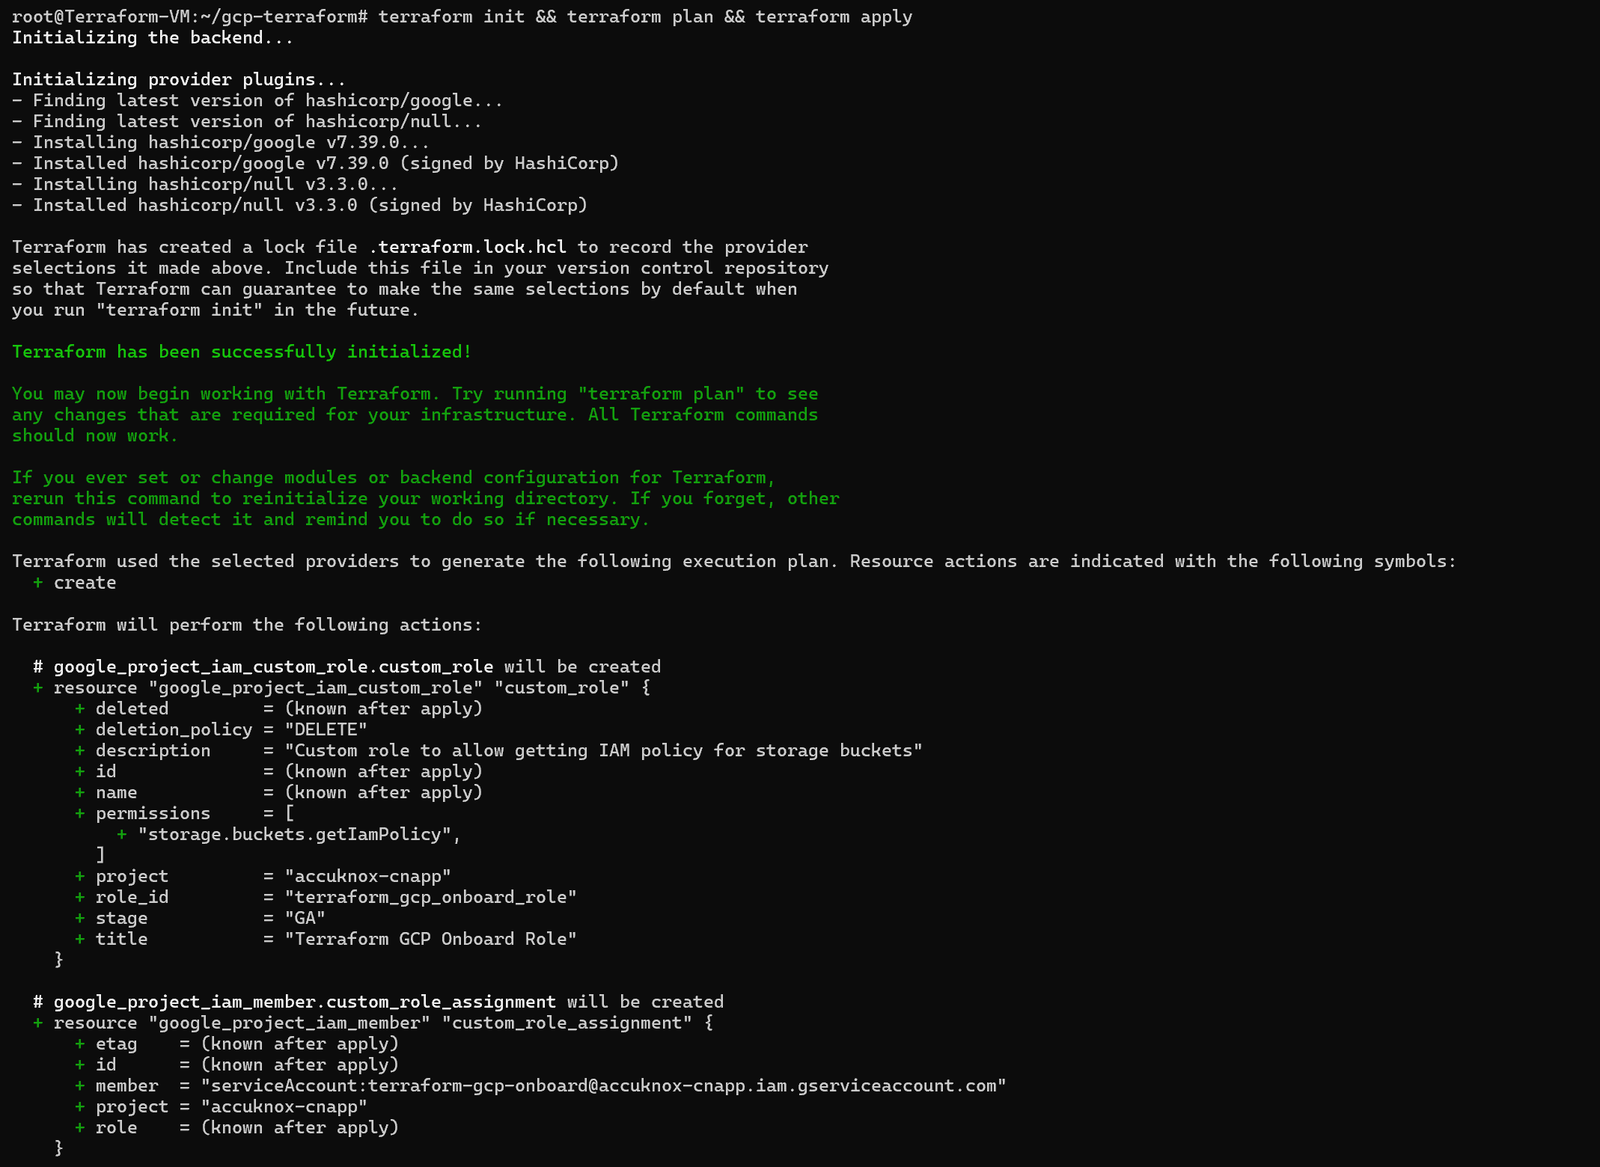
Open a terminal in the directory containing gcp_onboard.tf and run:
terraform init
terraform plan
terraform apply
Terraform creates:
- Service Account
- IAM role assignments
- Custom IAM roles
- service_account_key.json
Step 5: Retrieve the Generated Credentials
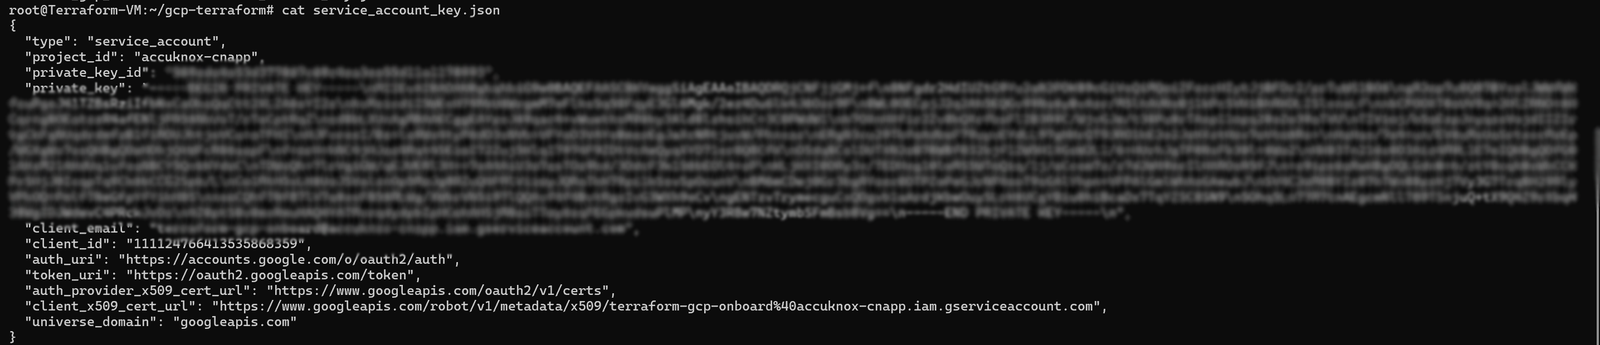
After the Terraform configuration is applied, Copy the following values from the generated credentials file:
- Client Email
- Private Key (JSON)
Step 6: Connect the GCP Project
Return to the AccuKnox onboarding page.
Enter
- Client Email.
- Private Key (JSON).
- Region.
- Scan Asset Type.
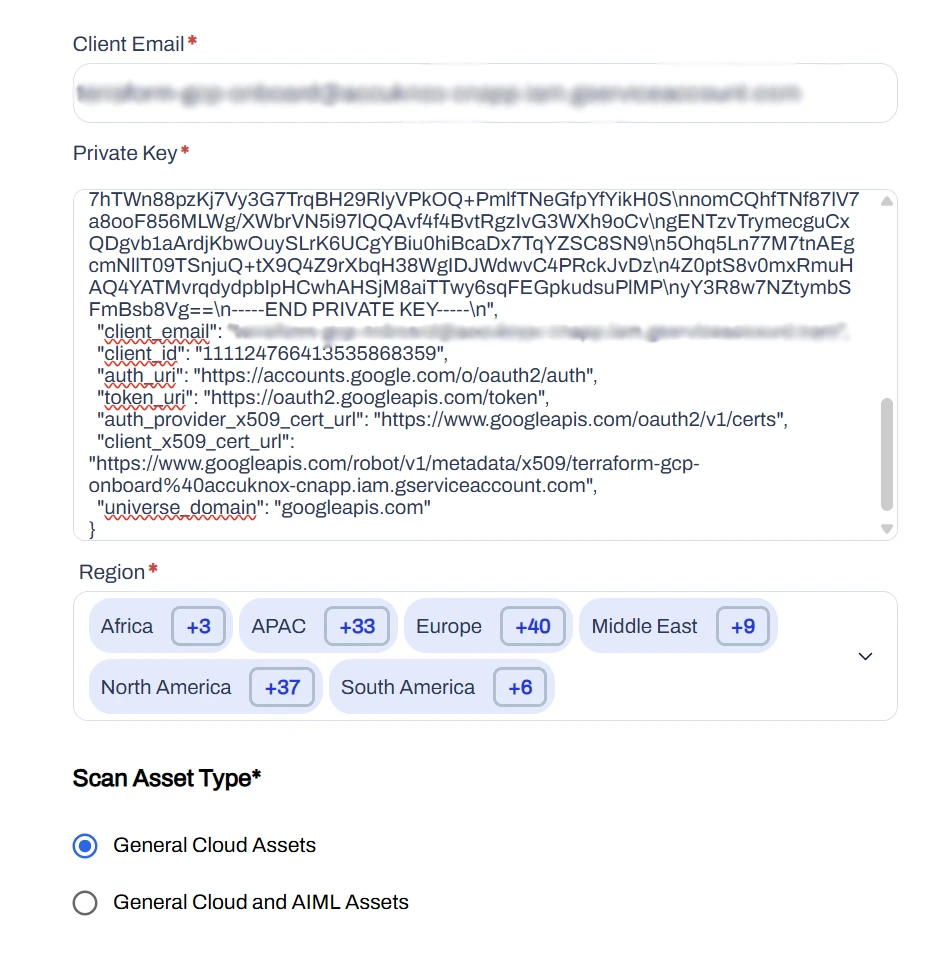
Click Connect.
Step 7: Verification
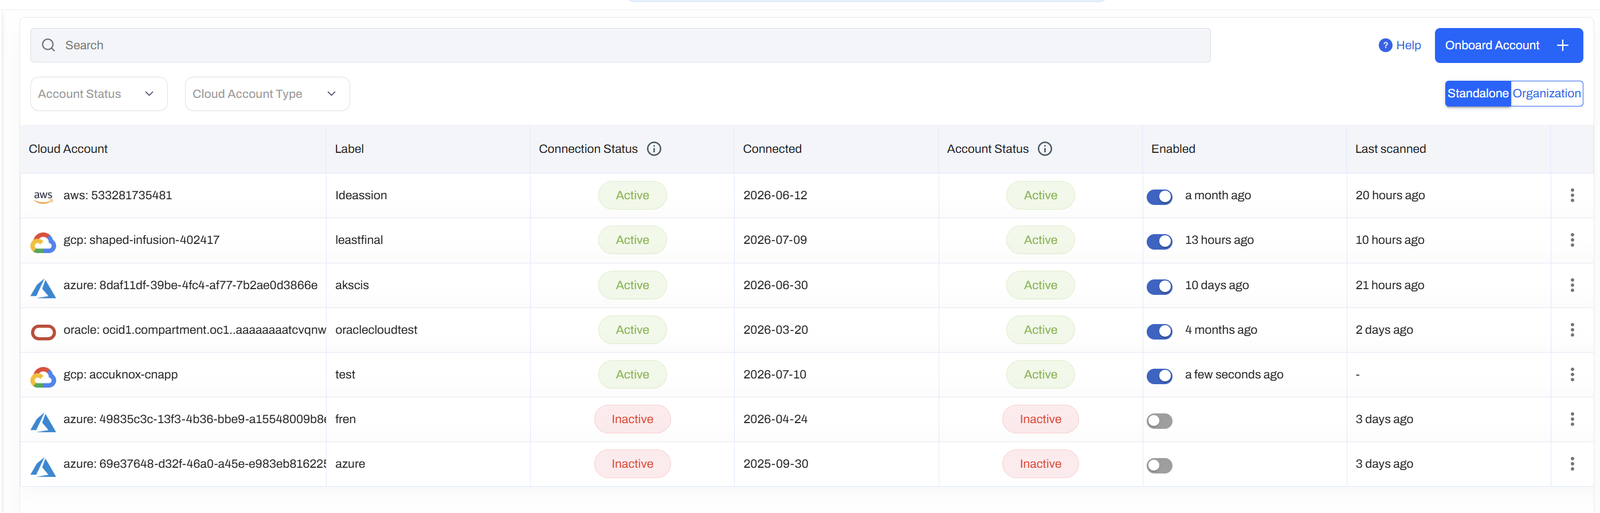
Verify that the GCP project is listed under Cloud Accounts.