TOTP Authenticator
The TOTP secret engine generates time-based credentials that follow the TOTP standard. It also creates new keys and validates the codes those keys produce.
TOTP works in two modes:
- As a generator, it replaces an app such as Google Authenticator. Secrets Manager holds the shared secret and produces the rolling 6-digit codes.
- As a provider, it validates codes that a user submits, the same way a sign-in service does.
The generator mode adds security that a phone app cannot give you. Policies guard who may produce a code, and Secrets Manager audits every request. That makes it a good fit for shared team accounts, such as a cloud root account or a shared CI account.
The Access Model
TOTP has three privileged operations. Keep them separate.
| Operation | Path | Capability |
|---|---|---|
| Manage keys (create, rotate, delete) | totp/keys/* |
create, read, update, delete, list |
| Generate a code | totp/code/* (read) |
read |
| Validate a submitted code | totp/code/<name> (write) |
create, update |
read on totp/code/* can fabricate codes
Anyone who can read that path can produce a valid one-time password for the account. That defeats the point of MFA. Grant read on totp/code/* only to the identities that must generate codes, and audit it.
Before You Start
You need a running Secrets Manager instance. See the Deployment Guide.
Run every command in this guide inside the server pod:
kubectl exec -n accuknox vault-accuknoxsecretmanager-0 -- vault <command...>
Step 1: Enable the Secret Engine
- Open the Secrets Manager UI at
http://localhost:8200/ui/vault/. - Under Secrets Engines, select TOTP.
- Set Path to
totp. - Click Enable Engine.
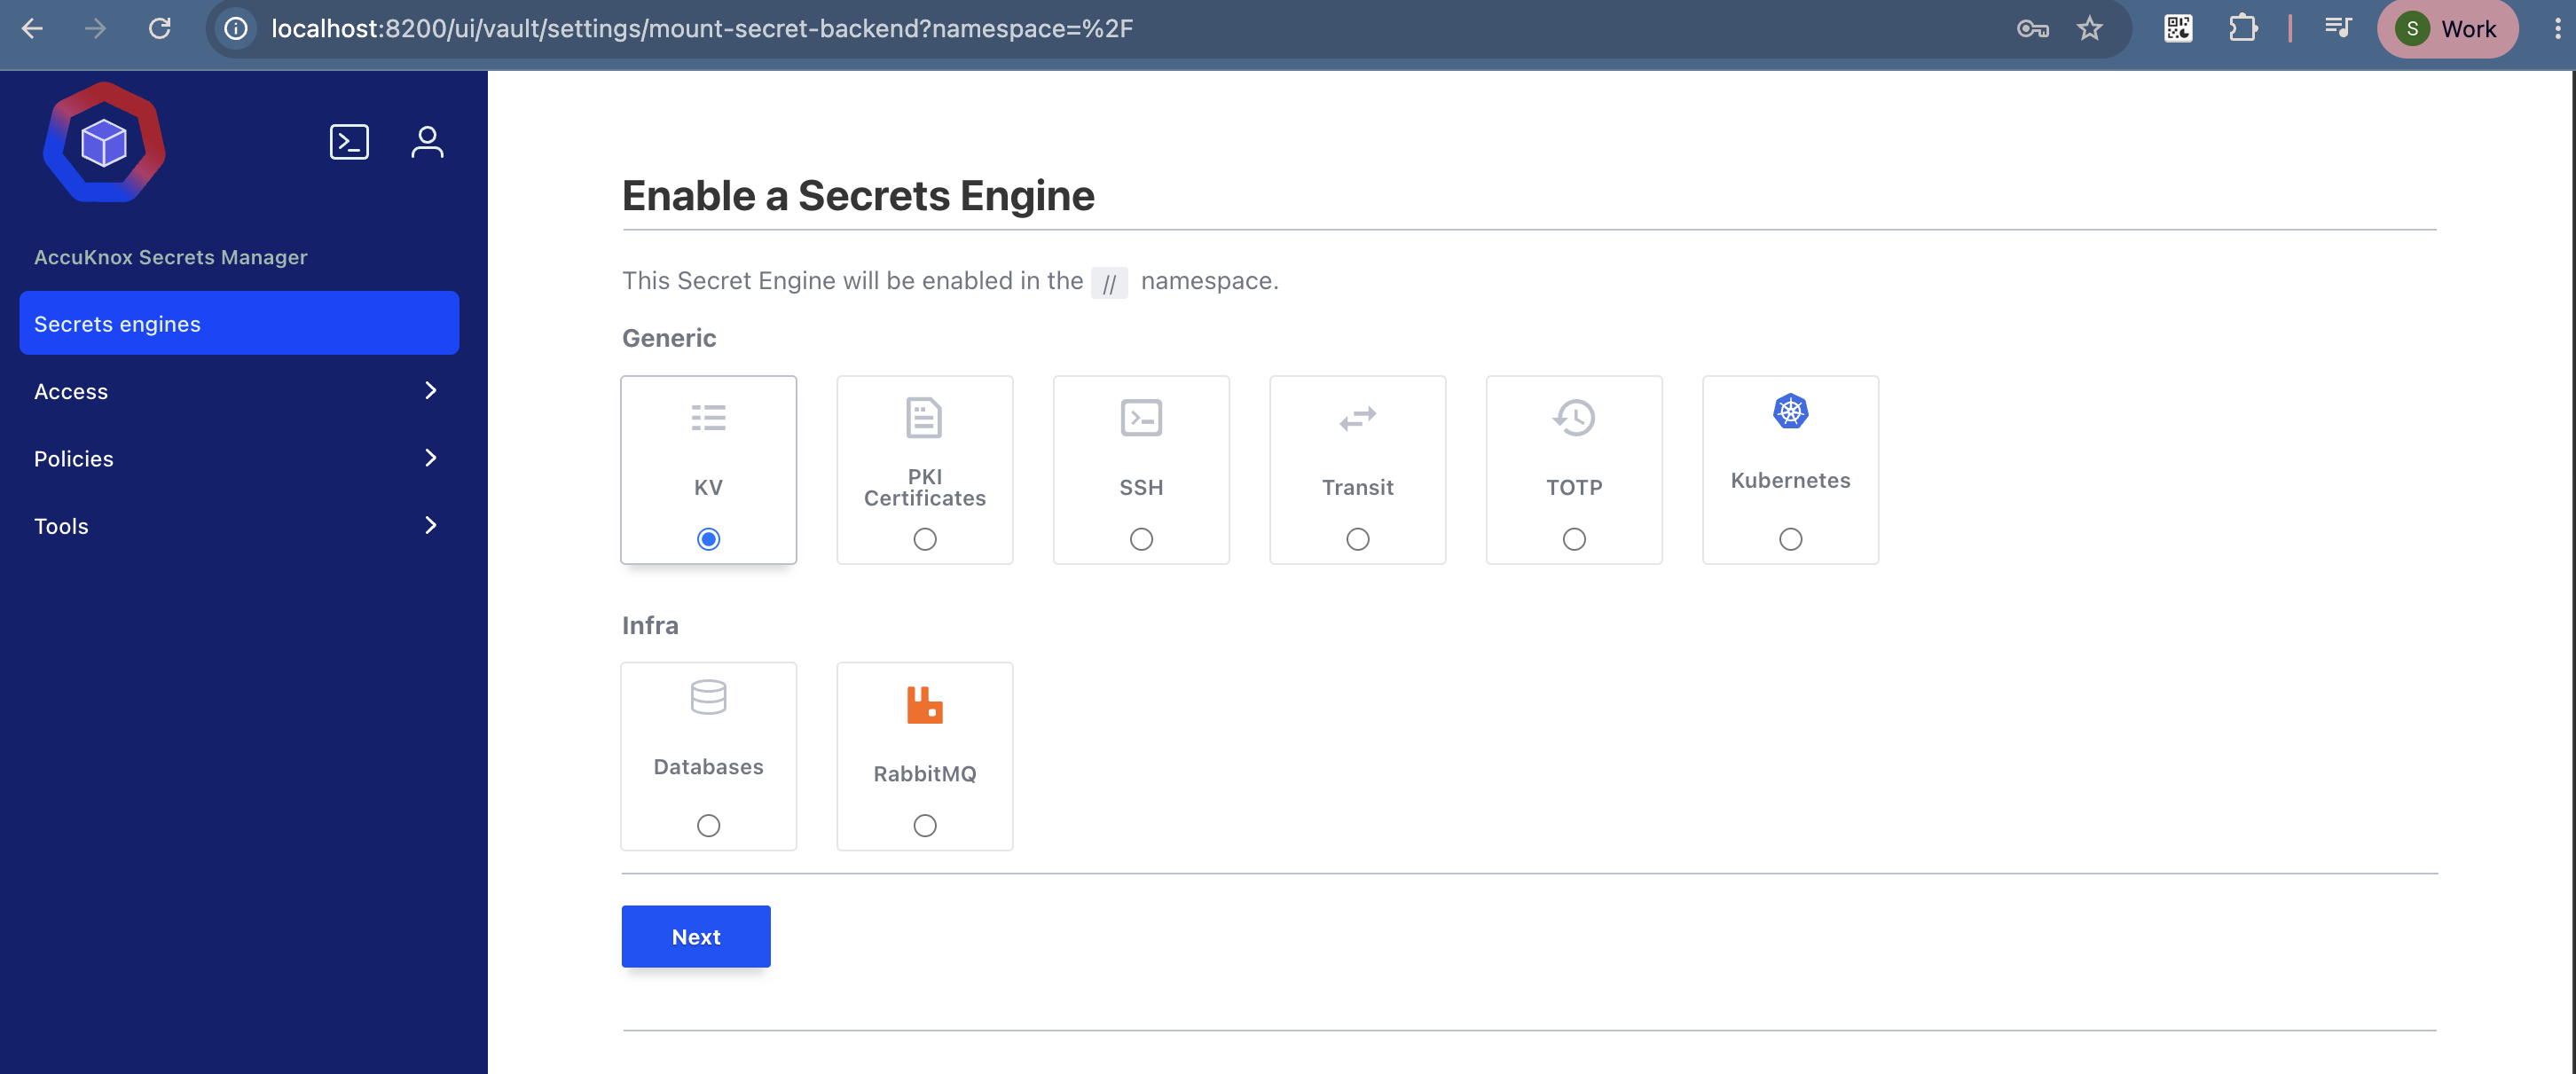
totp/ now appears in your Secrets list. Clicking it shows an empty engine, because the TOTP engine has no UI forms. The next steps use the CLI.
Step 2: Create the Portal User
This example manages the MFA secret for an AccuKnox portal user.
In the AccuKnox portal, go to Settings → User Management and click + Add user.
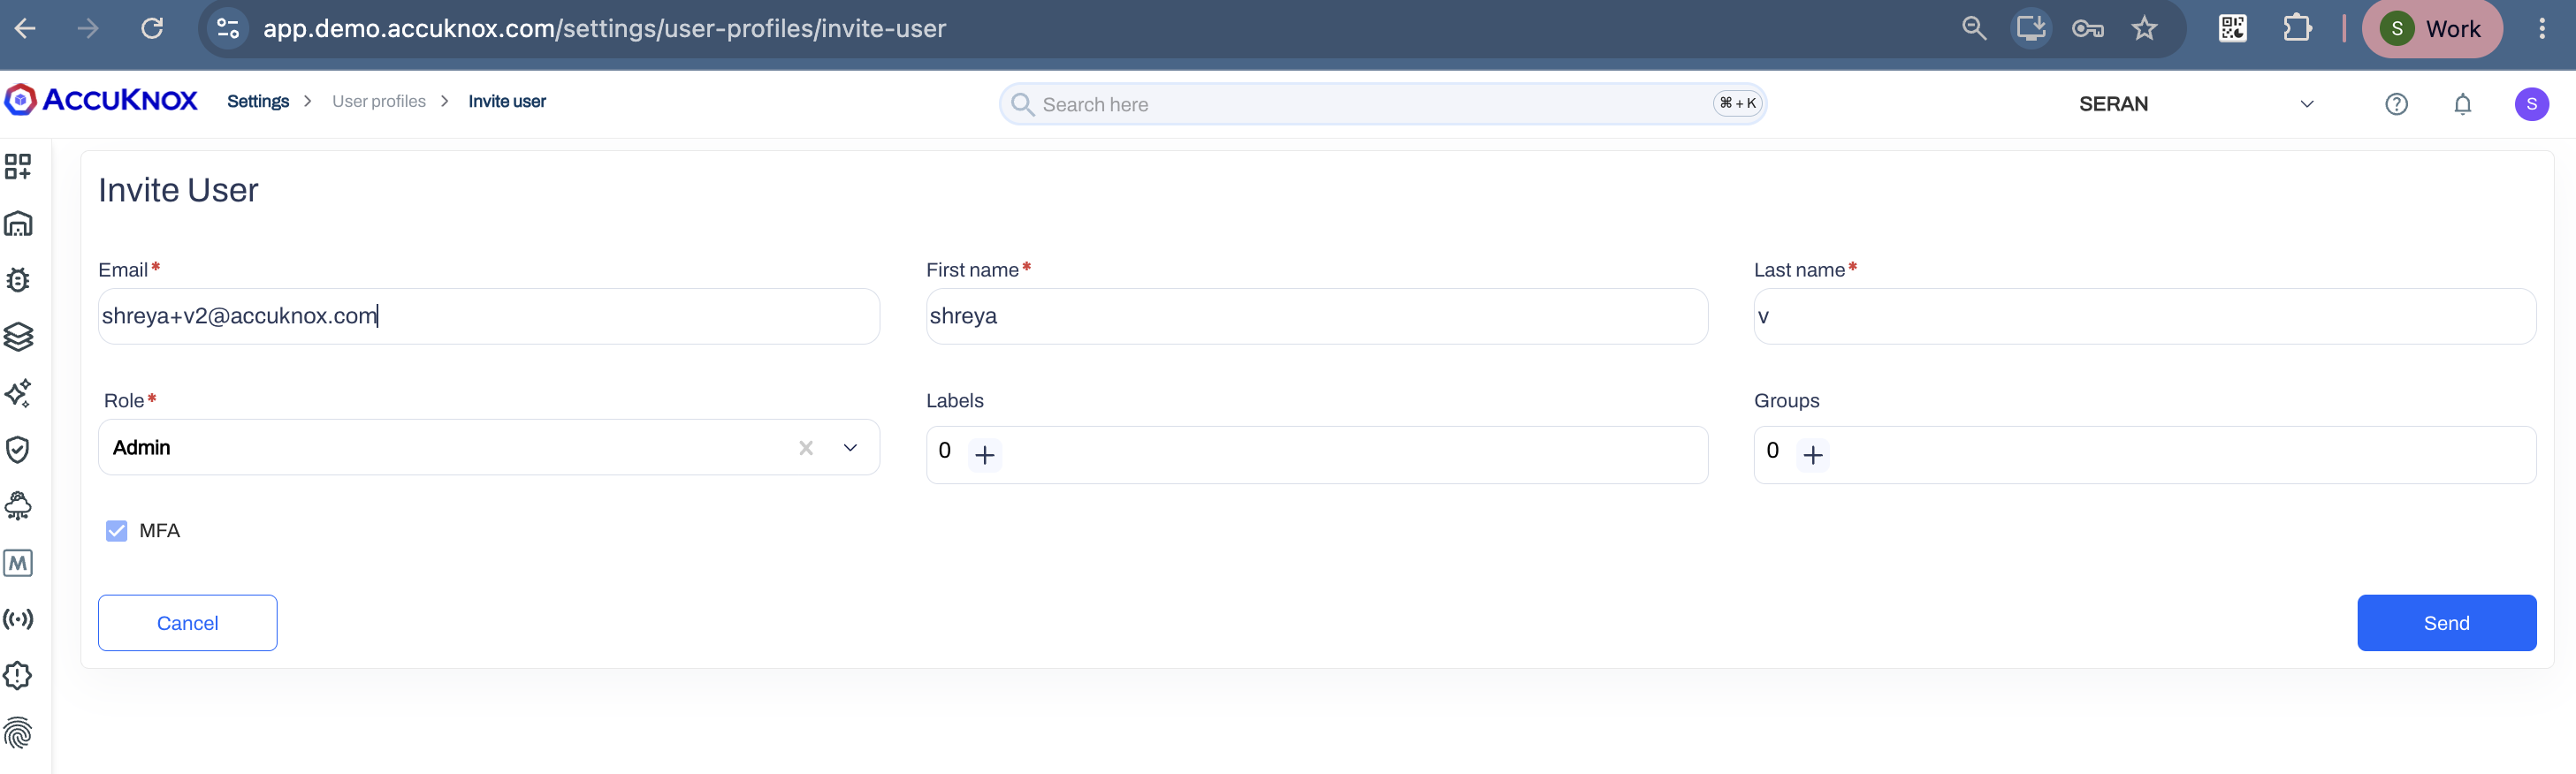
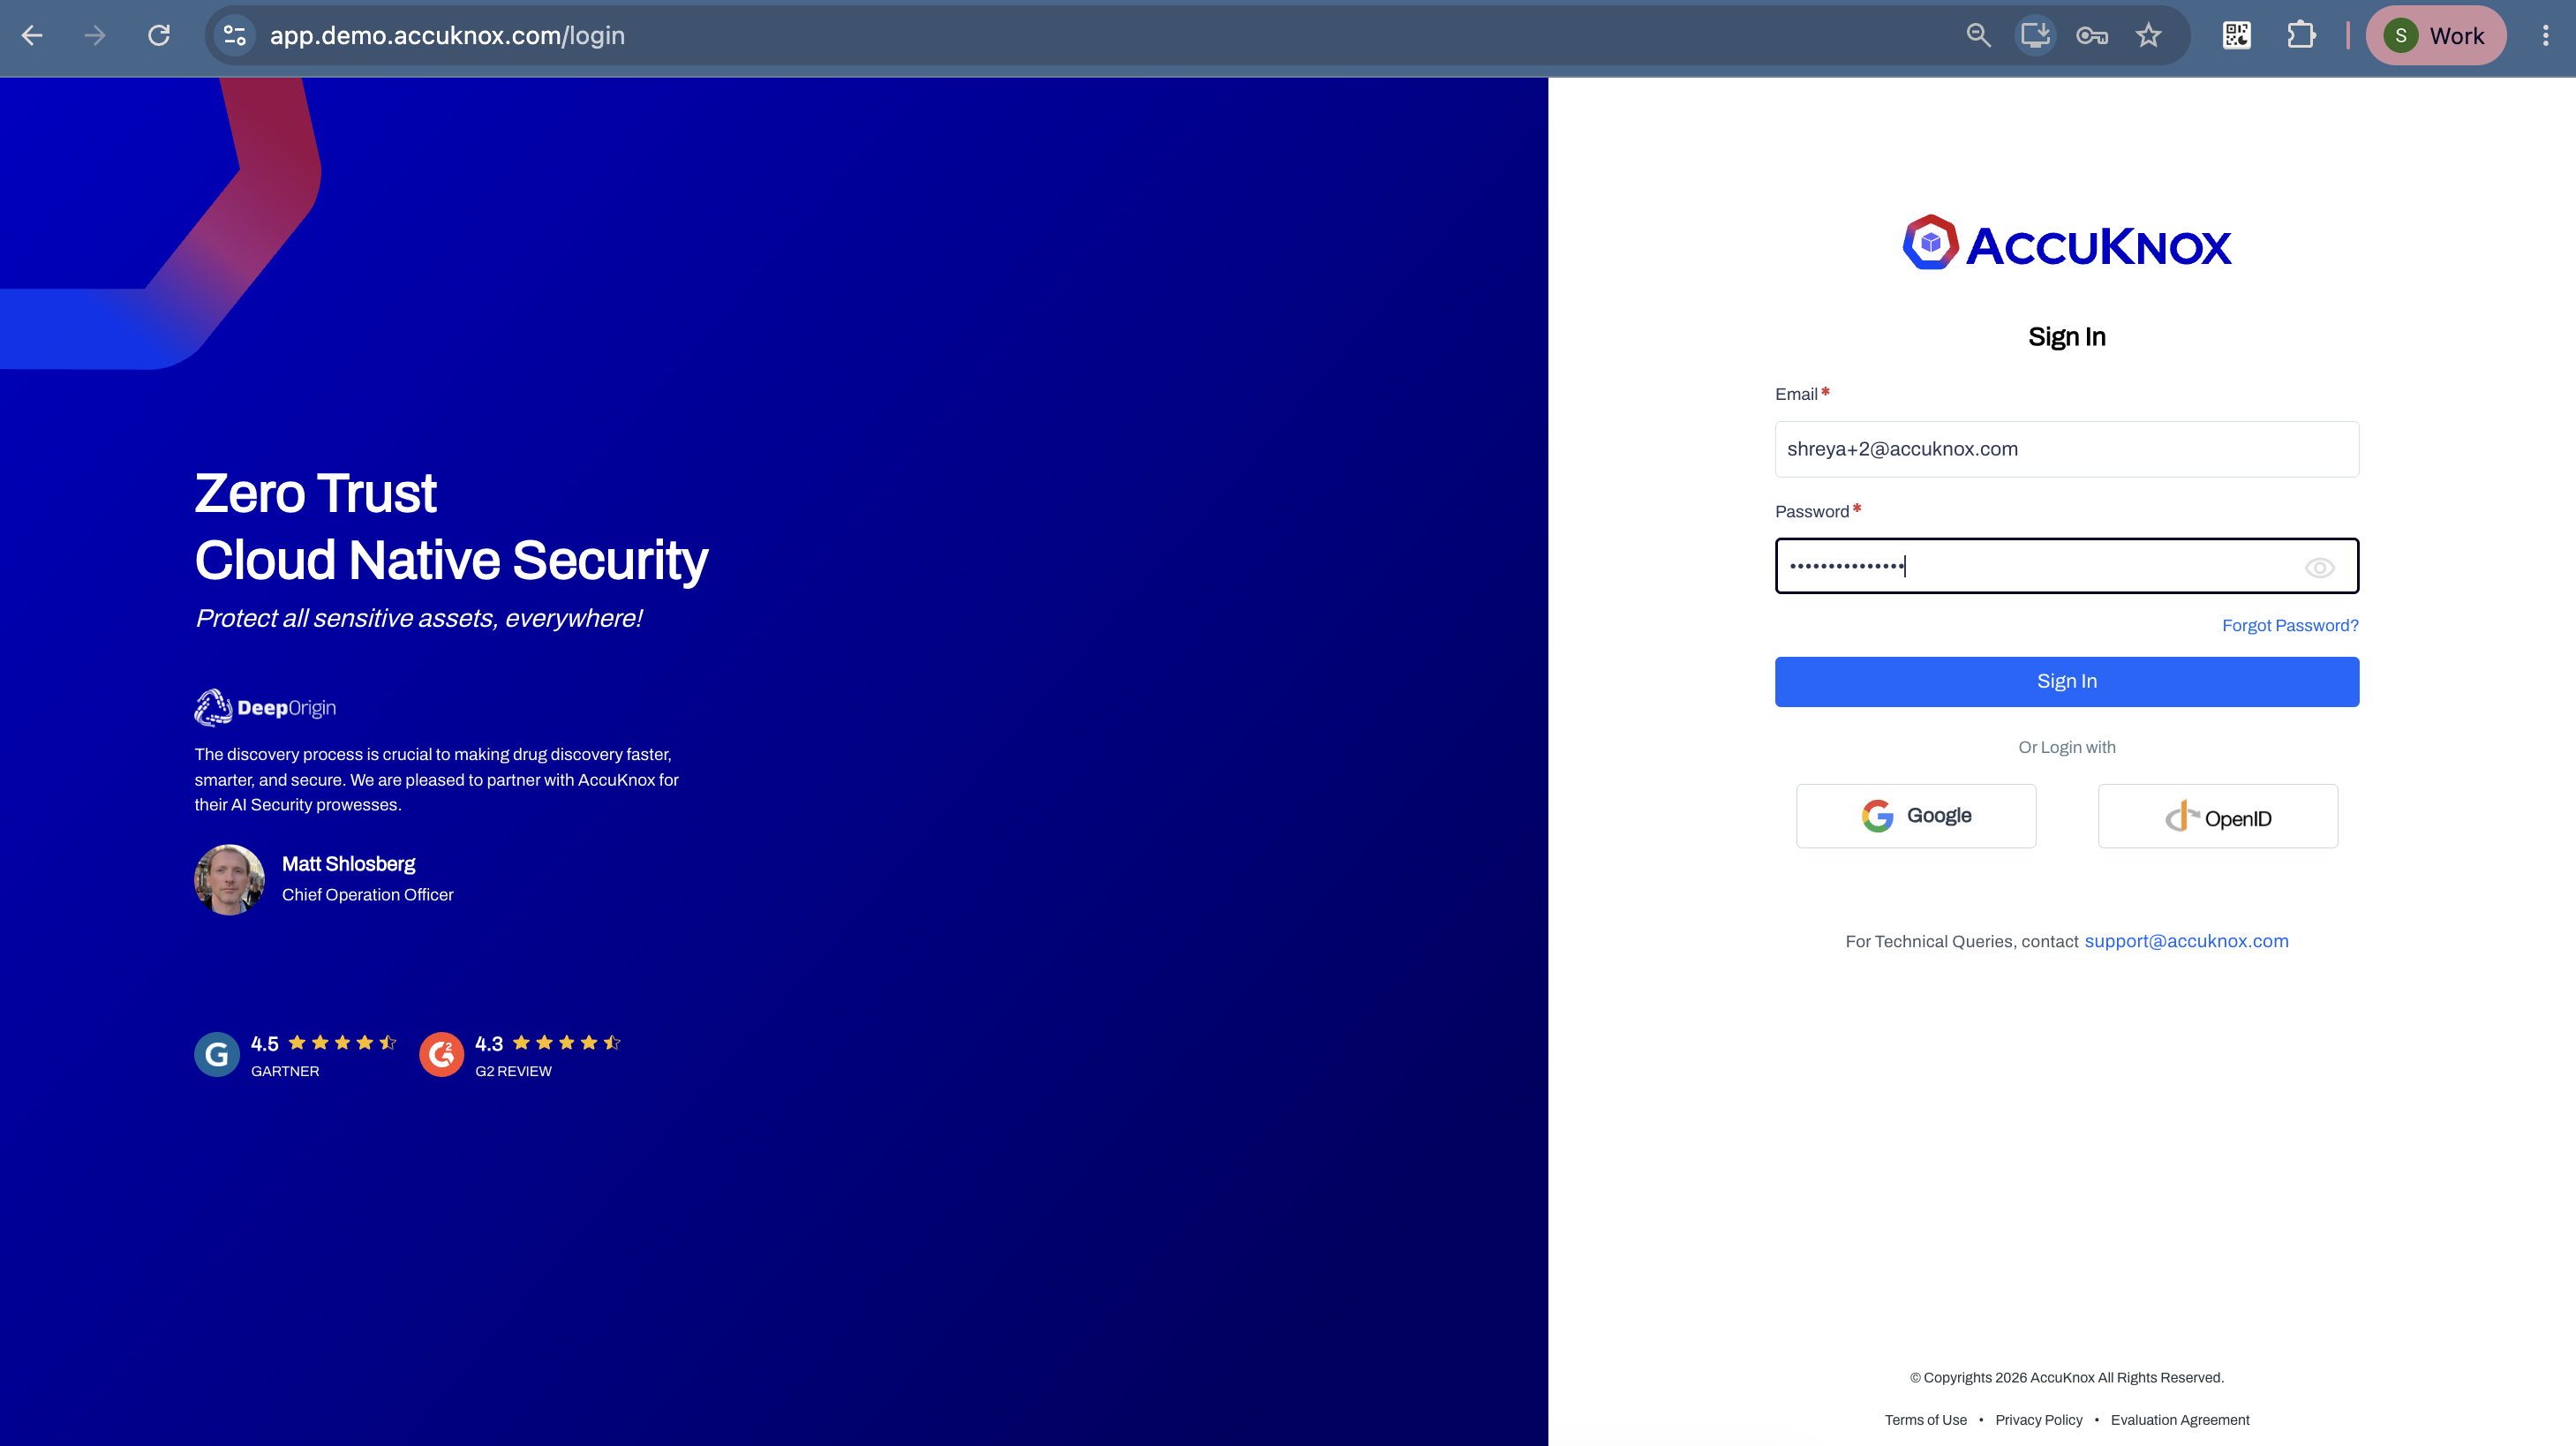
Sign in as that user with the username and password, then click Sign in to generate the MFA secret key.
The portal shows a QR code and a manual-entry secret key. Copy the secret key now. The portal shows it one time only.
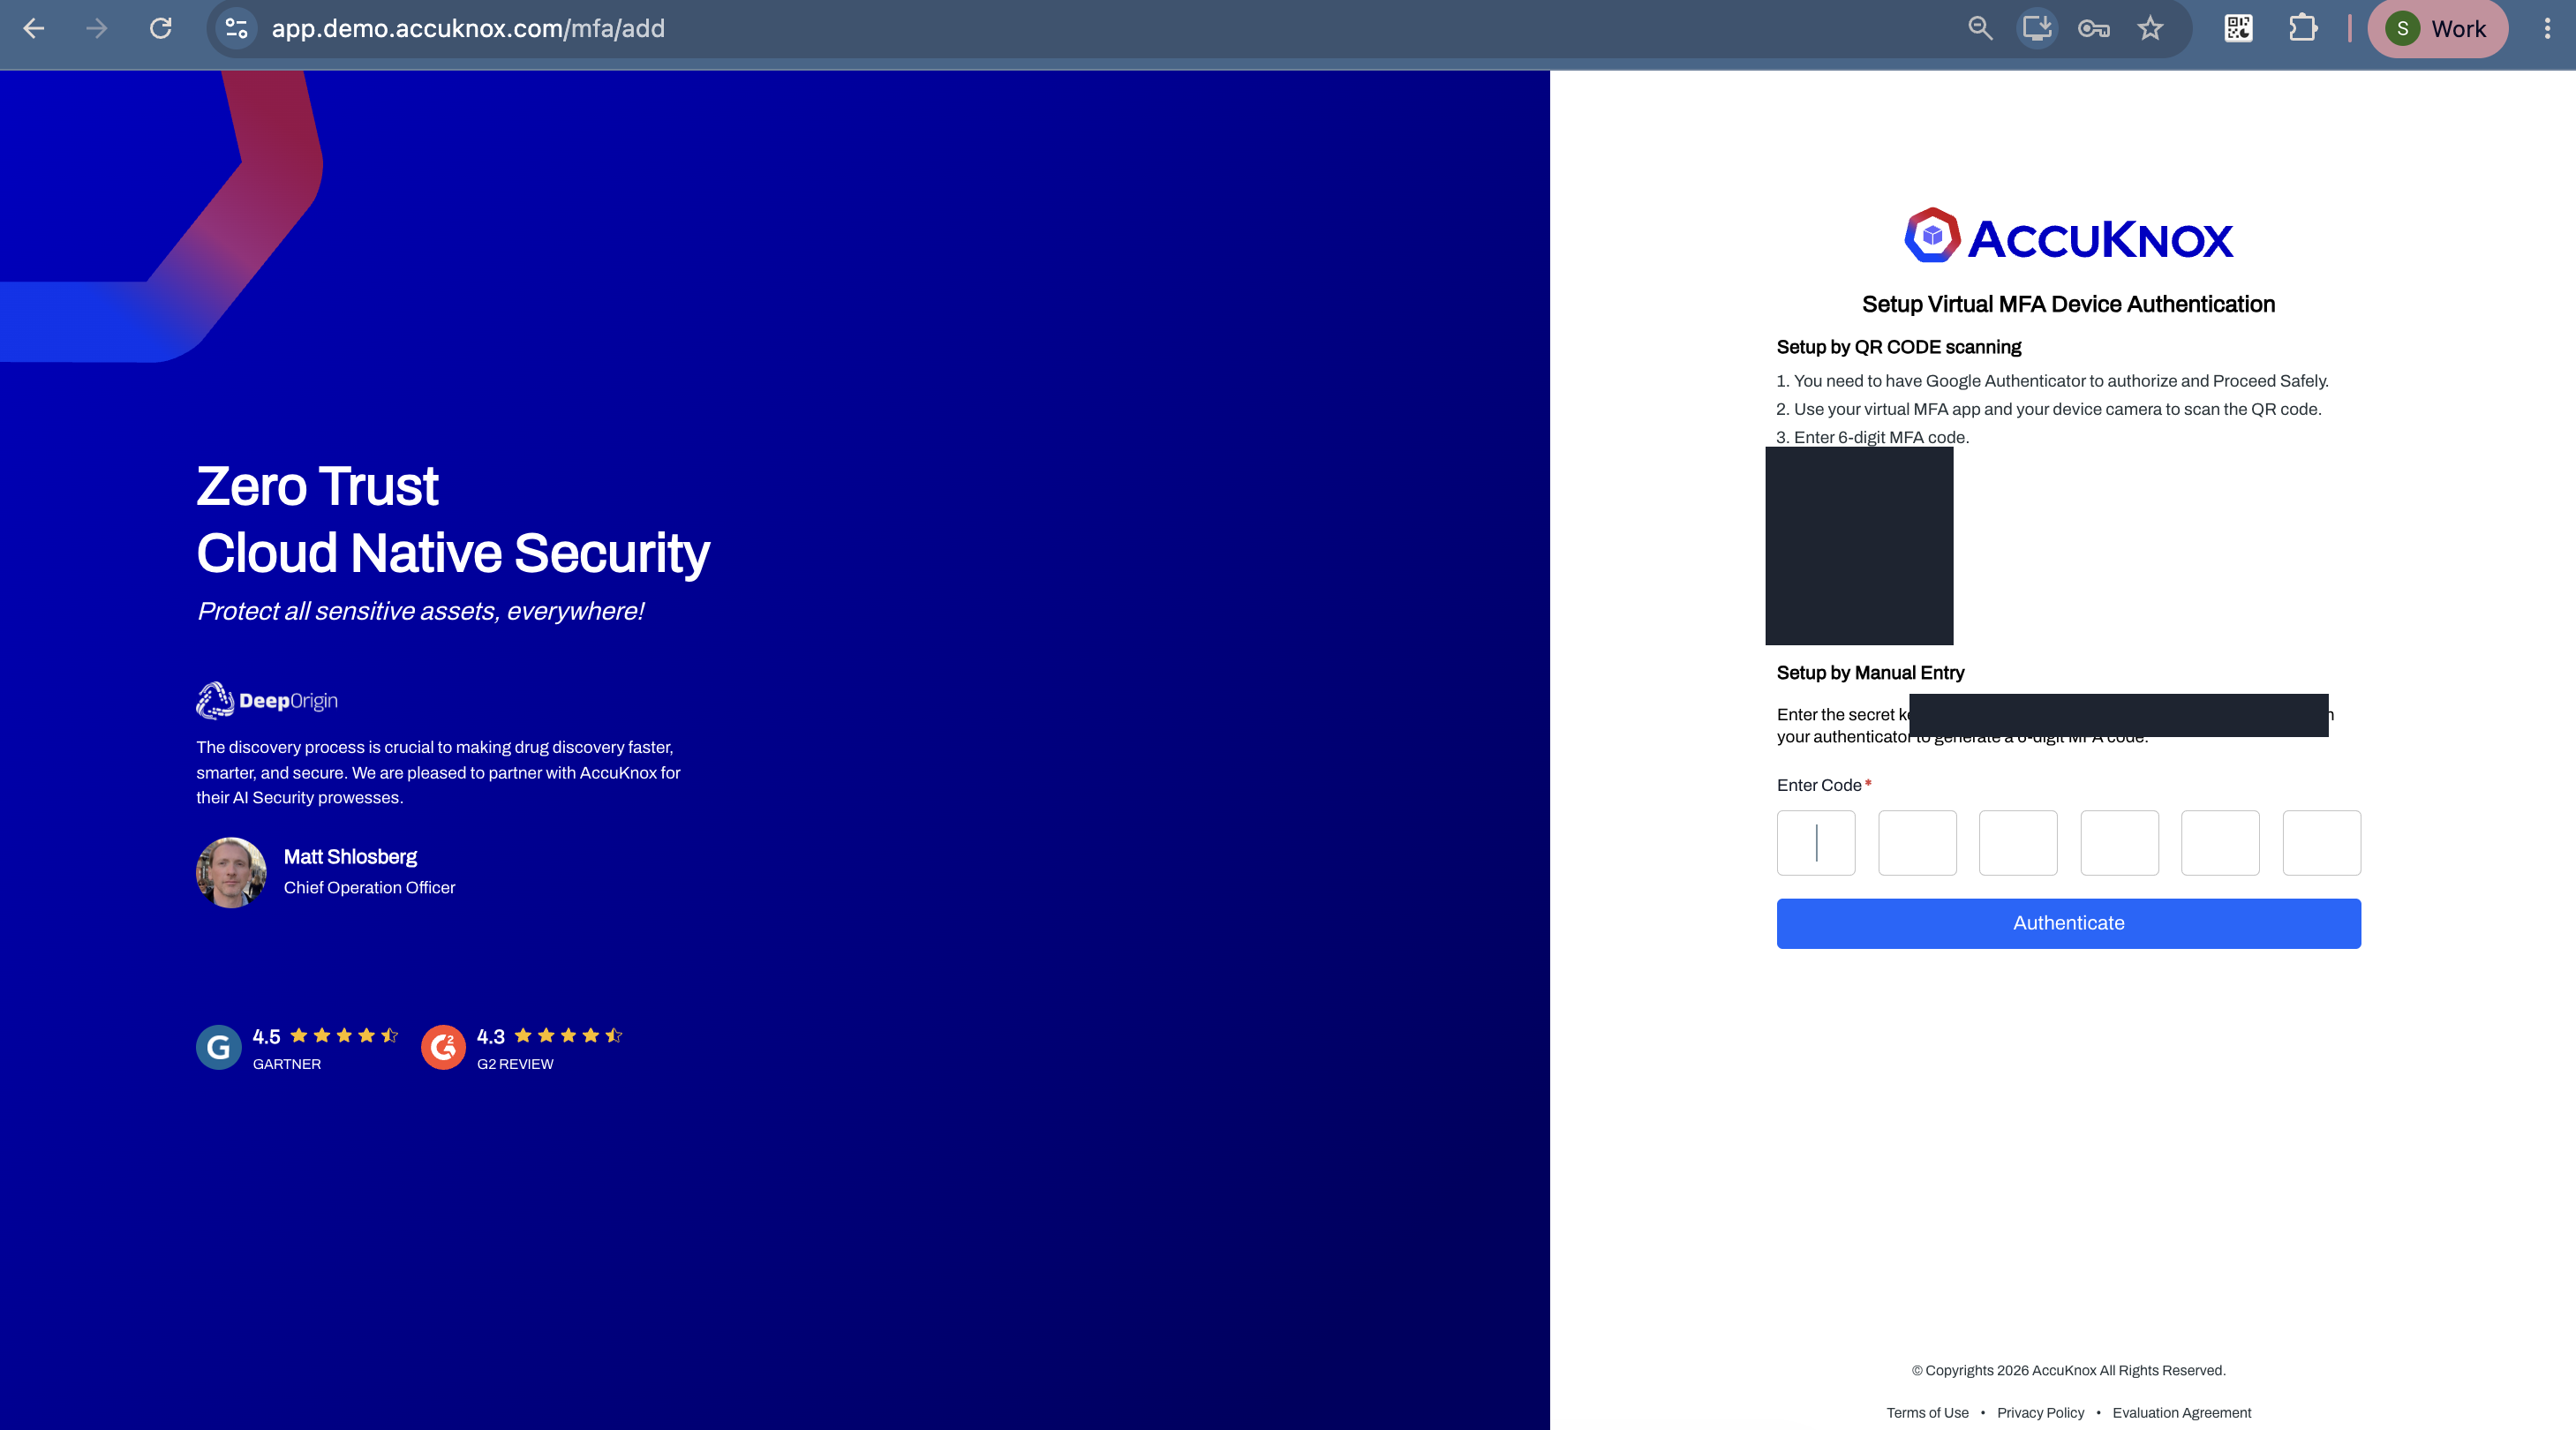
Treat the MFA secret key as a credential
Anyone who holds this key can generate valid codes for the account. Move it into Secrets Manager and delete every other copy.
Step 3: Store the Key in Secrets Manager
Write the key as an otpauth:// URL:
kubectl exec -n accuknox vault-accuknoxsecretmanager-0 -- \
  vault write totp/keys/accuknox-demo \
  url="otpauth://totp/Accuknox-Demo:you@demo.com?secret=<mfa-secret-key>&issuer=Accuknox-Demo"

Repeat the command with a different key name for each account you manage.
List the keys to confirm the write:
kubectl exec -n accuknox vault-accuknoxsecretmanager-0 -- vault list totp/keys

Step 4: Generate a Code
kubectl exec -n accuknox vault-accuknoxsecretmanager-0 -- vault read totp/code/accuknox-demo
Key     Value
---     -----
code    523844

The code rotates every 30 seconds. Use it right away.
Step 5: Sign In with the Code
Type the 6-digit code into the portal and click Authenticate.
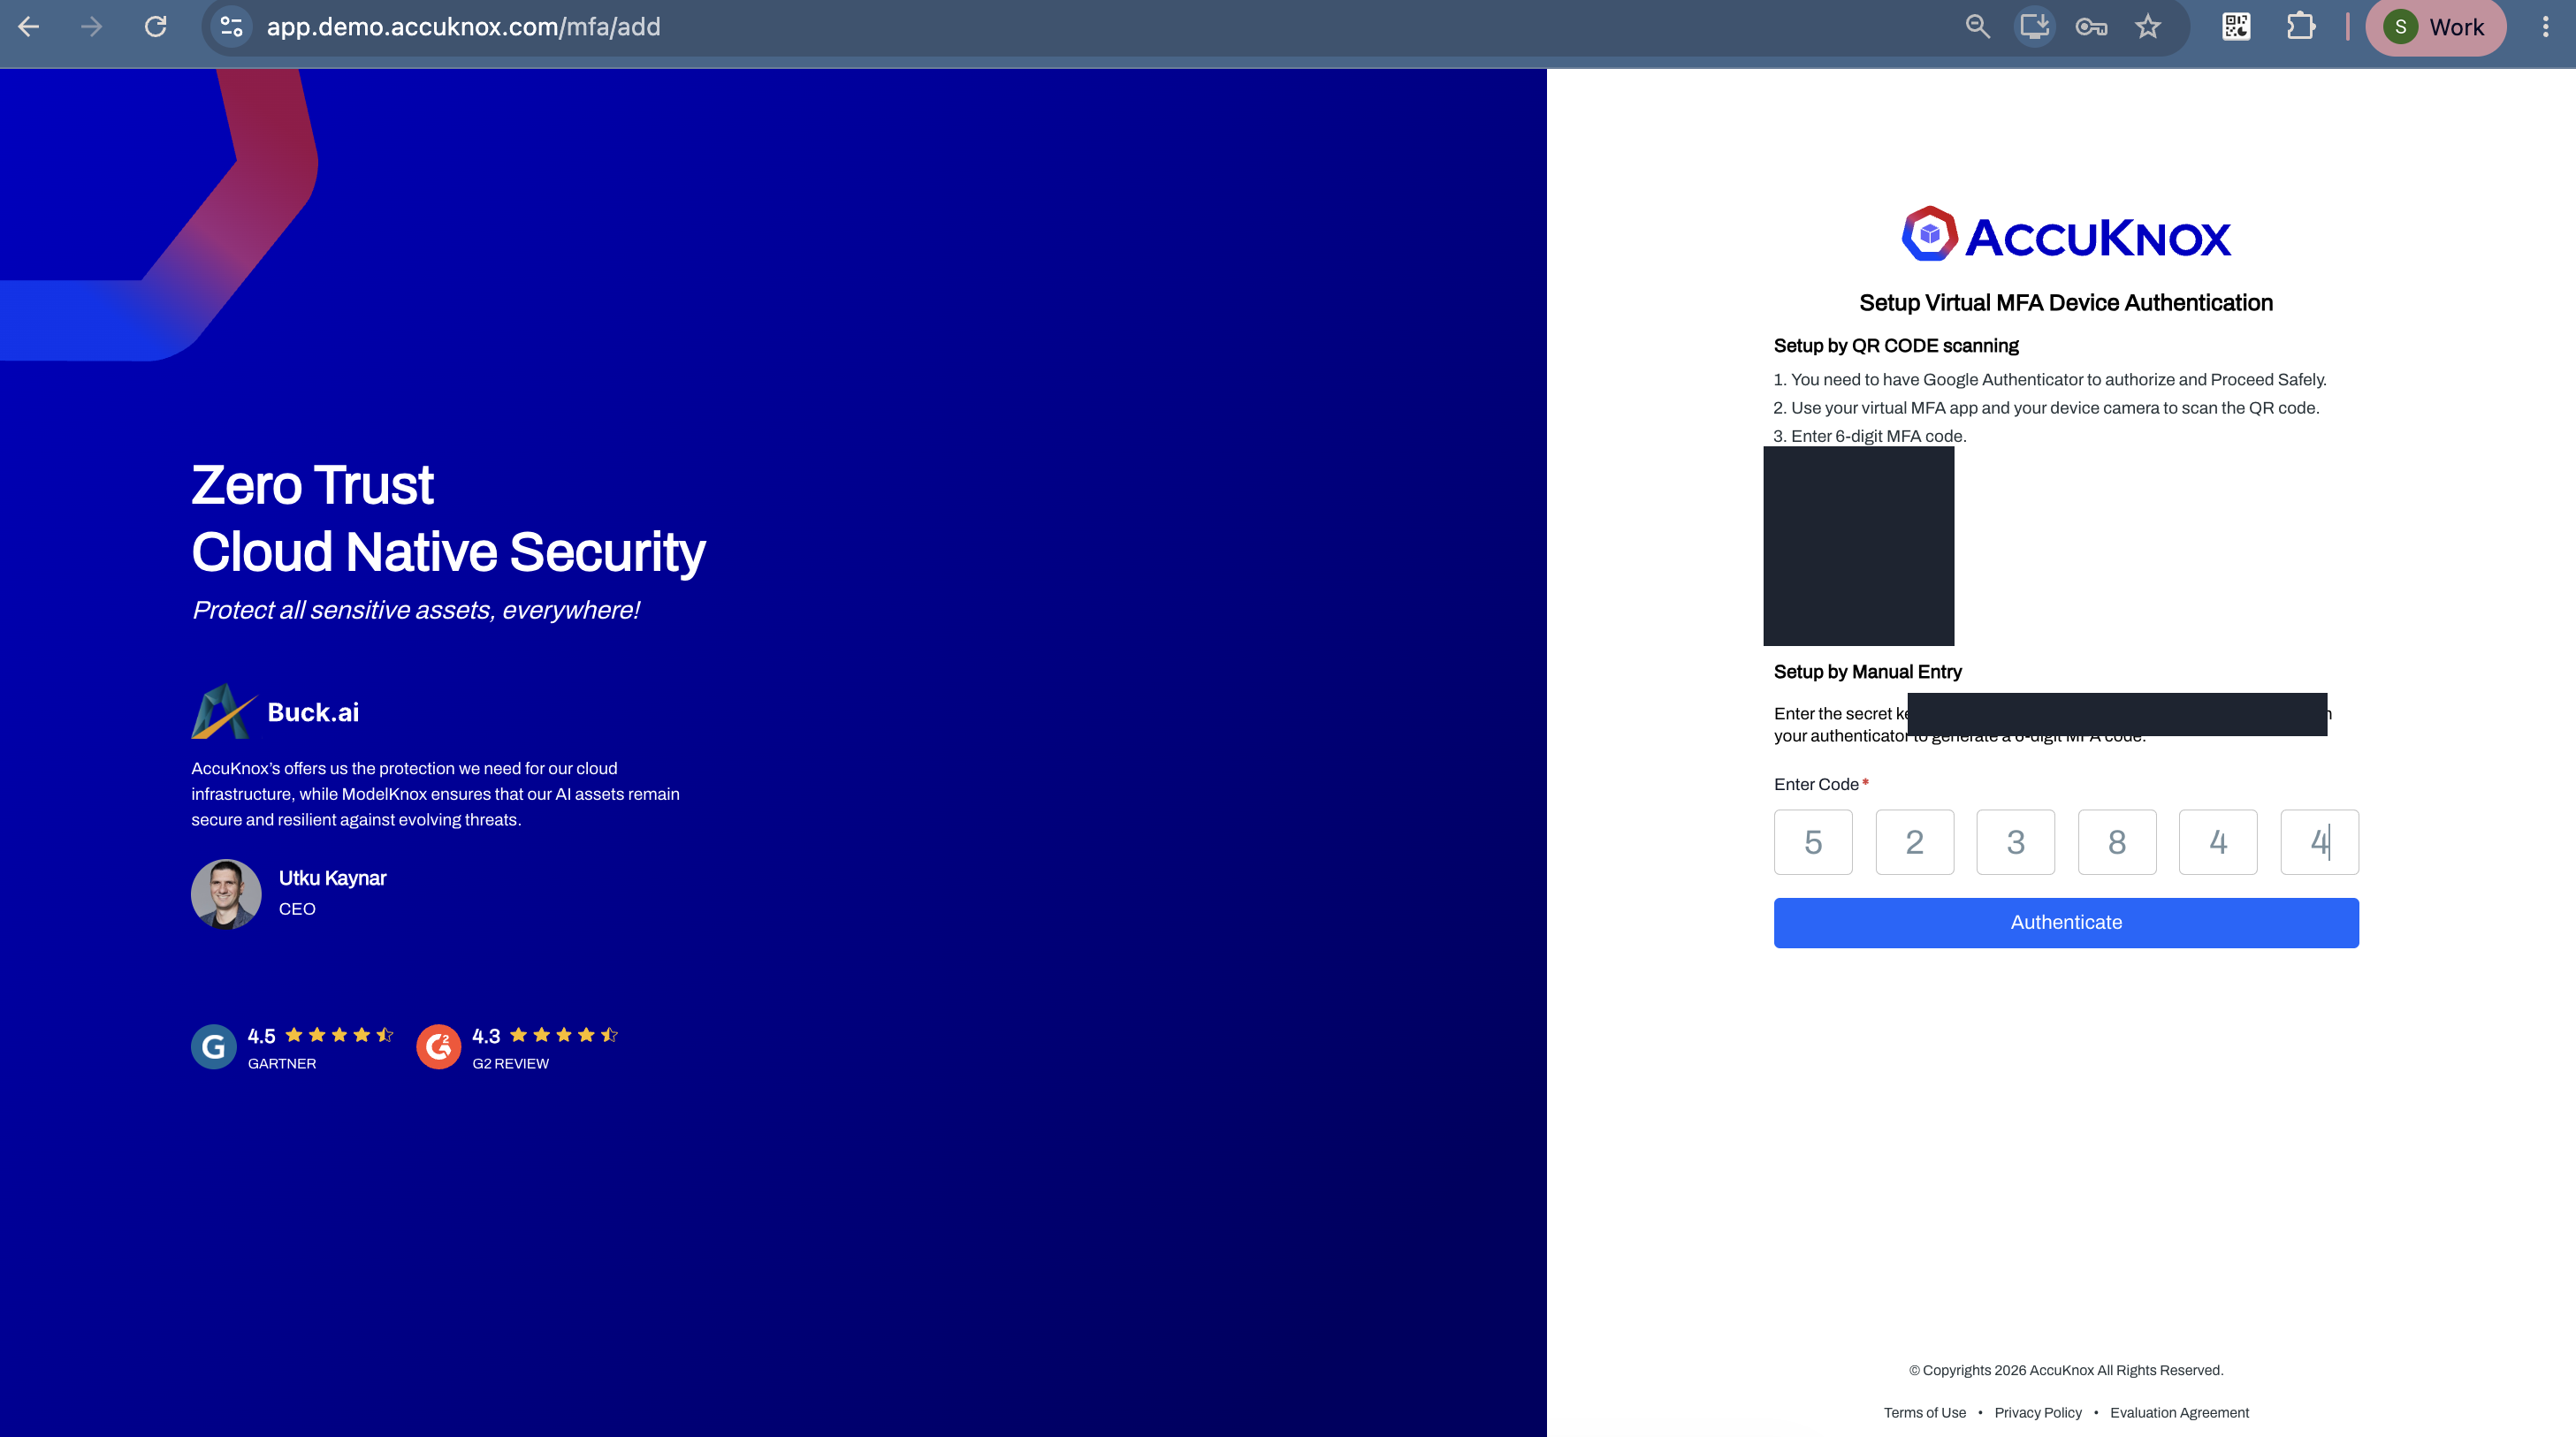
The portal accepts the code and asks the new user to set a password.
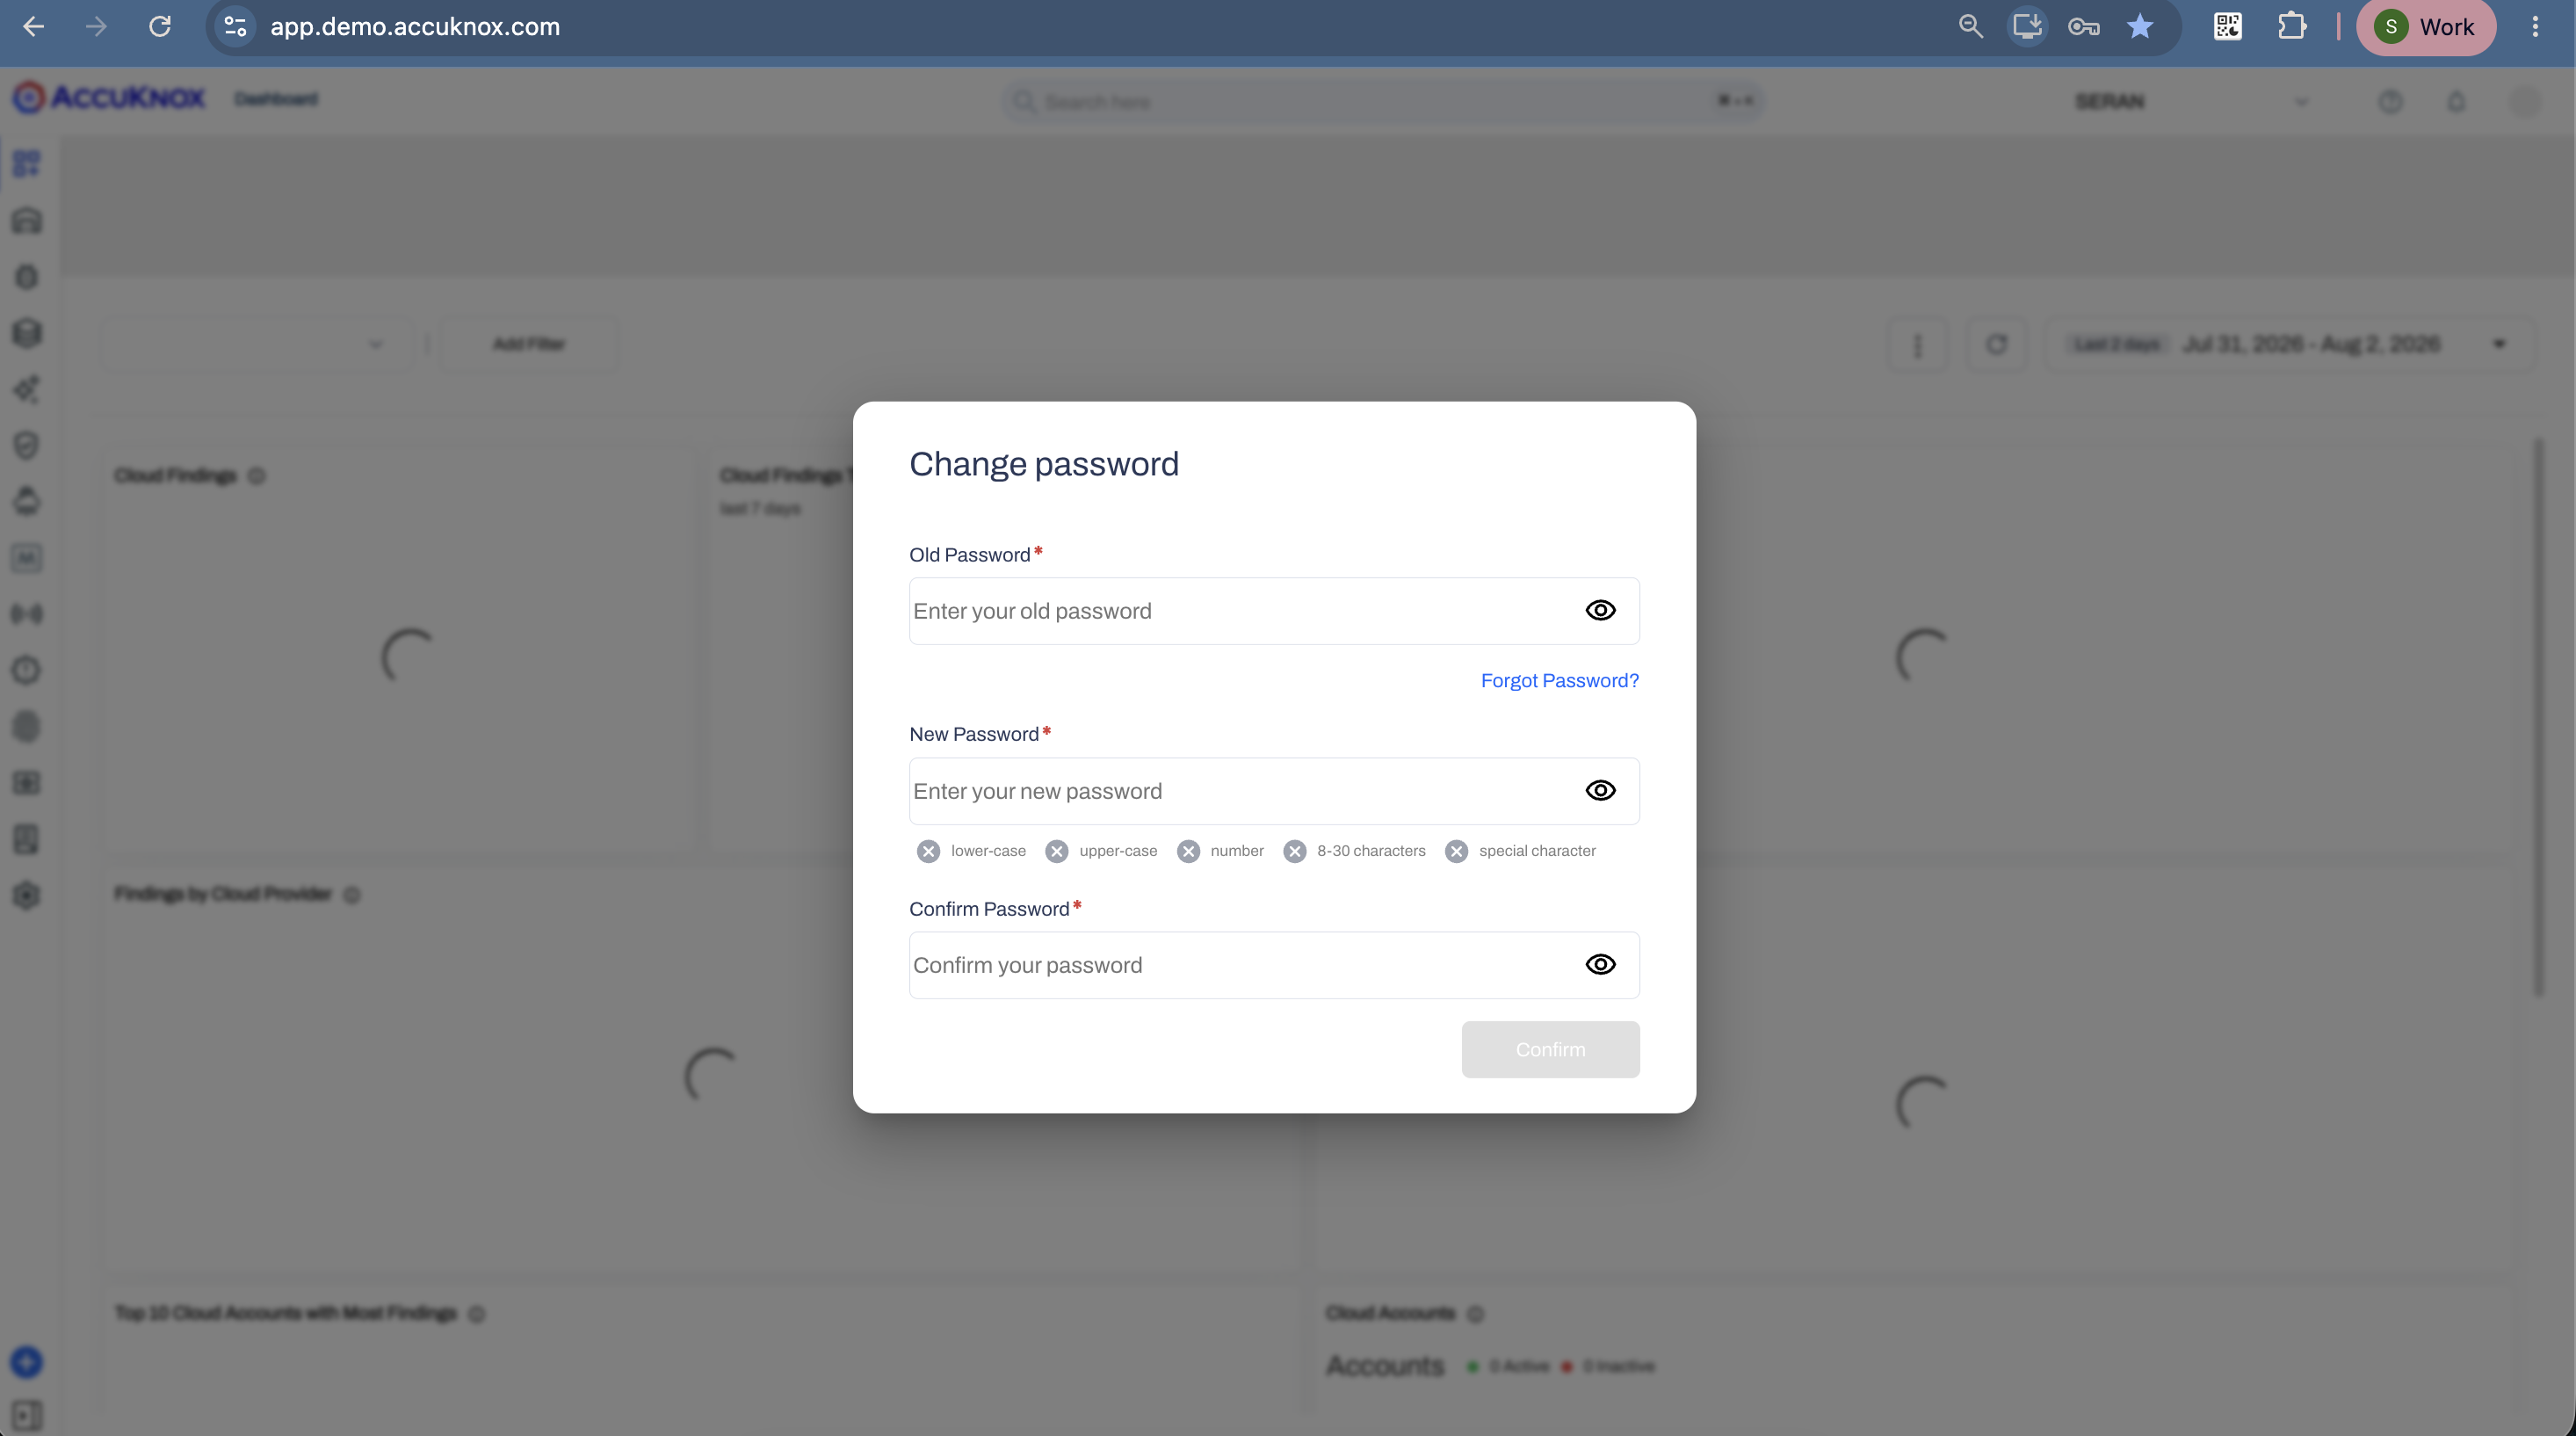
This proves the flow end to end. Secrets Manager holds the shared secret, generates the code, and the portal accepts it.
Step 6: Validate a Code
Secrets Manager can also act as the validator. Write the code back to the same path:
kubectl exec -n accuknox vault-accuknoxsecretmanager-0 -- \
  vault write totp/code/accuknox-demo code=523844
The output reads valid true.

If it reads valid false, the 30-second window closed. Read a fresh code and validate it at once.
Step 7: Write the Access Policies
Create one policy per role. Go to Policies → Create ACL policy, name the policy, paste the rules, and click Save policy.
Full management of keys and codes. Give this to your platform team only.
# manage keys (create, rotate, delete)
path "totp/keys/*" {
  capabilities = ["create", "read", "update", "delete", "list"]
}

path "totp/keys/" {
  capabilities = ["list"]
}

# generate and validate codes
path "totp/code/*" {
  capabilities = ["create", "read", "update", "list"]
}
Generates codes but cannot change keys. Give this to the people who sign in to the shared account.
path "totp/keys/" {
  capabilities = ["list"]
}

path "totp/code/*" {
  capabilities = ["read"]
}
Validates submitted codes but cannot generate them. Give this to your sign-in service.
path "totp/code/*" {
  capabilities = ["create", "update"]
}
Step 8: Create Users and Attach the Policies
- Go to Access → Auth Methods → Enable new method.
- Select Username & Password and set the path to
userpass. - Click Enable Method.
- Open the Username & Password row and click Create user.
- Under Generated Token Policies, attach the policy for that person's role.
The Sharing Secrets guide covers this flow with screenshots.
Step 9: Verify the Policy
Sign in as the new user and read its token policies:
kubectl exec -n accuknox vault-accuknoxsecretmanager-0 -- \
  vault login -method=userpass username=admin2 password=<password>
Confirm that token_policies lists the policy you attached.
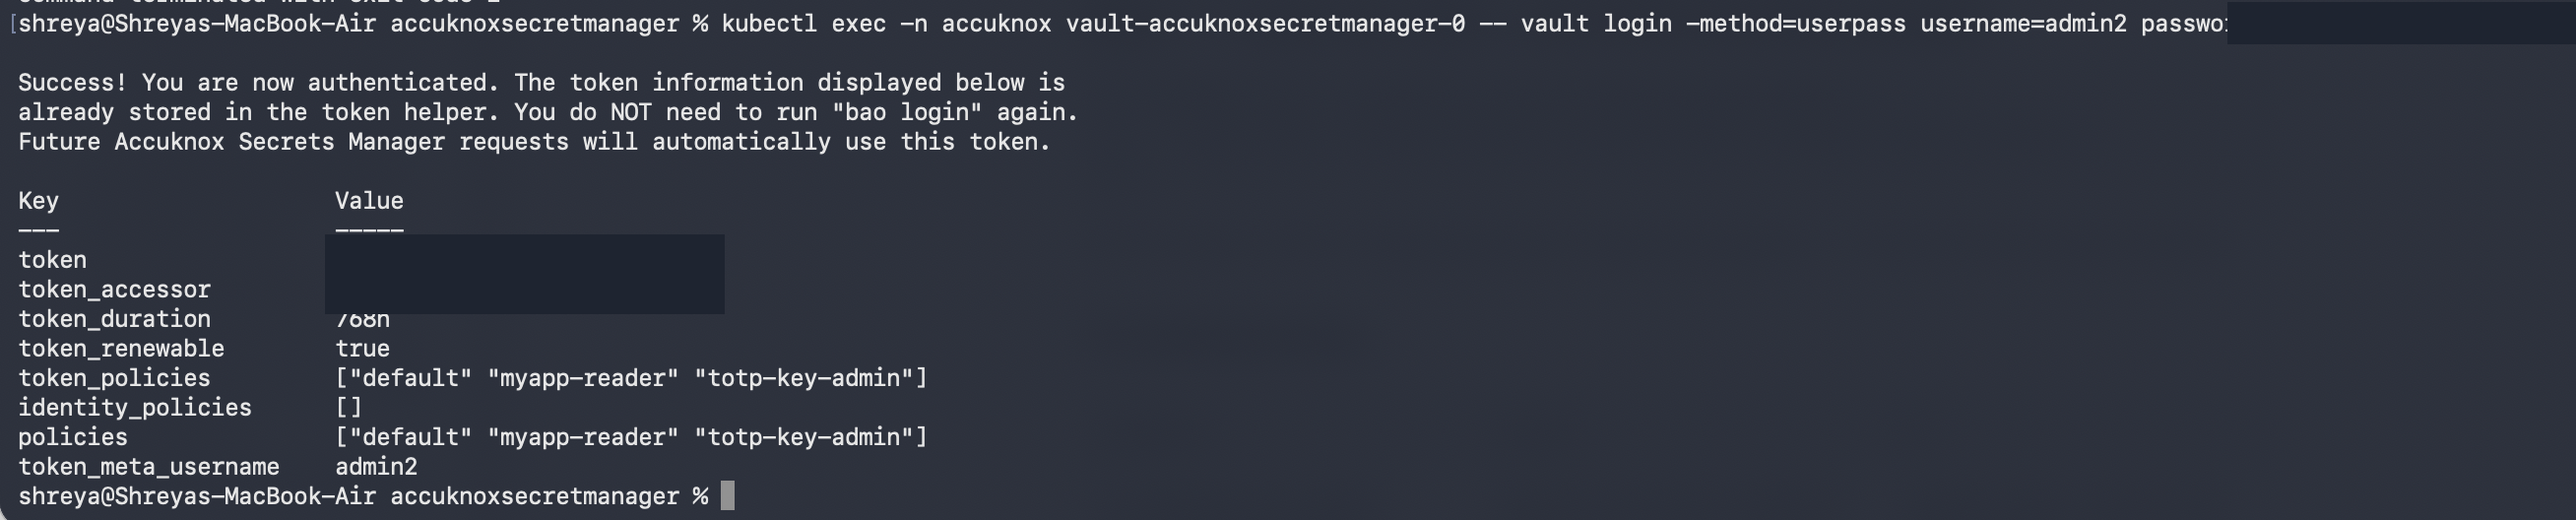
Then confirm what the policy allows. Create a key with generate=true, which needs the key-admin capability:
kubectl exec -n accuknox vault-accuknoxsecretmanager-0 -- \
  vault write totp/keys/verify-key generate=true issuer=test account_name=verify@test.com
Secrets Manager returns a barcode and an otpauth:// URL for the new key. Both are key material, so handle them the same way you handle a password.

List the keys to see the new one:
kubectl exec -n accuknox vault-accuknoxsecretmanager-0 -- vault list totp/keys

Troubleshooting
| Symptom | Cause | Fix |
|---|---|---|
no handler for route "totp/keys/..." |
The engine sits at a different path, such as TOTP/ |
Run vault secrets list and use the real path |
permission denied on a path |
The policy does not grant it, or the token predates the policy | Edit the policy, then sign out and sign in again |
valid false on a fresh code |
The code rotated past its 30-second window | Read the code again and validate it at once |
localhost:8080 kubectl error |
KUBECONFIG is not set in your shell |
Export KUBECONFIG with the path to your kubeconfig file |
Paths are case-sensitive
totp/ and TOTP/ are two different mounts. Pick one spelling and use it in every command and every policy.
Next Steps
-
Create scoped users and attach least-privilege policies.
-
Encrypt and decrypt values with the Transit engine.