Deployment Guide
This guide installs AccuKnox Secrets Manager on Kubernetes. It uses the Helm chart in accuknoxsecretmanager.tar, which your AccuKnox point of contact gives you.
Secrets Manager stores encrypted secrets, issues short-lived dynamic secrets, and applies identity-based access control with full audit logs.
Prerequisites
| Requirement | Details |
|---|---|
| CPU and memory | 1 vCPU and 512Mi memory minimum, single node |
| Storage | 10Gi of persistent storage |
| Requirement | Details |
|---|---|
| Kubernetes version | 1.30 or later, with a default StorageClass |
| Helm version | Helm 3 |
| kubectl | Configured to talk to your cluster |
Pre-installation Checks
Run these three commands before you start:
kubectl version --client
helm version
kubectl get storageclass
The third command must list at least one StorageClass marked (default). Without it, the server pod stays in Pending. See Troubleshooting.
Architecture
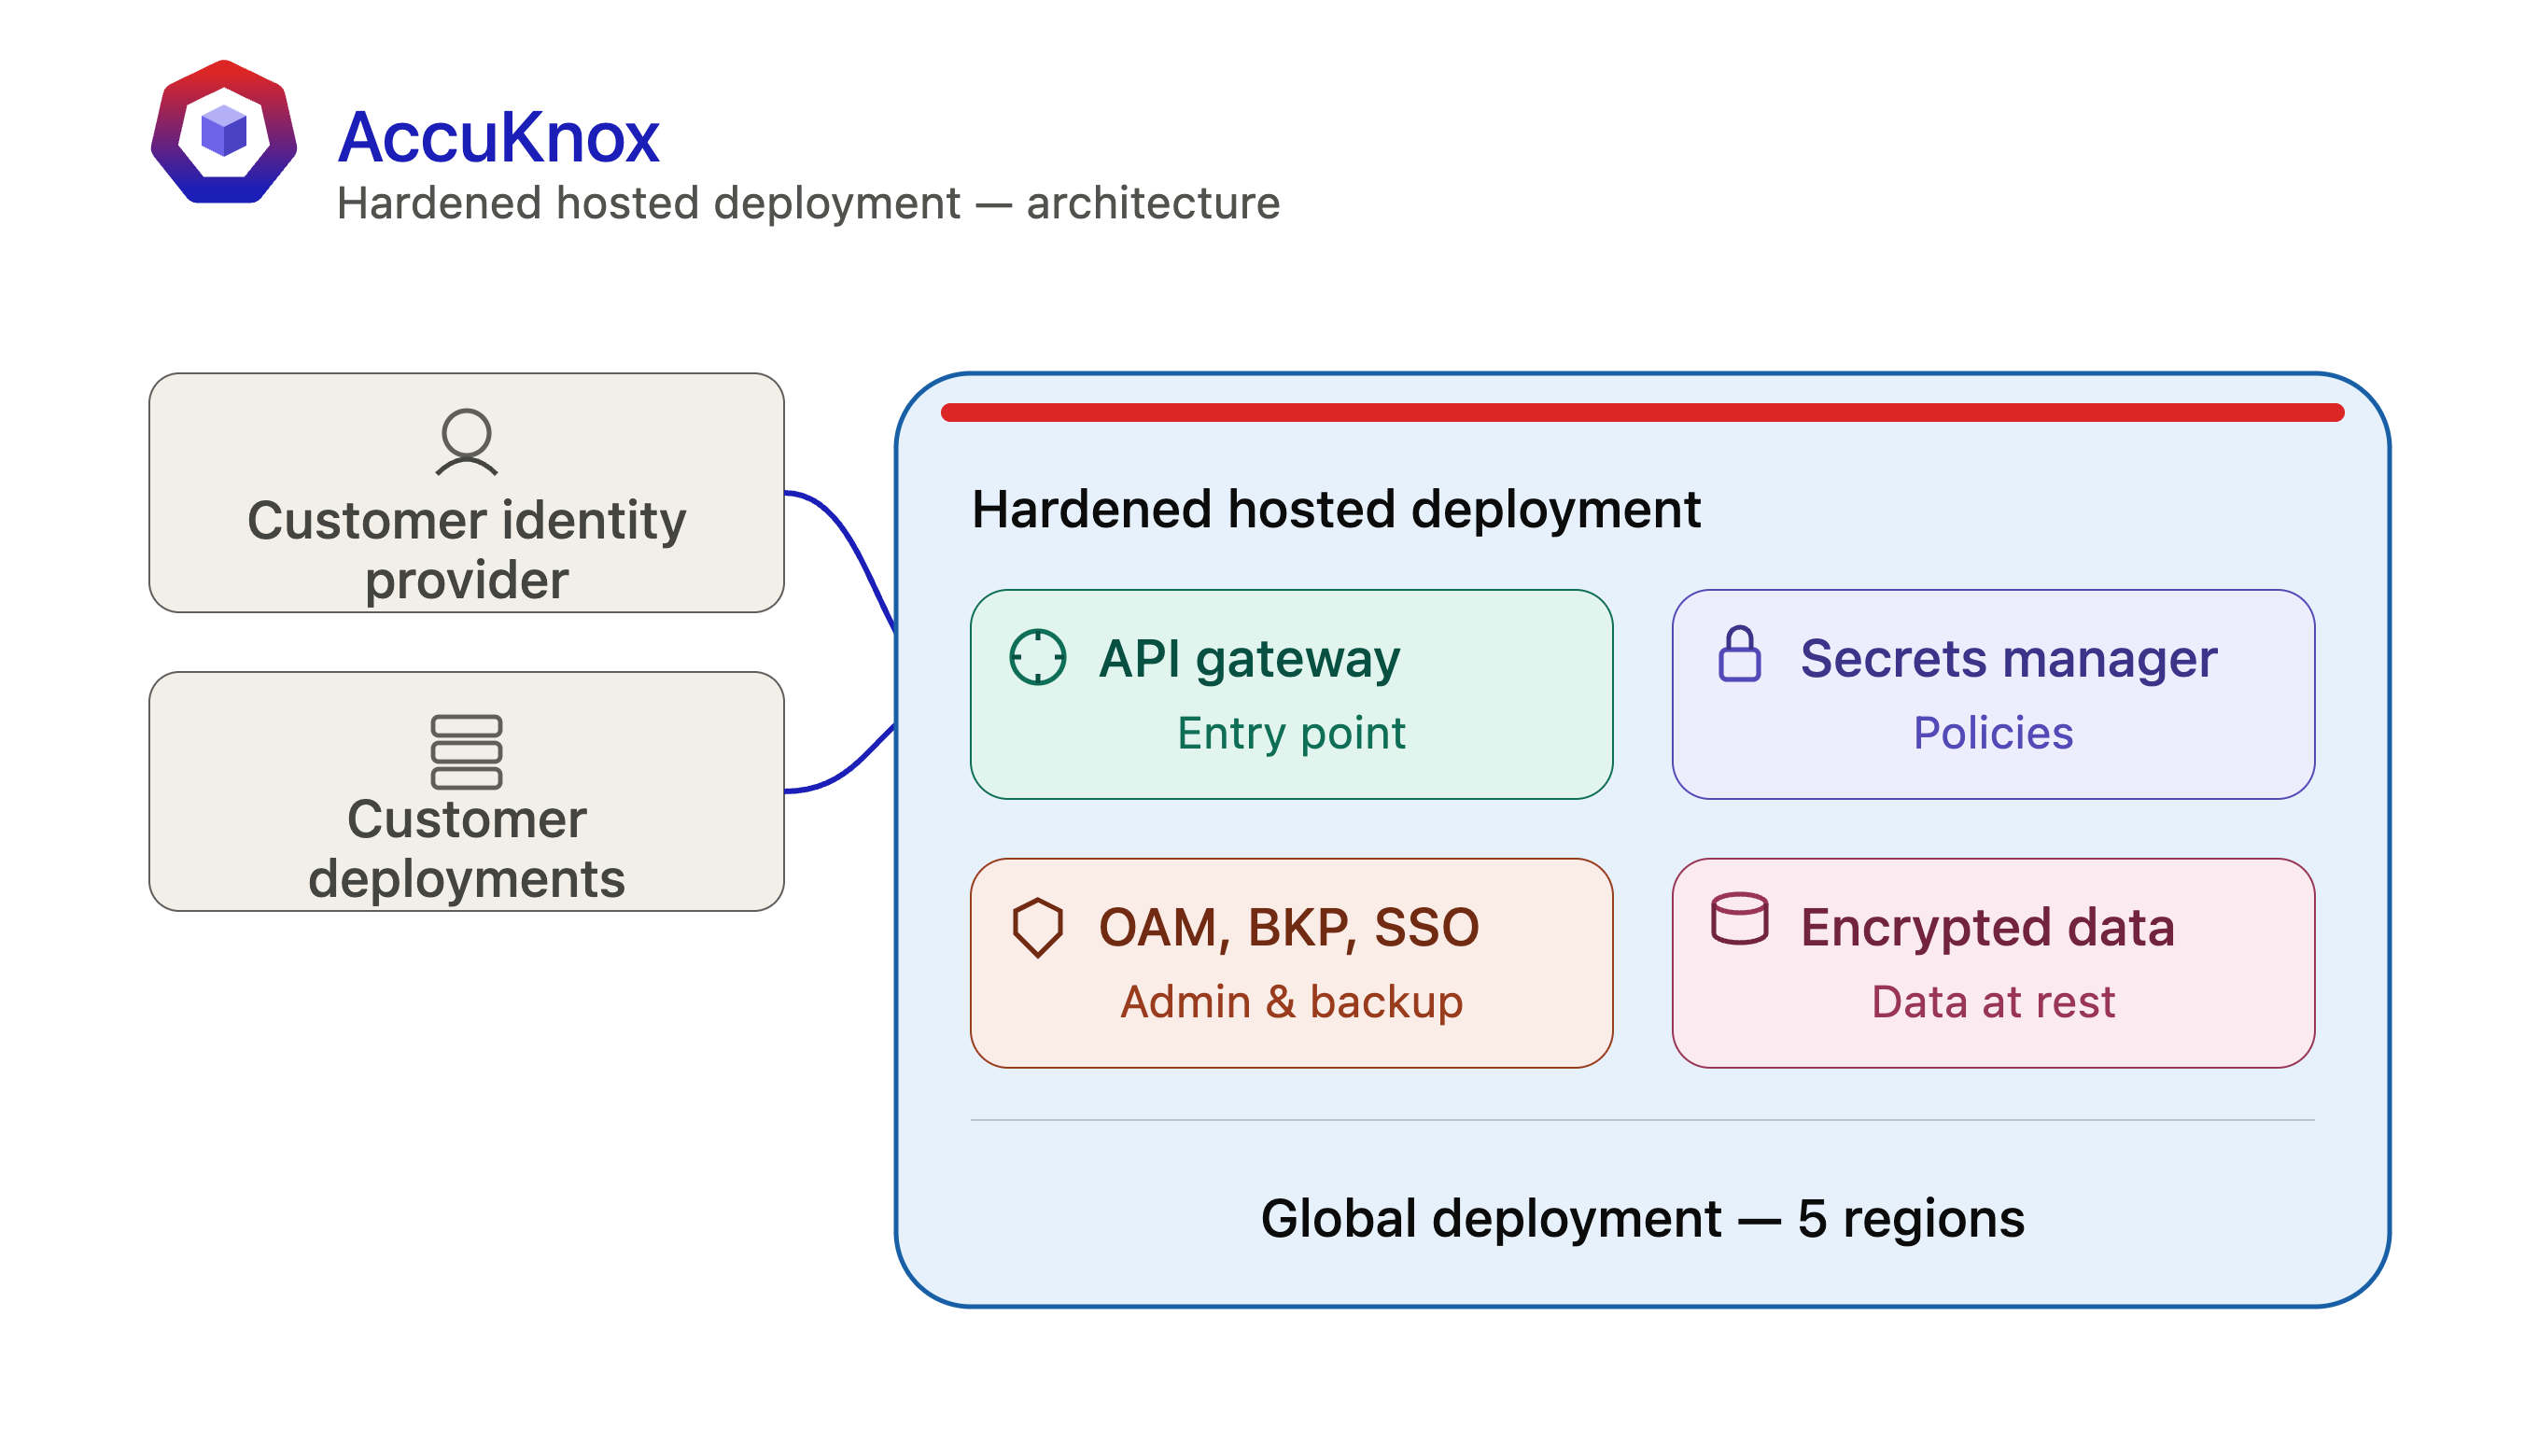
Install with Helm
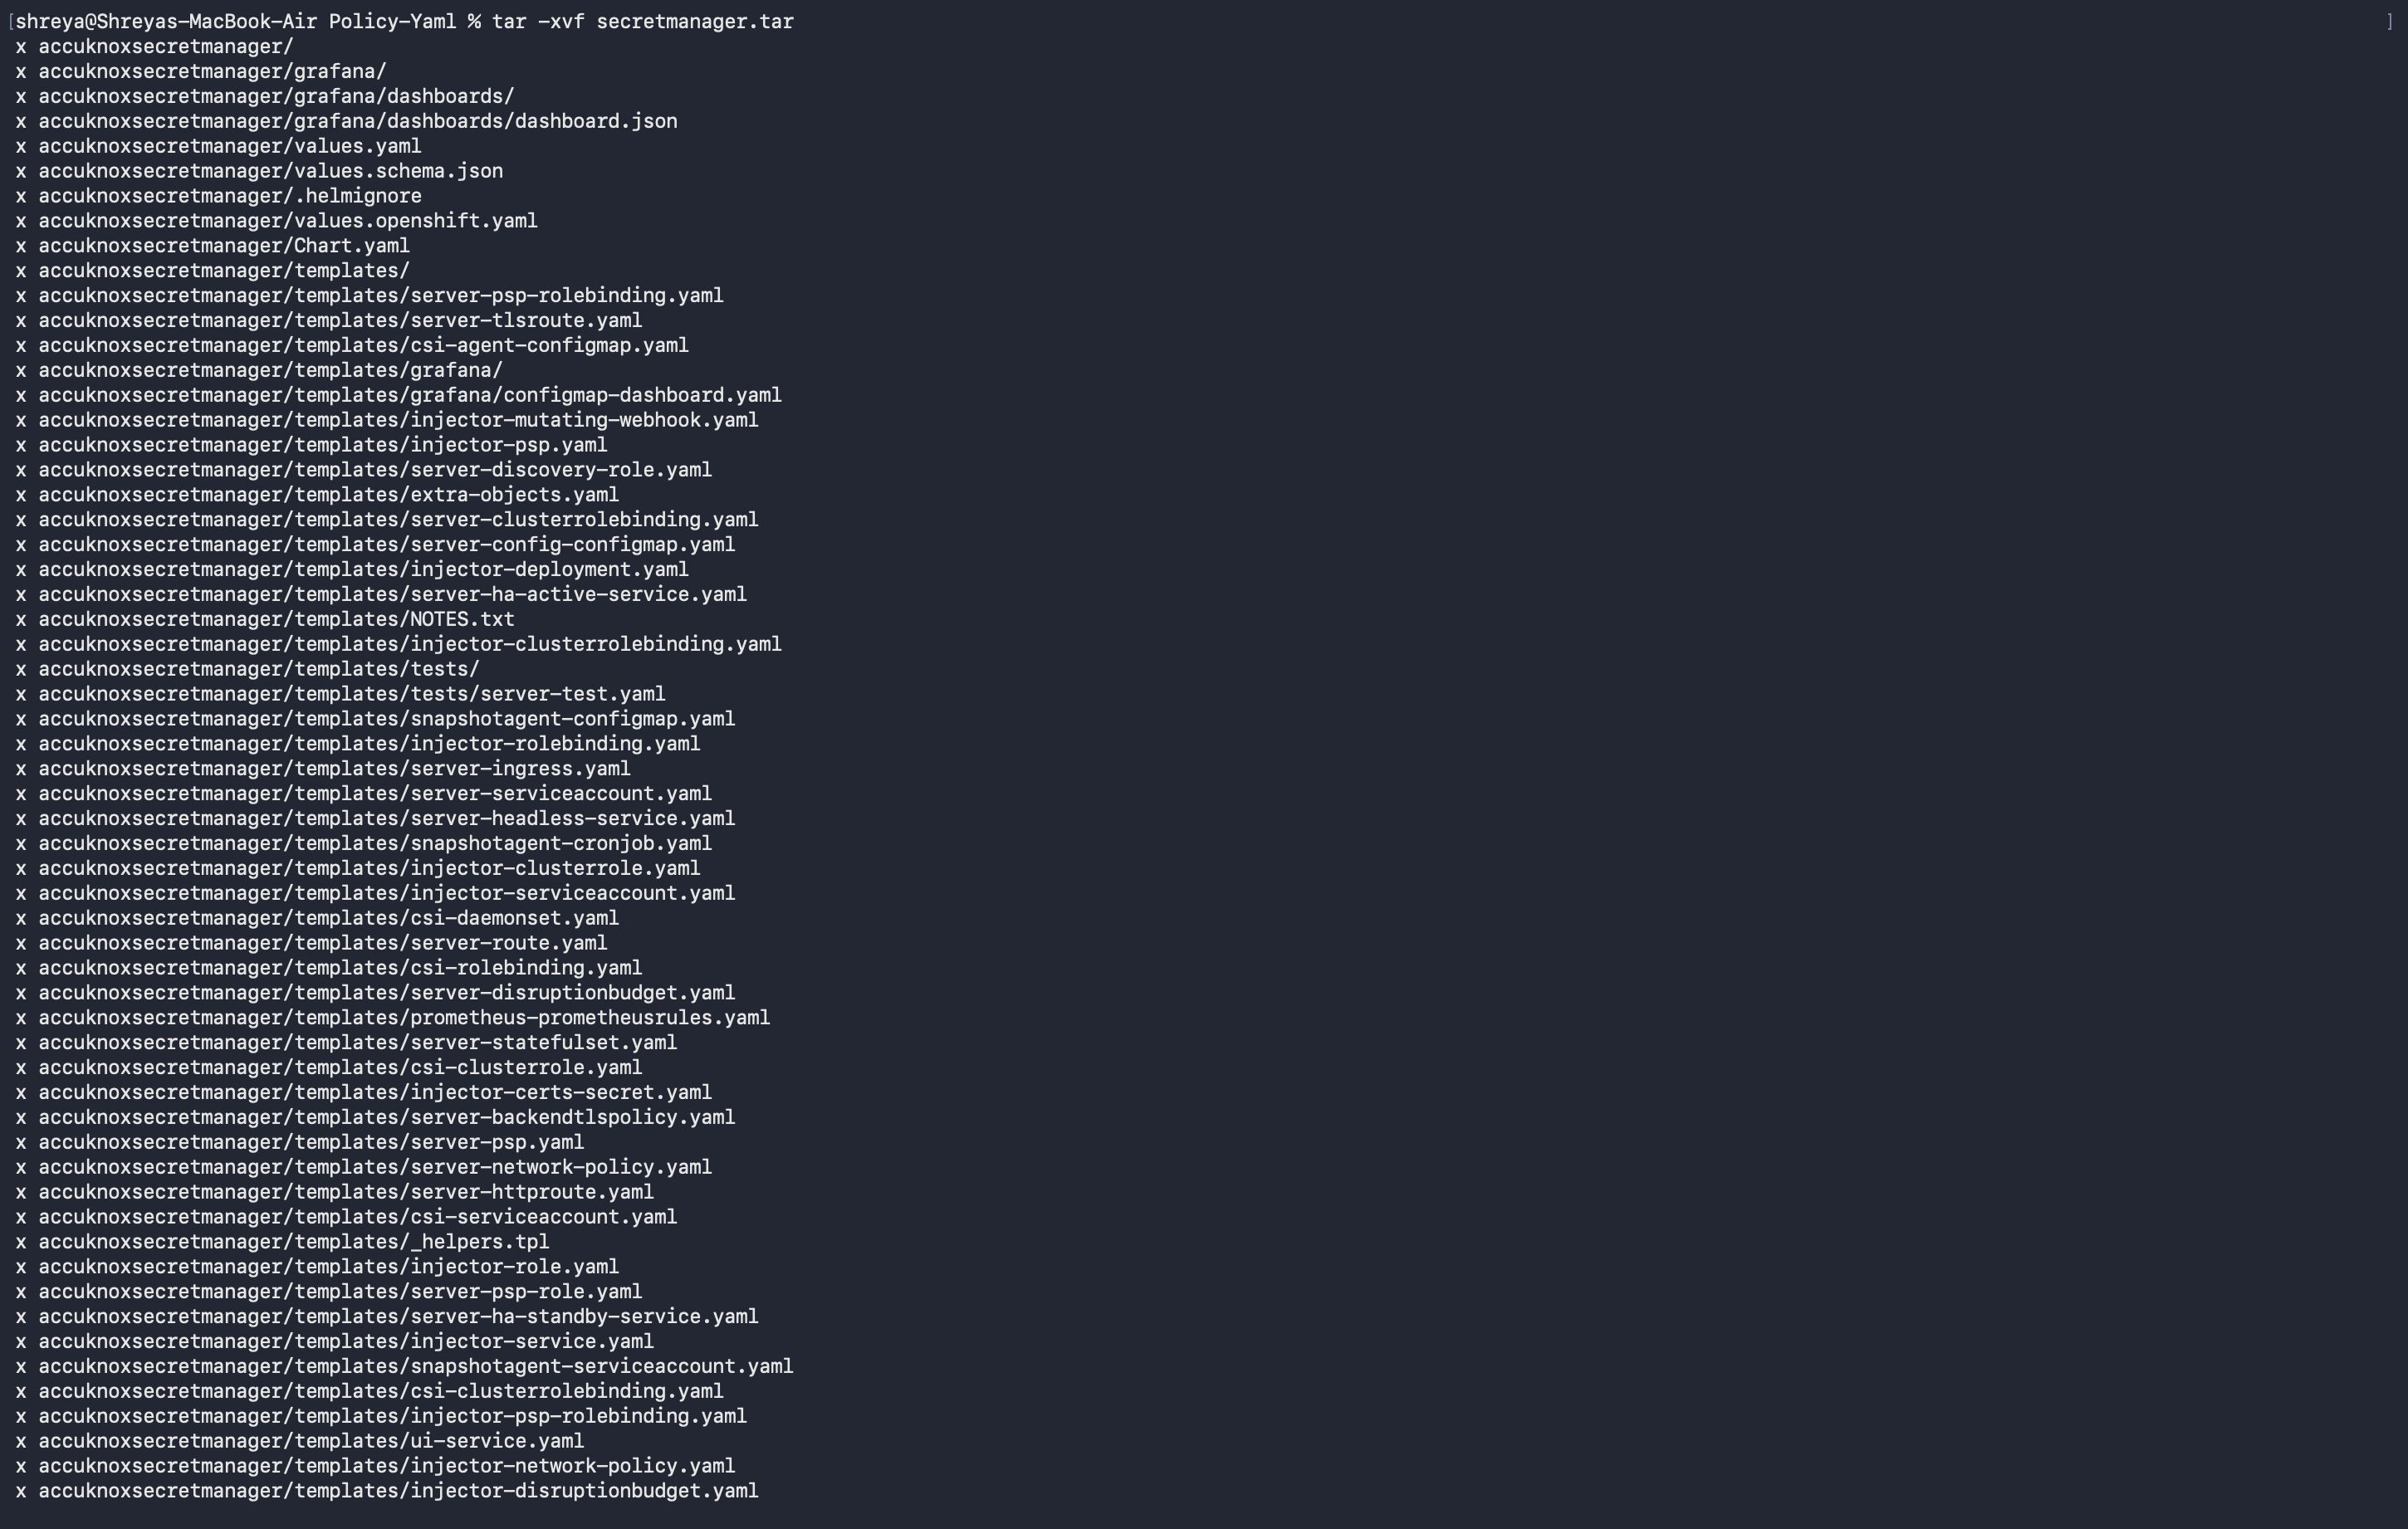
1. Extract the Chart
tar xf accuknoxsecretmanager.tar
cd accuknoxsecretmanager

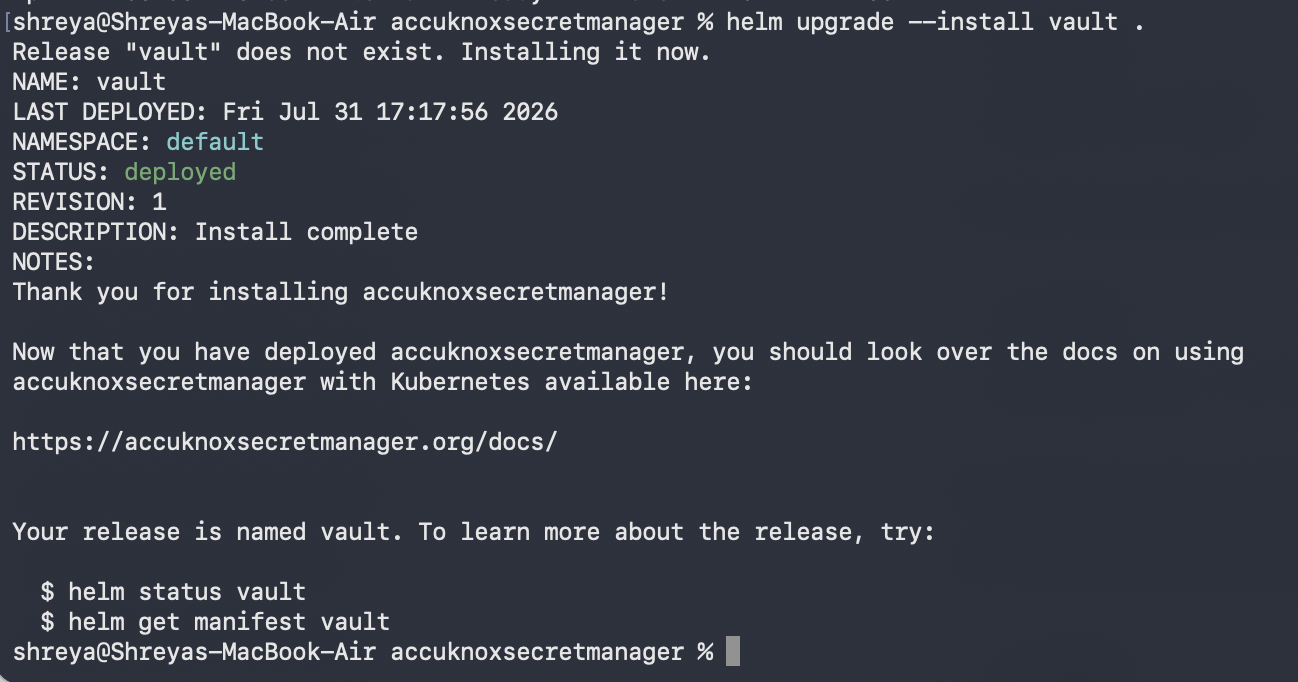
2. Install the Chart
helm upgrade --install vault .
This installs the Secrets Manager server and the Agent Injector into the default namespace. It uses the settings in values.yaml.
To install into your own namespace instead:
kubectl create namespace accuknox
helm upgrade --install vault . -n accuknox
Check the pod status:
kubectl get po -n accuknox

The server pod shows 0/1 until you unseal it in the next step. That is expected.
3. Initialize the Server
The server starts sealed and uninitialized. Initialize it once:
kubectl exec vault-accuknoxsecretmanager-0 -n accuknox -- vault operator init
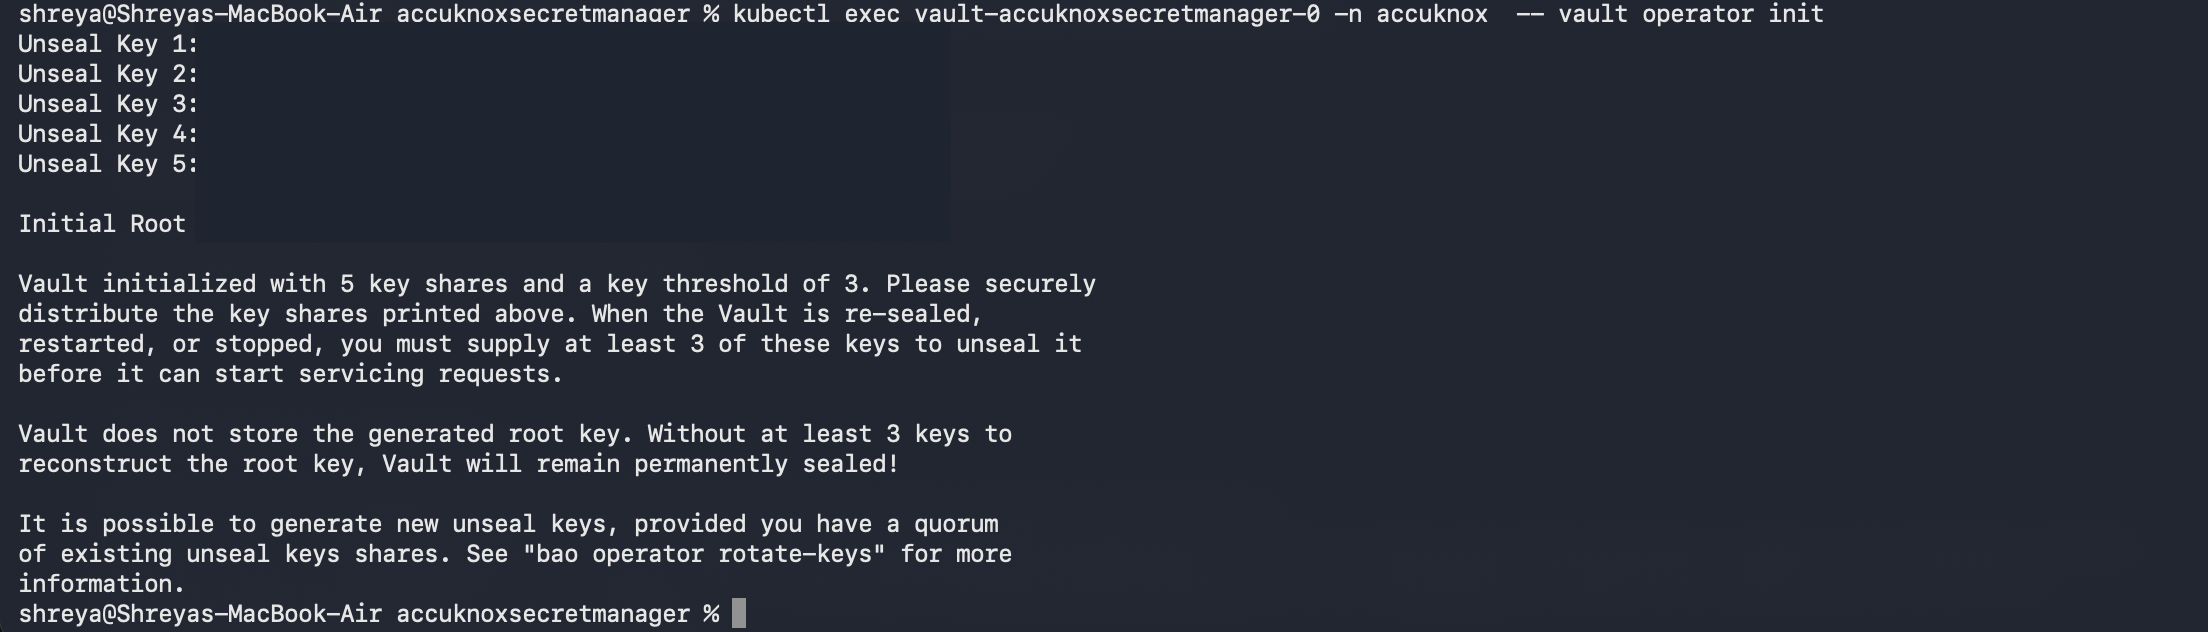
The command prints 5 unseal keys and an initial root token:
Unseal Key 1: <unseal-key-1>
Unseal Key 2: <unseal-key-2>
Unseal Key 3: <unseal-key-3>
Unseal Key 4: <unseal-key-4>
Unseal Key 5: <unseal-key-5>

Initial Root Token: <root-token>
Save these values now
Secrets Manager shows the unseal keys and the root token one time only. Store them in a safe place and distribute the key shares to different people.
Secrets Manager does not store the root key. Without at least 3 of the 5 keys, the server stays sealed forever and the data is unrecoverable.
4. Unseal the Server
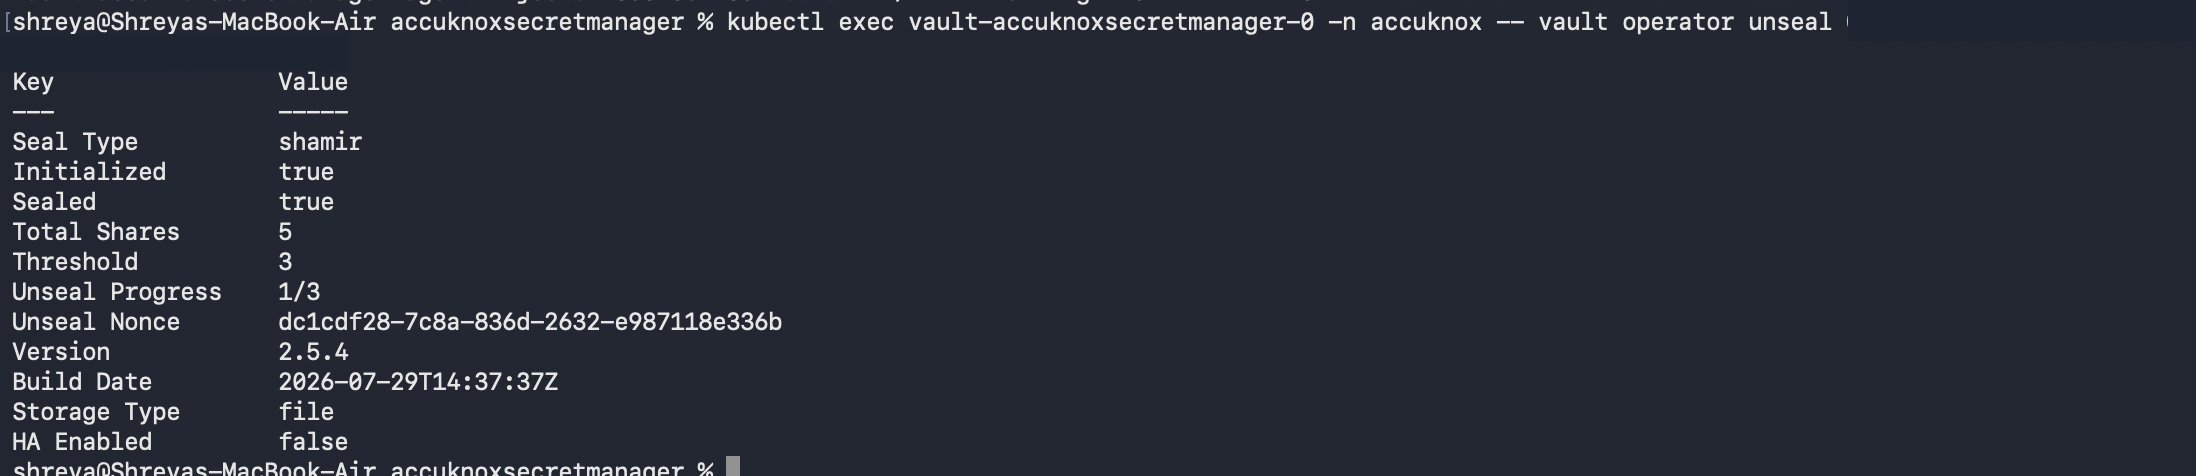
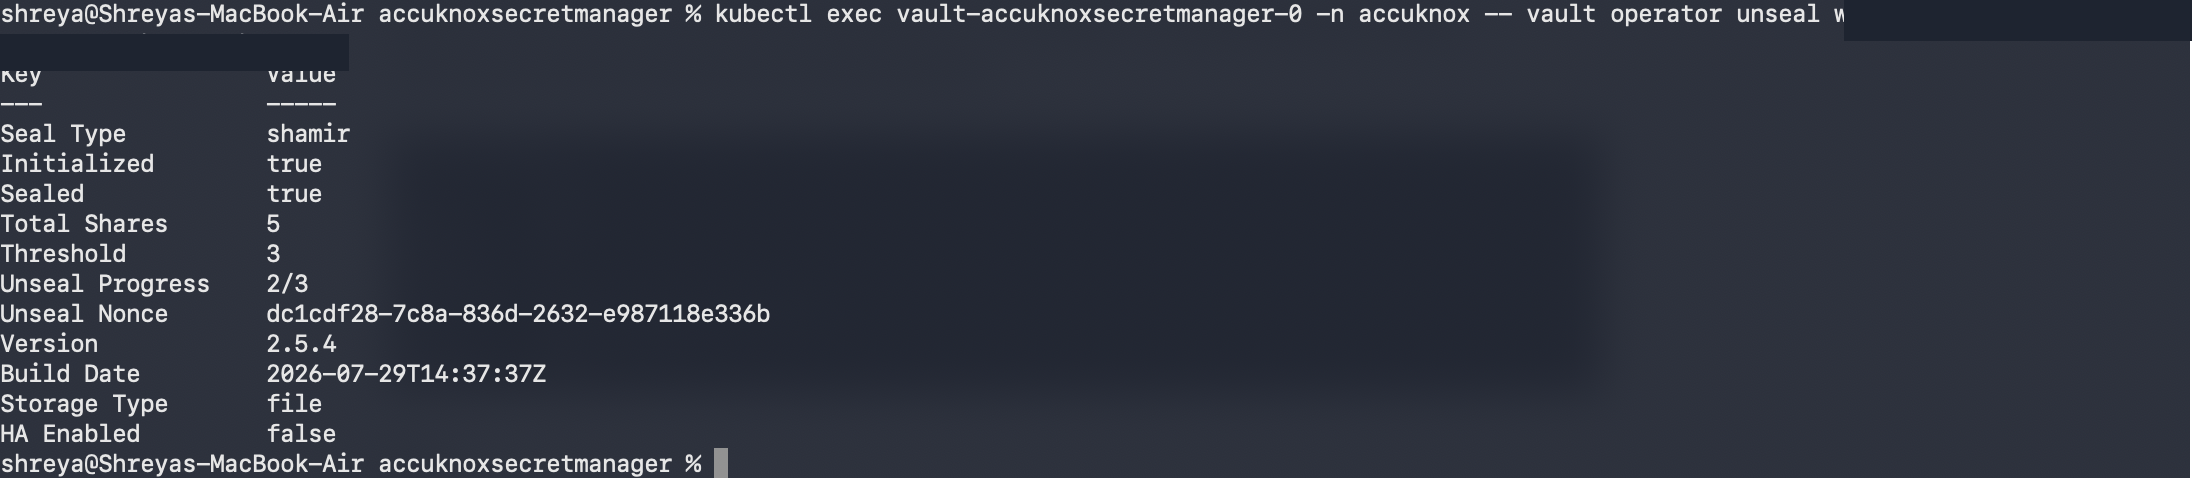
The default configuration uses 5 key shares with a threshold of 3. Run the unseal command three times, with a different key each time.
Key 1:
kubectl exec vault-accuknoxsecretmanager-0 -n accuknox -- vault operator unseal <unseal-key-1>
Key 2:
kubectl exec vault-accuknoxsecretmanager-0 -n accuknox -- vault operator unseal <unseal-key-2>
Key 3:
kubectl exec vault-accuknoxsecretmanager-0 -n accuknox -- vault operator unseal <unseal-key-3>
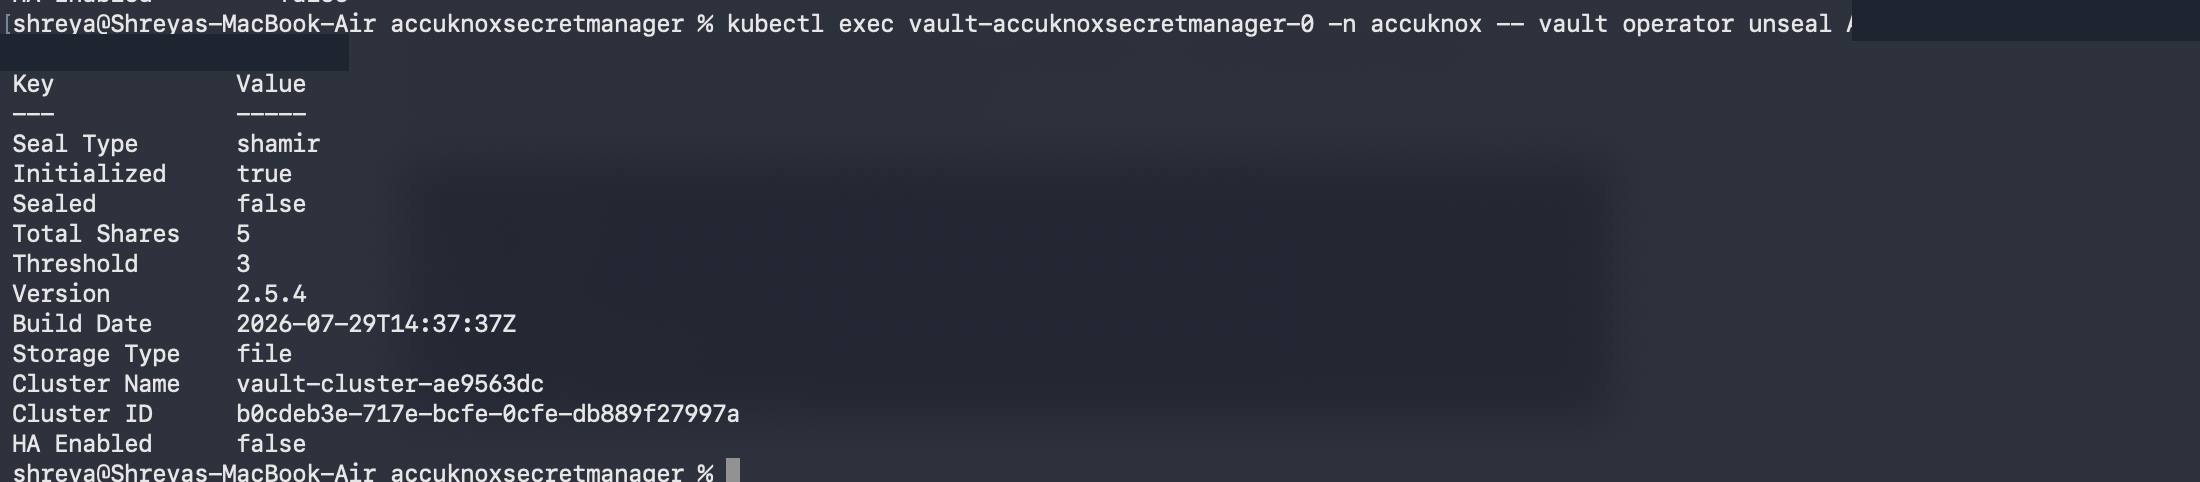
After the third key, Sealed reads false and the pod becomes 1/1 Ready.
A restart re-seals the server
If the pod restarts, Secrets Manager seals itself again. Unseal it with any 3 of your 5 saved keys.
Sign In
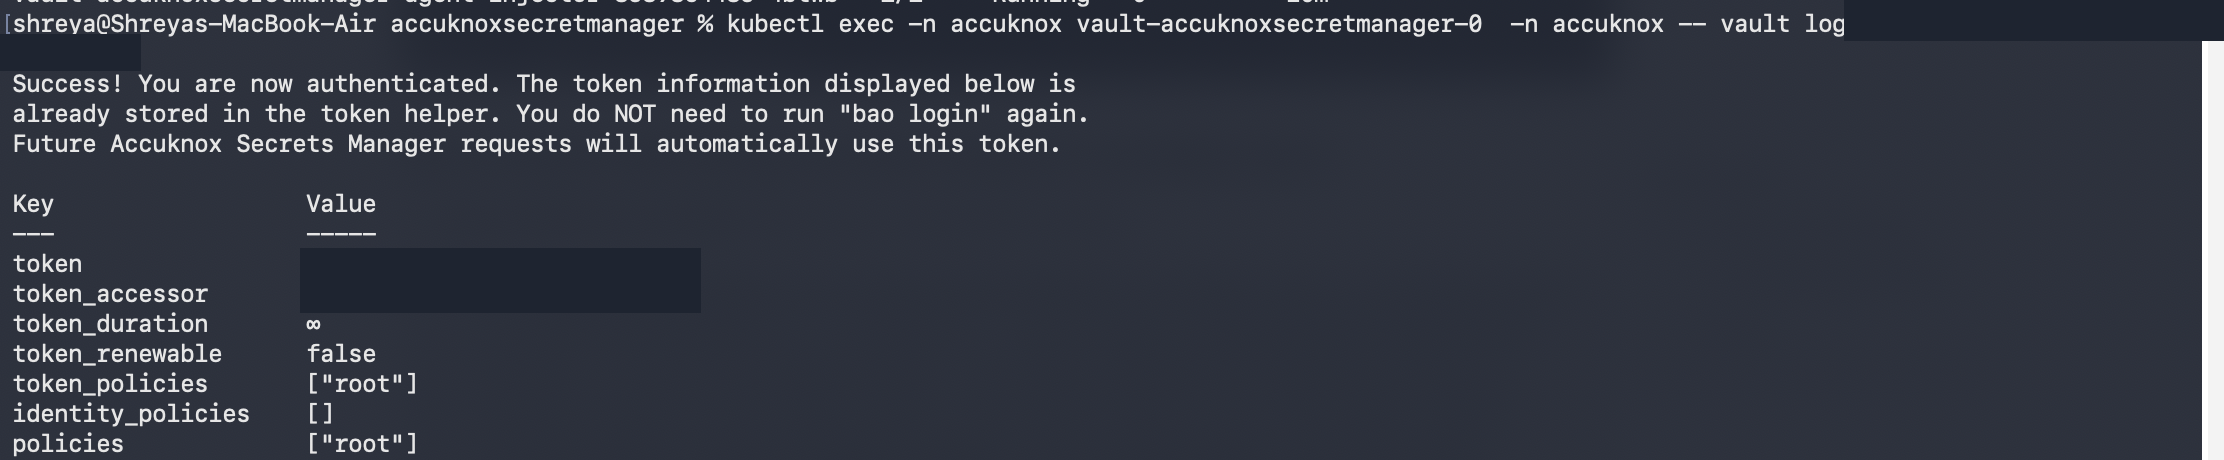
1. Log In with the Root Token
kubectl exec -n accuknox vault-accuknoxsecretmanager-0 -- vault login <root-token>
2. Reach the UI
Port-forward the service, or expose it through a NodePort or an Ingress.
kubectl port-forward -n accuknox svc/vault-accuknoxsecretmanager 8200:8200
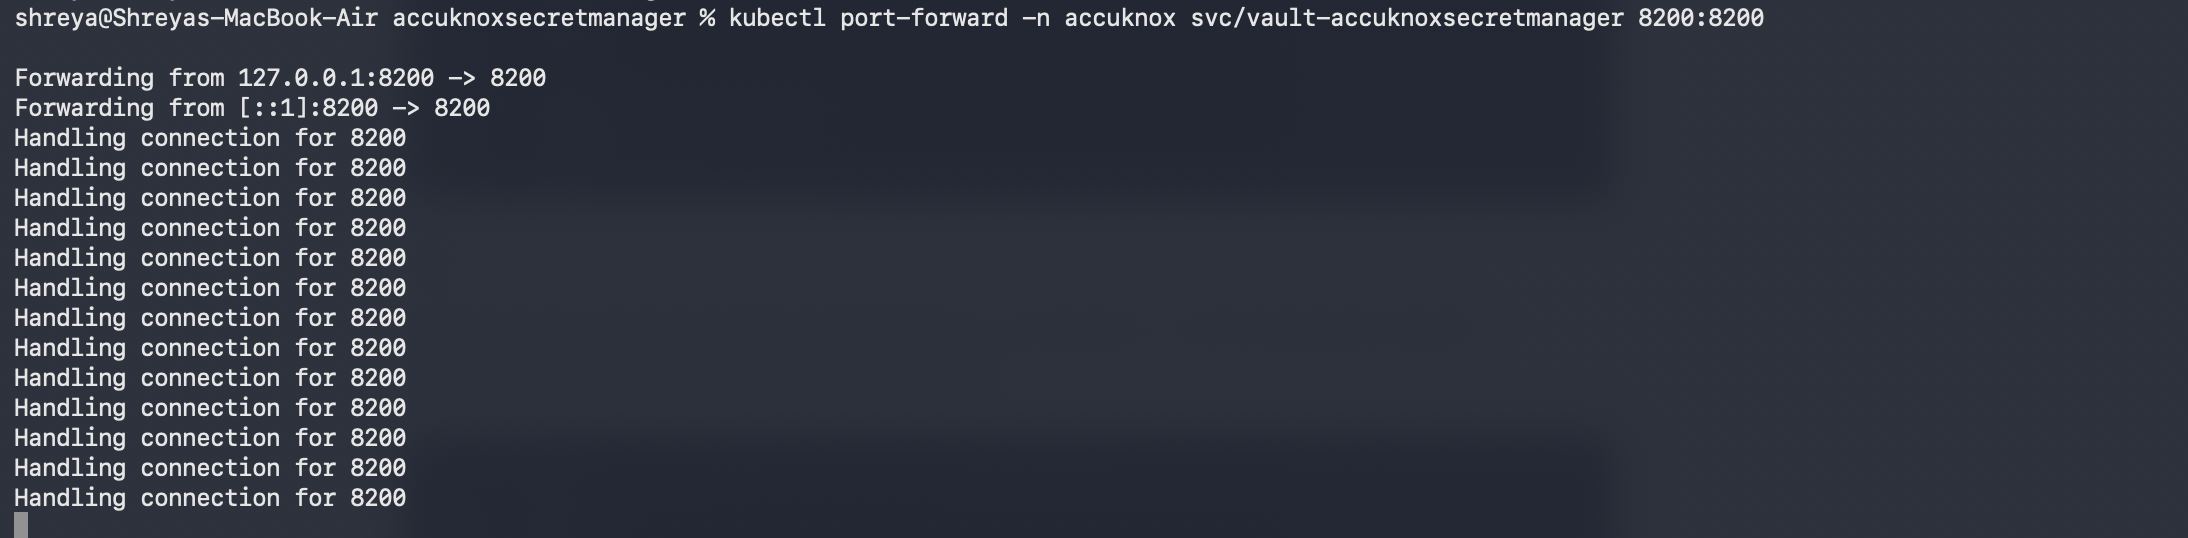
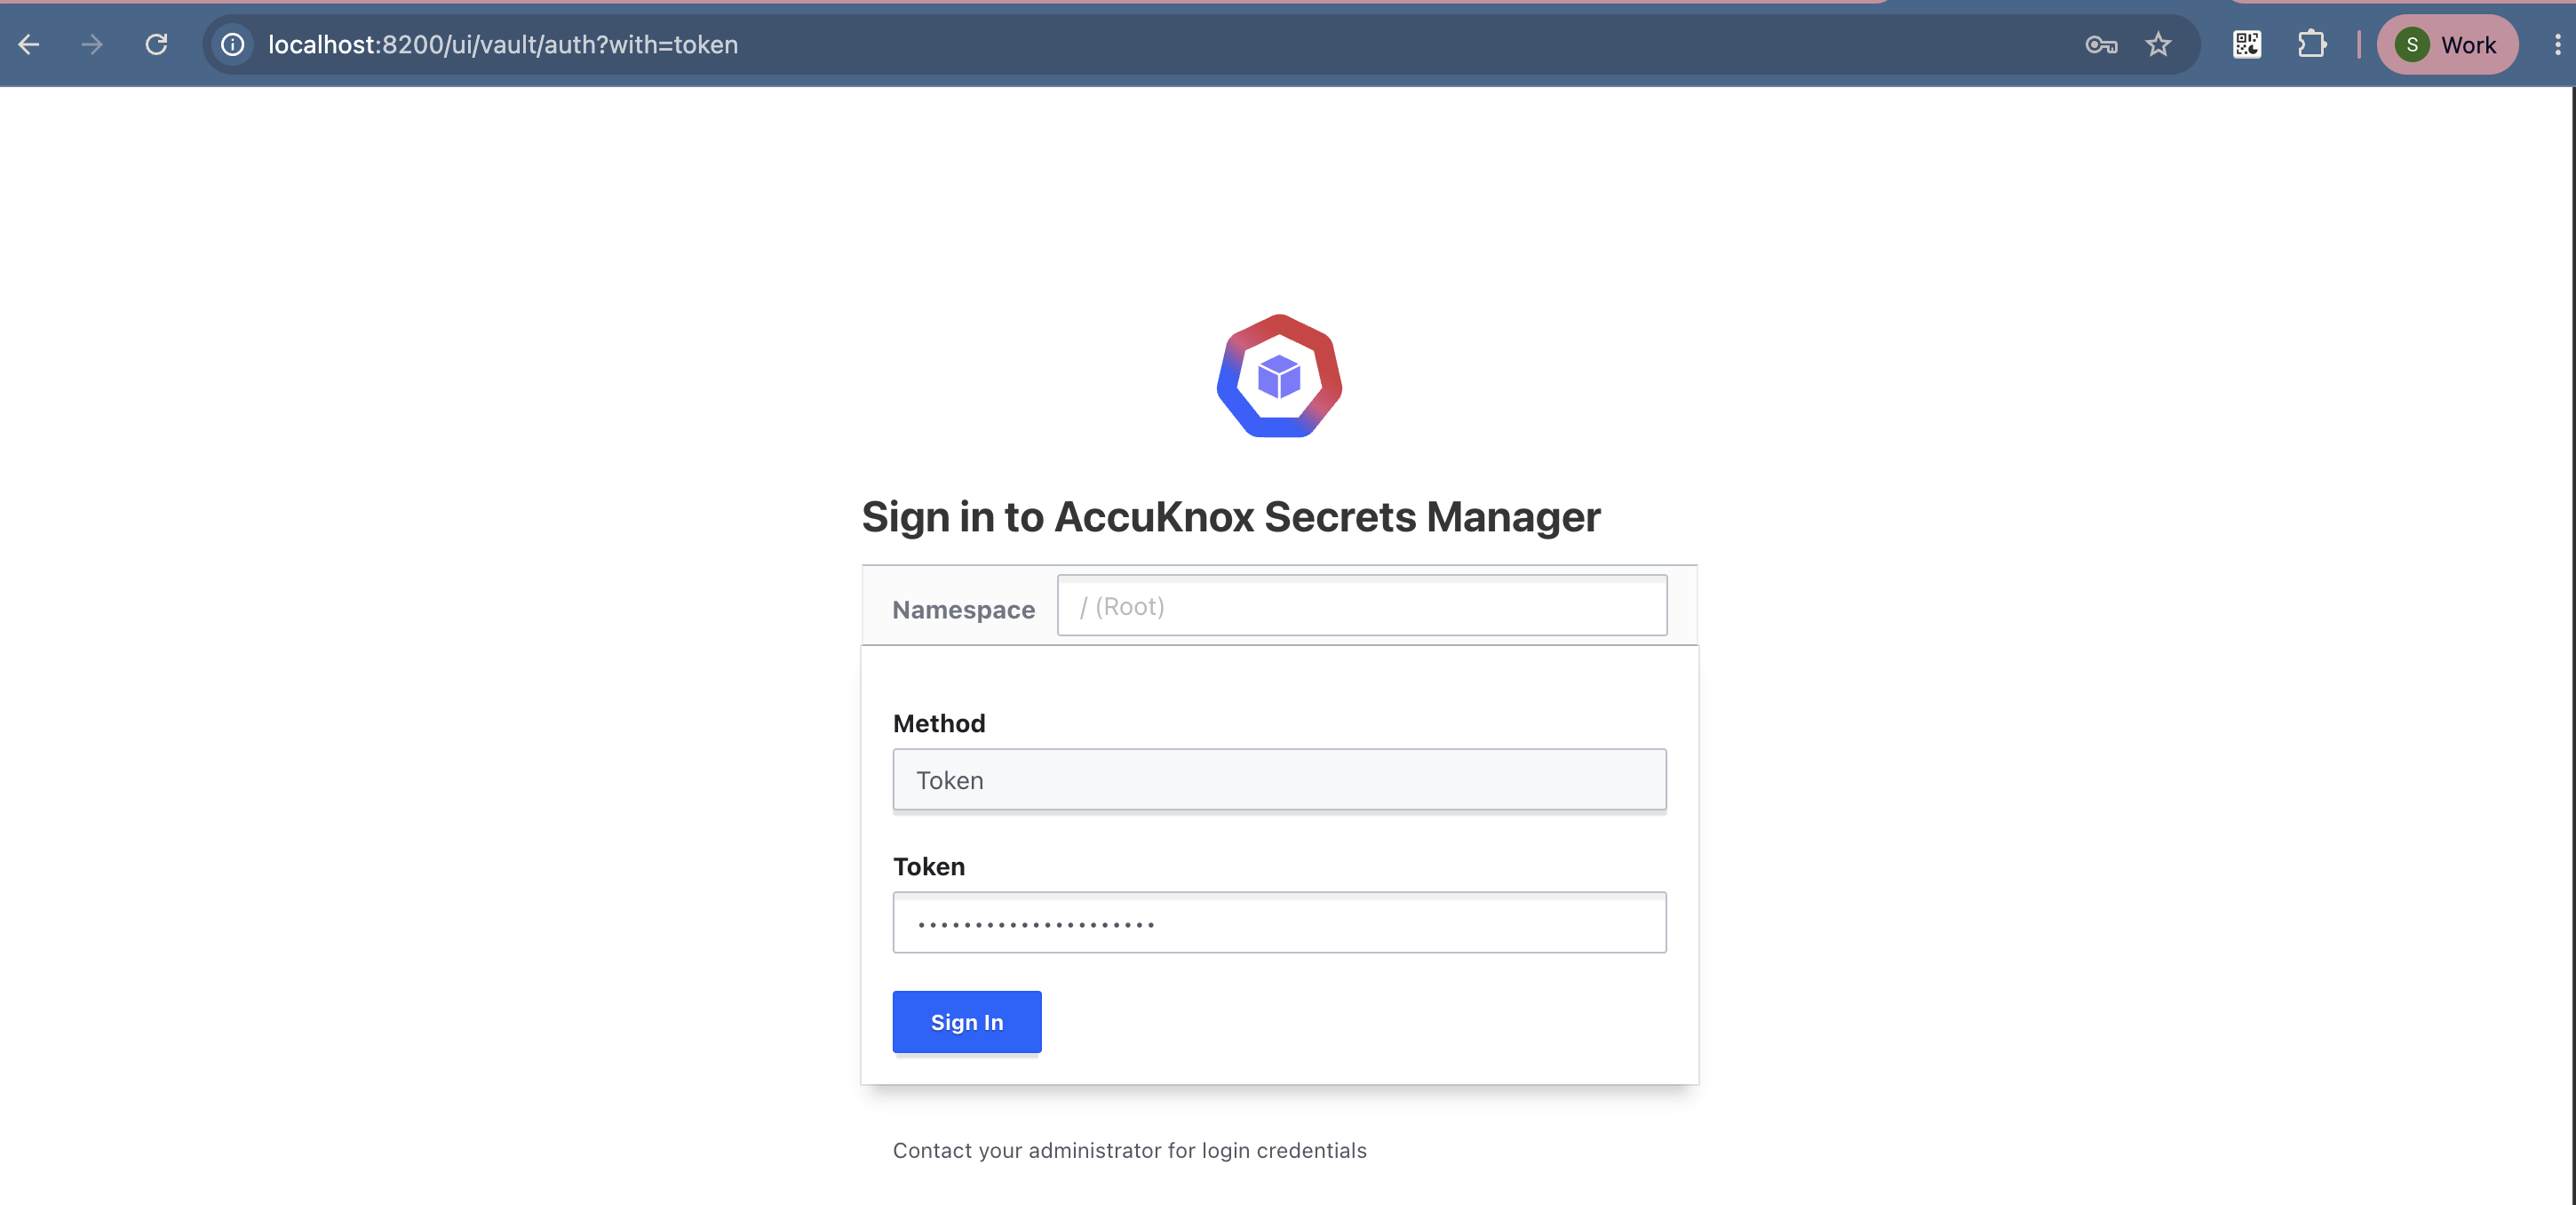
Open http://localhost:8200/ui/vault/auth?with=token.
Sign in with these values:
| Field | Value |
|---|---|
| Namespace | / |
| Method | Token |
| Token | Your root token |
Replace the root token early
Use the root token to create your first admin user and policy. Then stop using it for day-to-day work. See Sharing Secrets in an Organisation.
Other Installation Options
The chart ships alternate setups. Pick the one that matches your environment.
The chart includes a separate values file for security context constraints and routes.
helm upgrade --install vault . -f values.openshift.yaml
This mode mounts secrets into pods as volumes. Install the Secrets Store CSI Driver first.
helm upgrade --install vault . --set csi.enabled=true
Override any setting in values.yaml with --set or with your own values file.
helm upgrade --install vault . -f my-values.yaml
Verify the Installation
kubectl get pods -n accuknox
kubectl exec vault-accuknoxsecretmanager-0 -n accuknox -- vault status
kubectl get pvc -n accuknox
Troubleshooting
The Server Pod Stays in Pending
kubectl get po -n accuknox

Describe the pod to read its events:
kubectl describe po vault-accuknoxsecretmanager-0 -n accuknox

The event reads pod has unbound immediate PersistentVolumeClaims. The StatefulSet asks for a 10Gi volume through the PVC data-vault-accuknoxsecretmanager-0, and no StorageClass can provision it.
Check what storage the cluster offers:
kubectl get storageclass -n accuknox
kubectl get pvc -n accuknox
kubectl get pv -n accuknox

The STORAGECLASS column on the PVC is empty. The chart did not set storageClassName, so Kubernetes fell back to the default StorageClass. None of the classes in this cluster carries the (default) marker, so the PVC never binds and the pod stays Pending.
Fix it in one of two ways:
kubectl patch storageclass <your-storage-class> \
  -p '{"metadata":{"annotations":{"storageclass.kubernetes.io/is-default-class":"true"}}}'
Then reinstall the chart. The PVC binds and the pod reaches Running.
helm upgrade --install vault . -n accuknox \
  --set server.dataStorage.storageClass=<your-storage-class>
helm upgrade --install vault . -n accuknox \
  --set server.dataStorage.enabled=false
The pod goes Pending → ContainerCreating → Running with no storage attached. Secrets do not survive a pod restart, so use this to confirm the install and nothing else.
Watch the pod come up:
kubectl get po -n accuknox -w
Other Common Errors
| Symptom | Cause | Fix |
|---|---|---|
Vault is sealed on every request |
The pod restarted | Unseal with 3 of your 5 saved keys |
permission denied on a path |
The policy does not grant it, or the token predates the policy | Edit the policy, then sign out and sign in again |
connection refused on port 8200 |
The port-forward stopped | Run the kubectl port-forward command again |
localhost:8080 kubectl error |
KUBECONFIG is not set in your shell |
Export KUBECONFIG with the path to your kubeconfig file |
Next Steps
-
Enable the KV engine and save a credential.
-
Create scoped users and attach least-privilege policies.