How to Perform GitHub IaC Scans
IaC scans for GitHub are essential for identifying security vulnerabilities in your infrastructure code. By scanning your IaC, you can detect misconfigurations early, ensure compliance with security standards, and prevent potential security breaches. Integrating these scans into your CI/CD pipeline enhances your overall security posture by providing continuous monitoring and assessment.
Configuration
Prerequisites
For GitHub IaC Scans from AccuKnox SaaS we require three prerequisites. They are as follows:
- Creating Fine-Grained tokens from GitHub for Private Repos only
- Label creation
- Adding the Code repository
Create Fine-Grained Tokens from GitHub
For generating the fine-grained access token from GitHub users need to do the following steps.
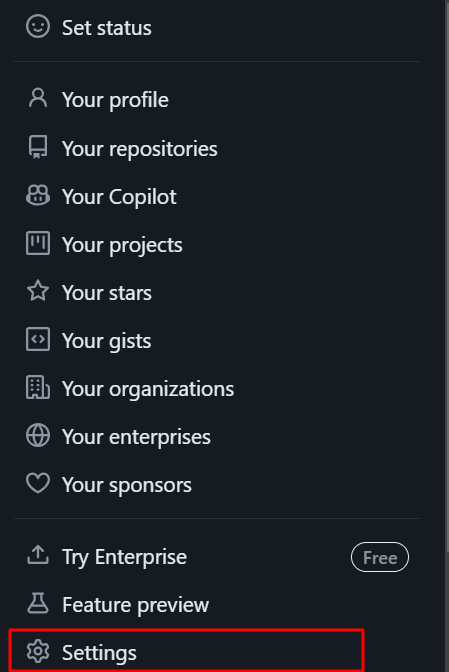
Step 1: Go to your GitHub profile and select Settings.
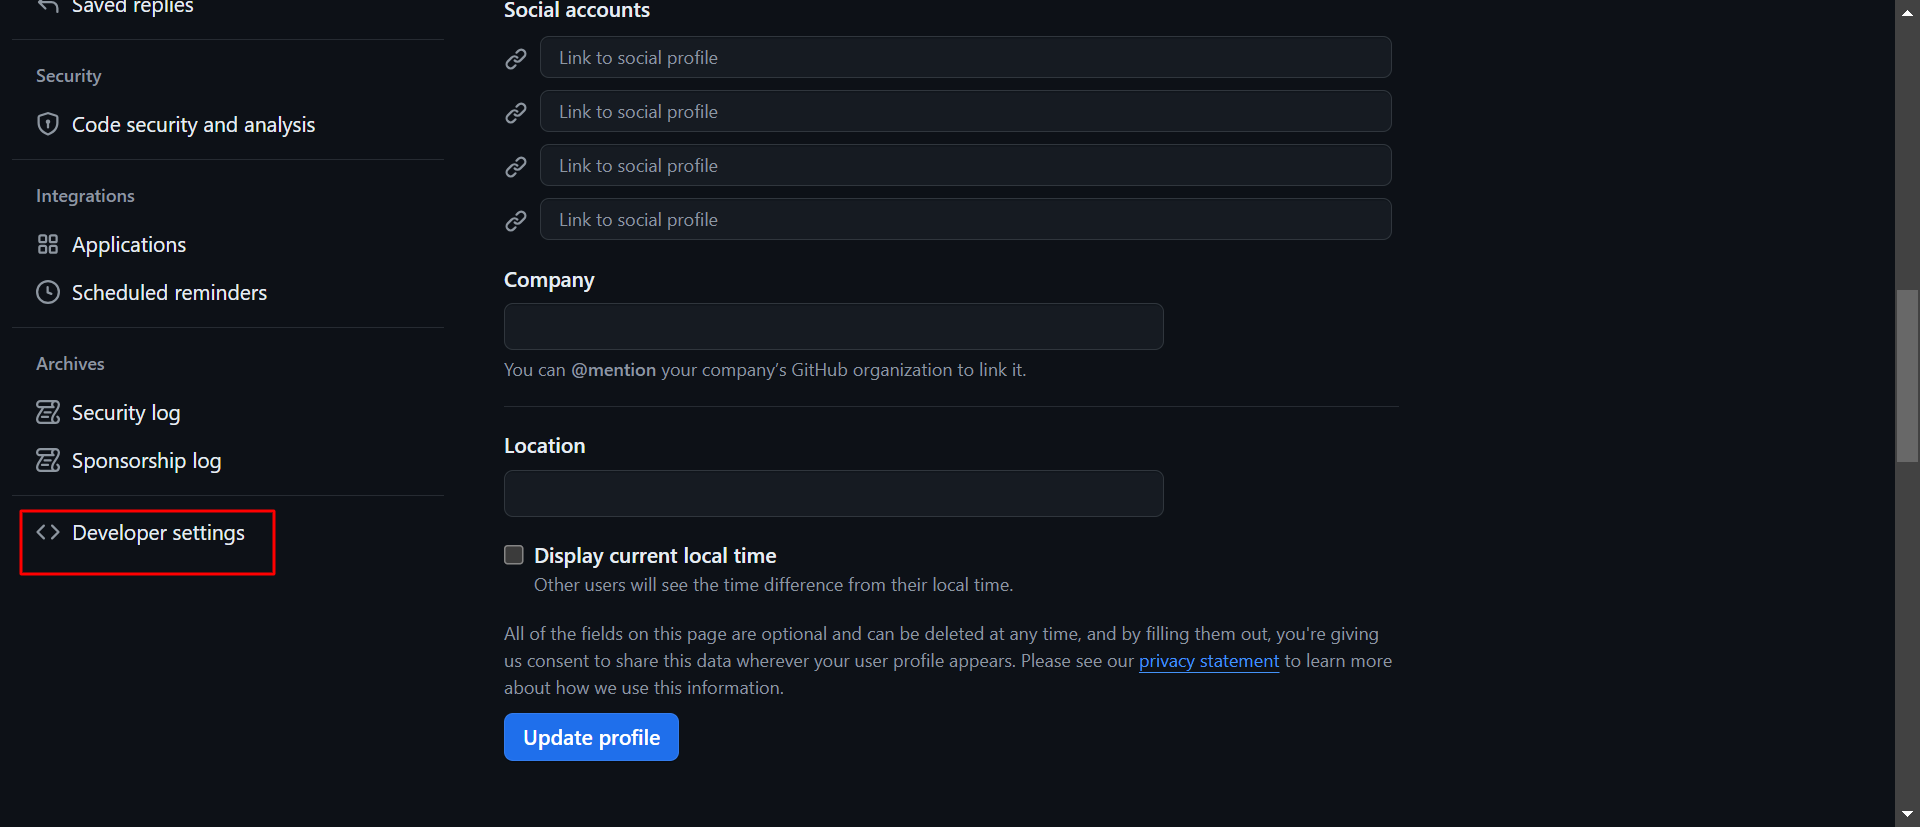
Step 2: Select the Developer Settings in Settings options
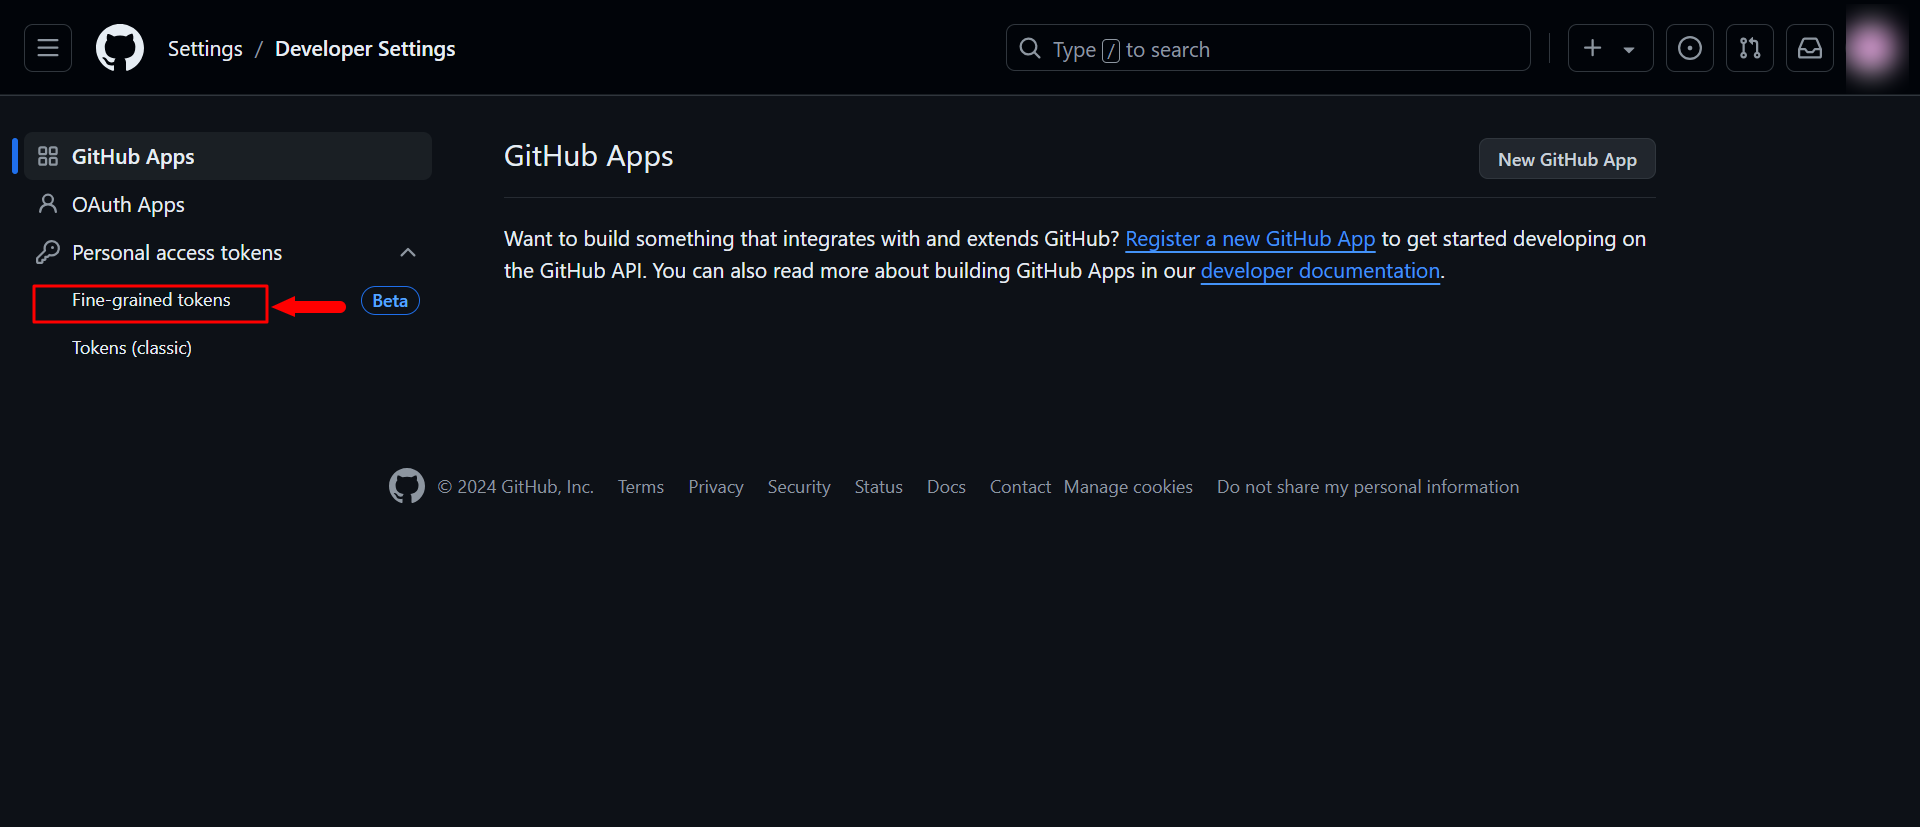
Step 3: Select Personal Access Tokens → Fine-Grained Access Tokens
Step 4: Click on the Generate new token option

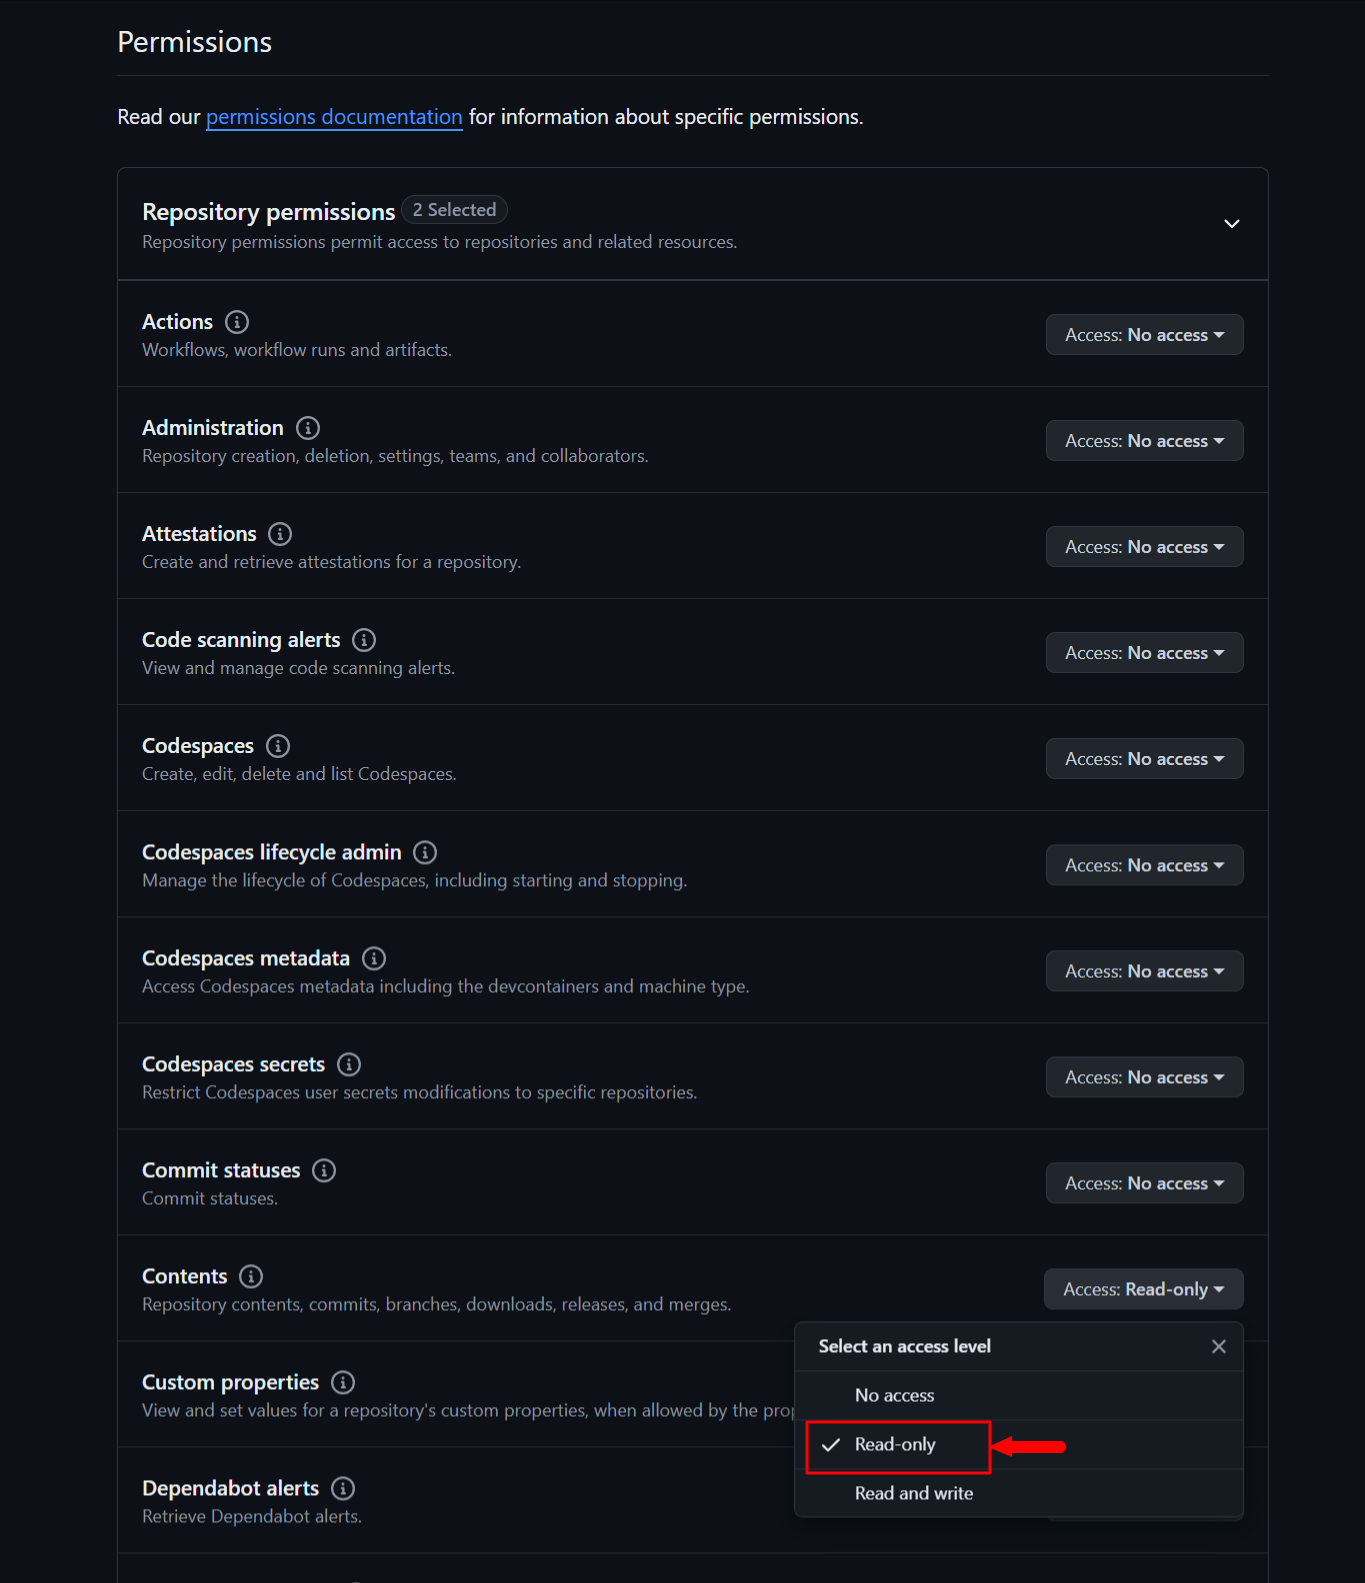
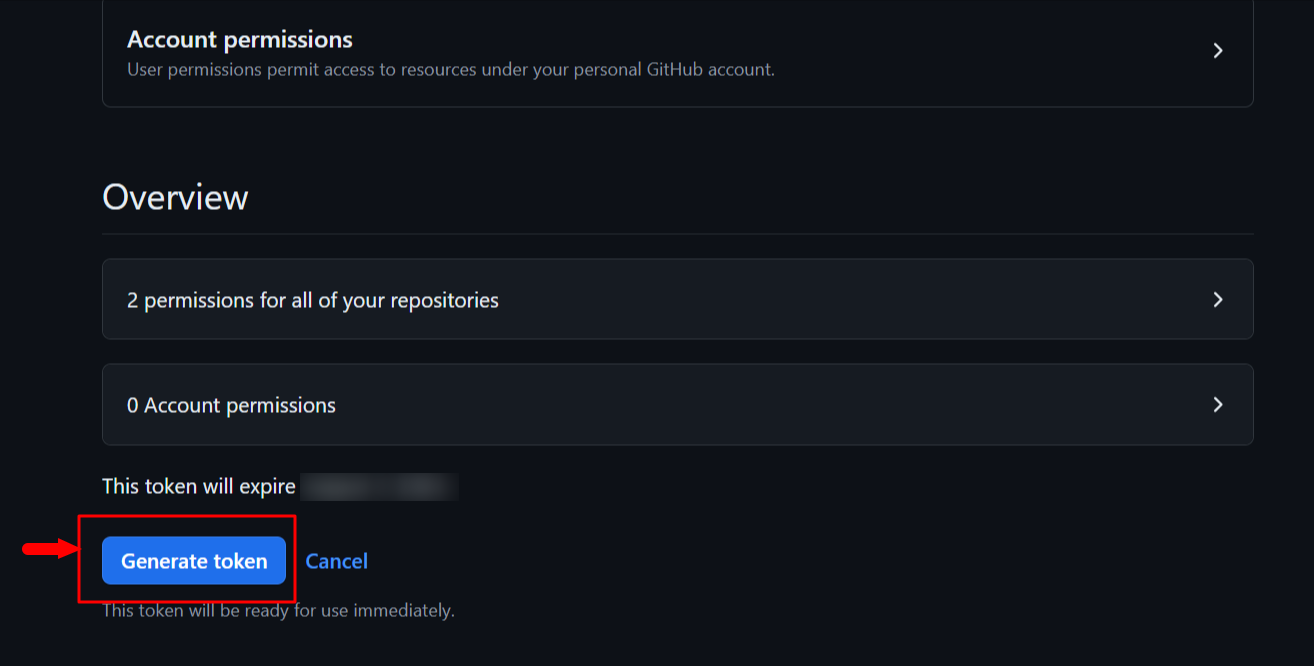
Step 5: Fill out the token name, description, duration, and repository to onboard. In the Repository permissions section, set Contents to Read-only.
Step 6: After this click on Generate token to get the Fine Grained access token with Read-only access to the Repository
Label Creation
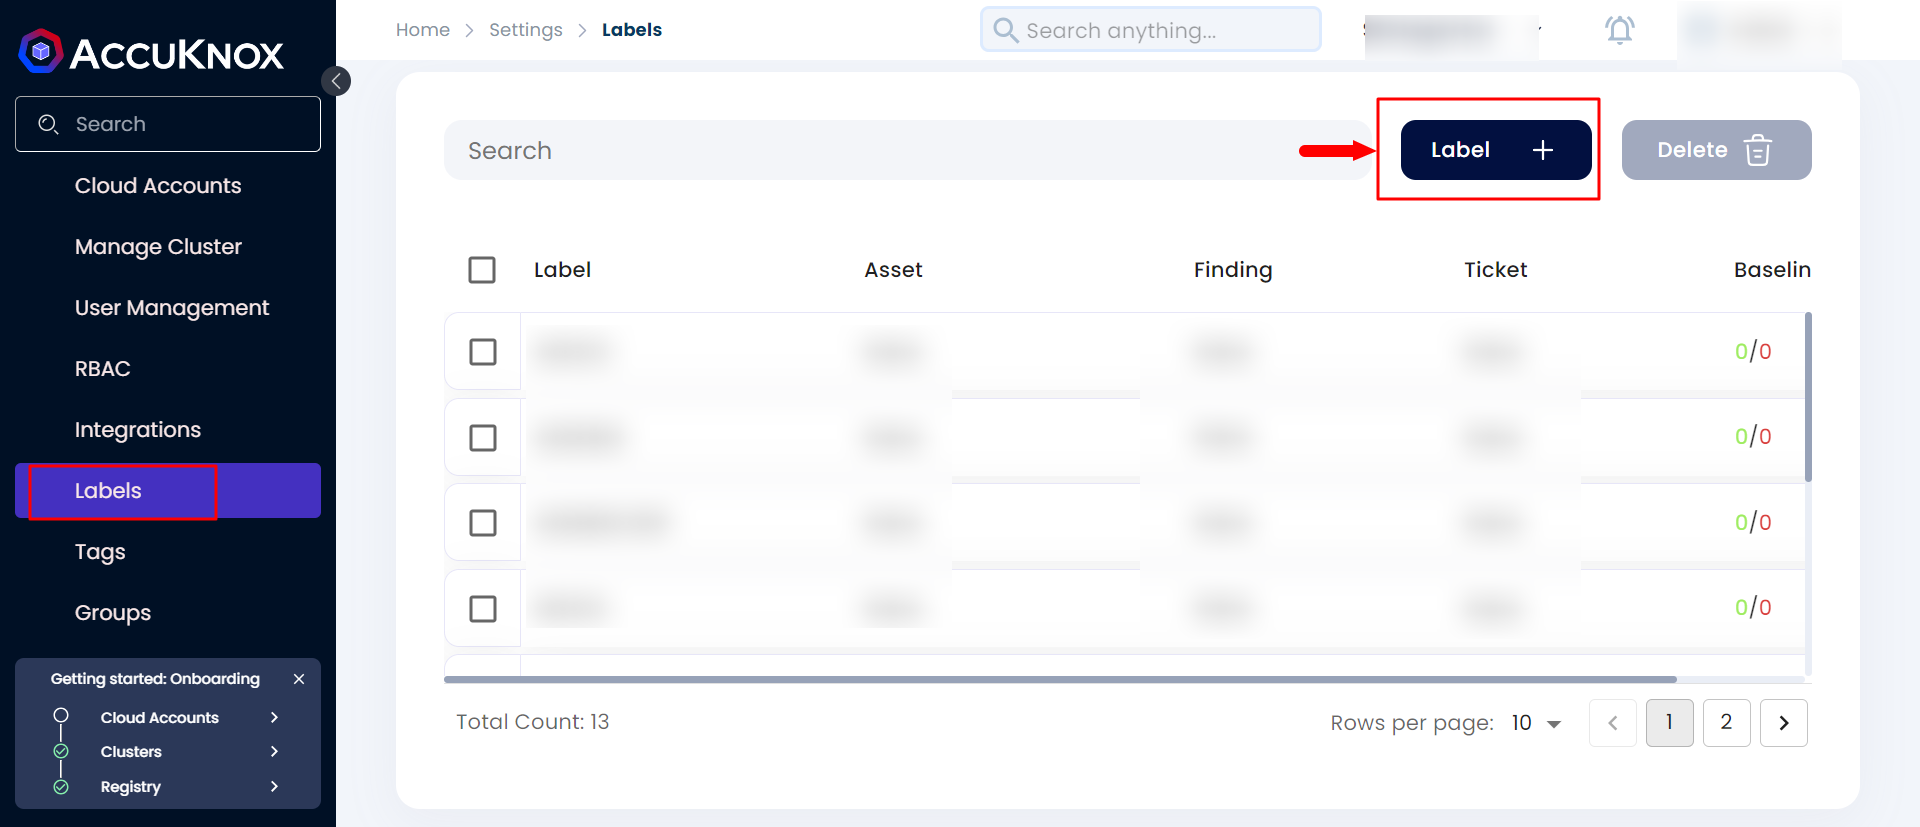
After creating the Fine-Grained Access Token, create a label in AccuKnox SaaS by navigating to Settings → Labels, clicking Add New Label, and creating a label.
Add Code Repository
After creating the token from Github and Creating the label from AccuKnox SaaS. Users can onboard the Source Code Repository by following the steps below.
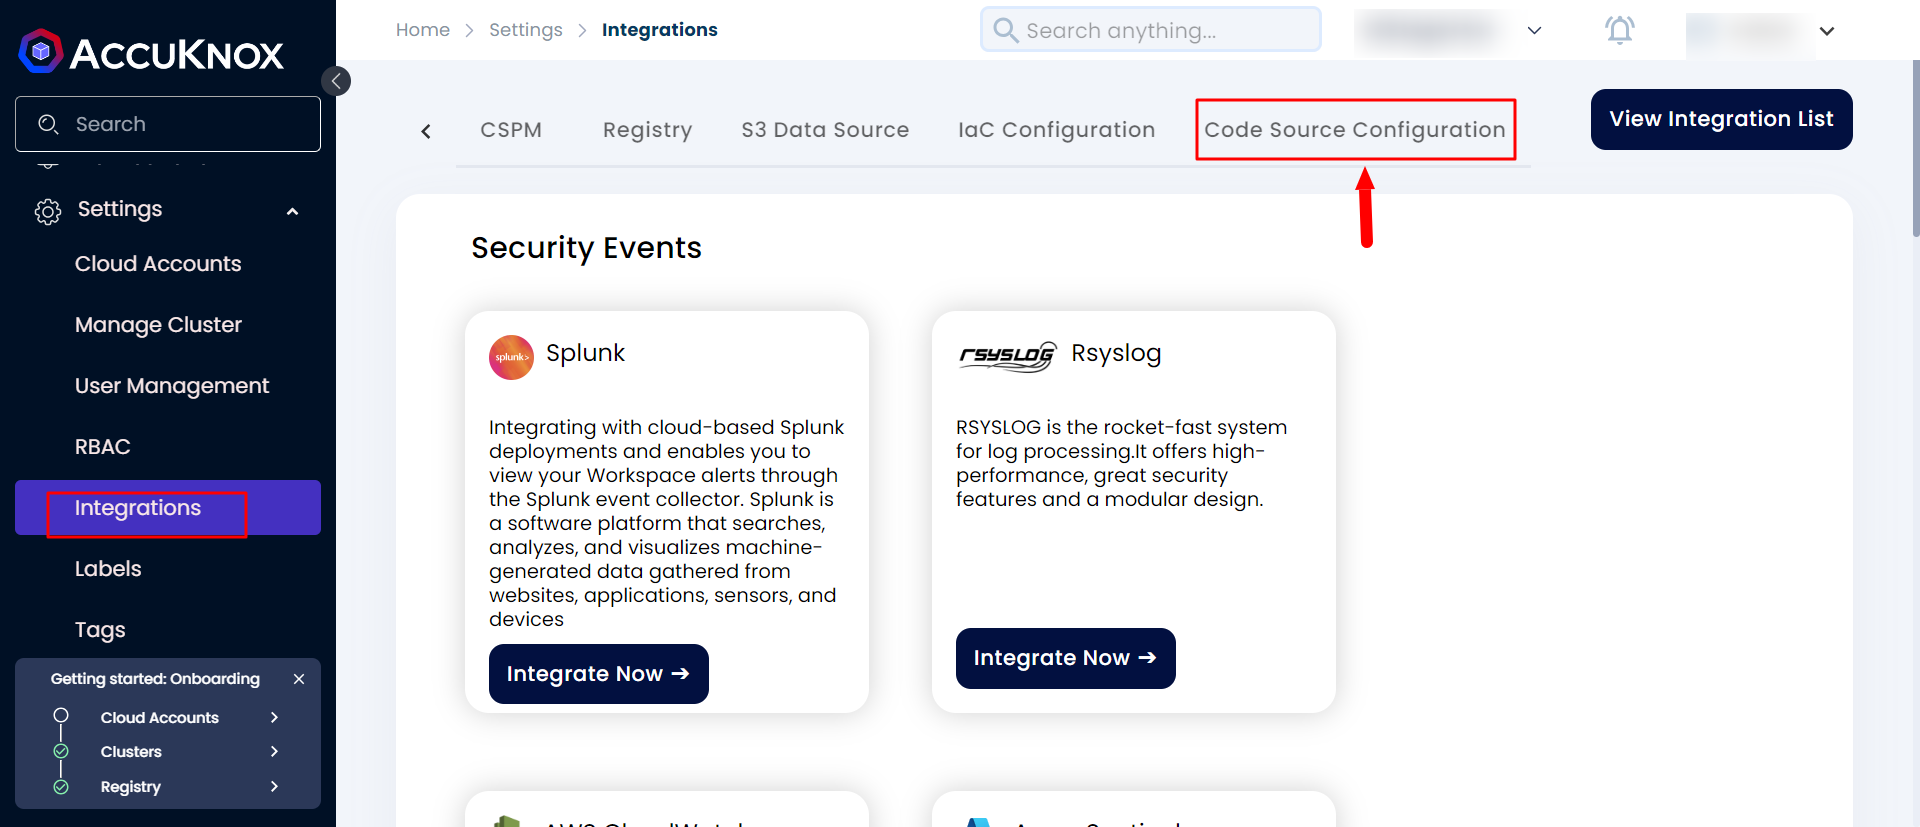
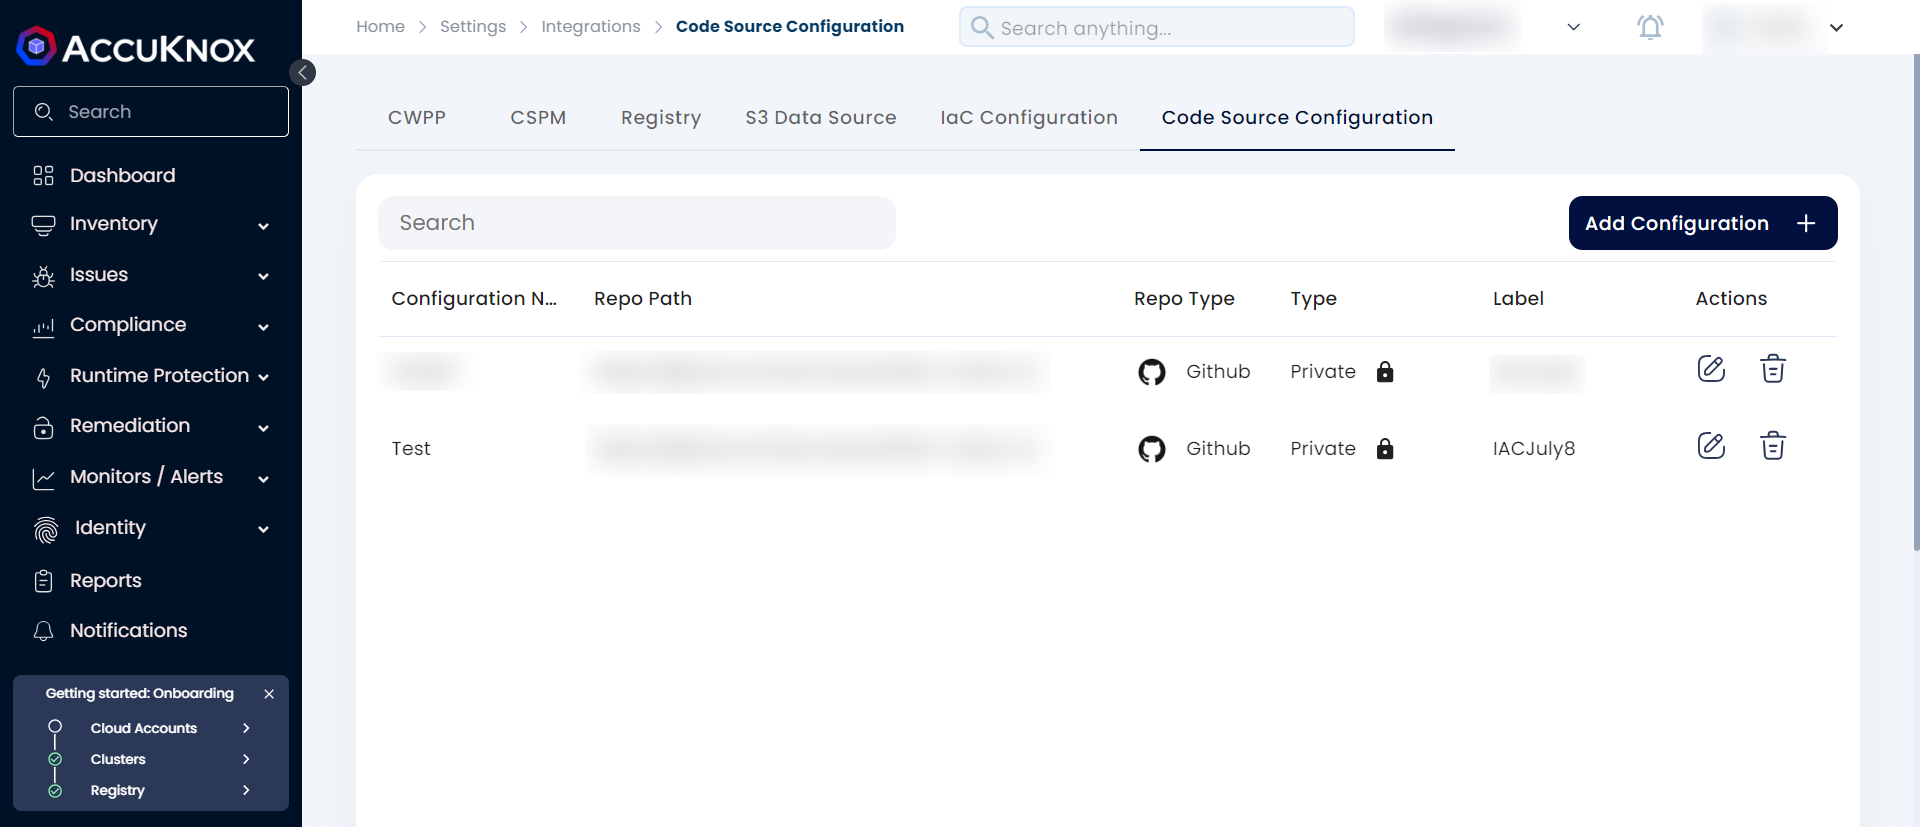
Step 1: Navigate to Settings → Integrations and select Code Source Configuration.
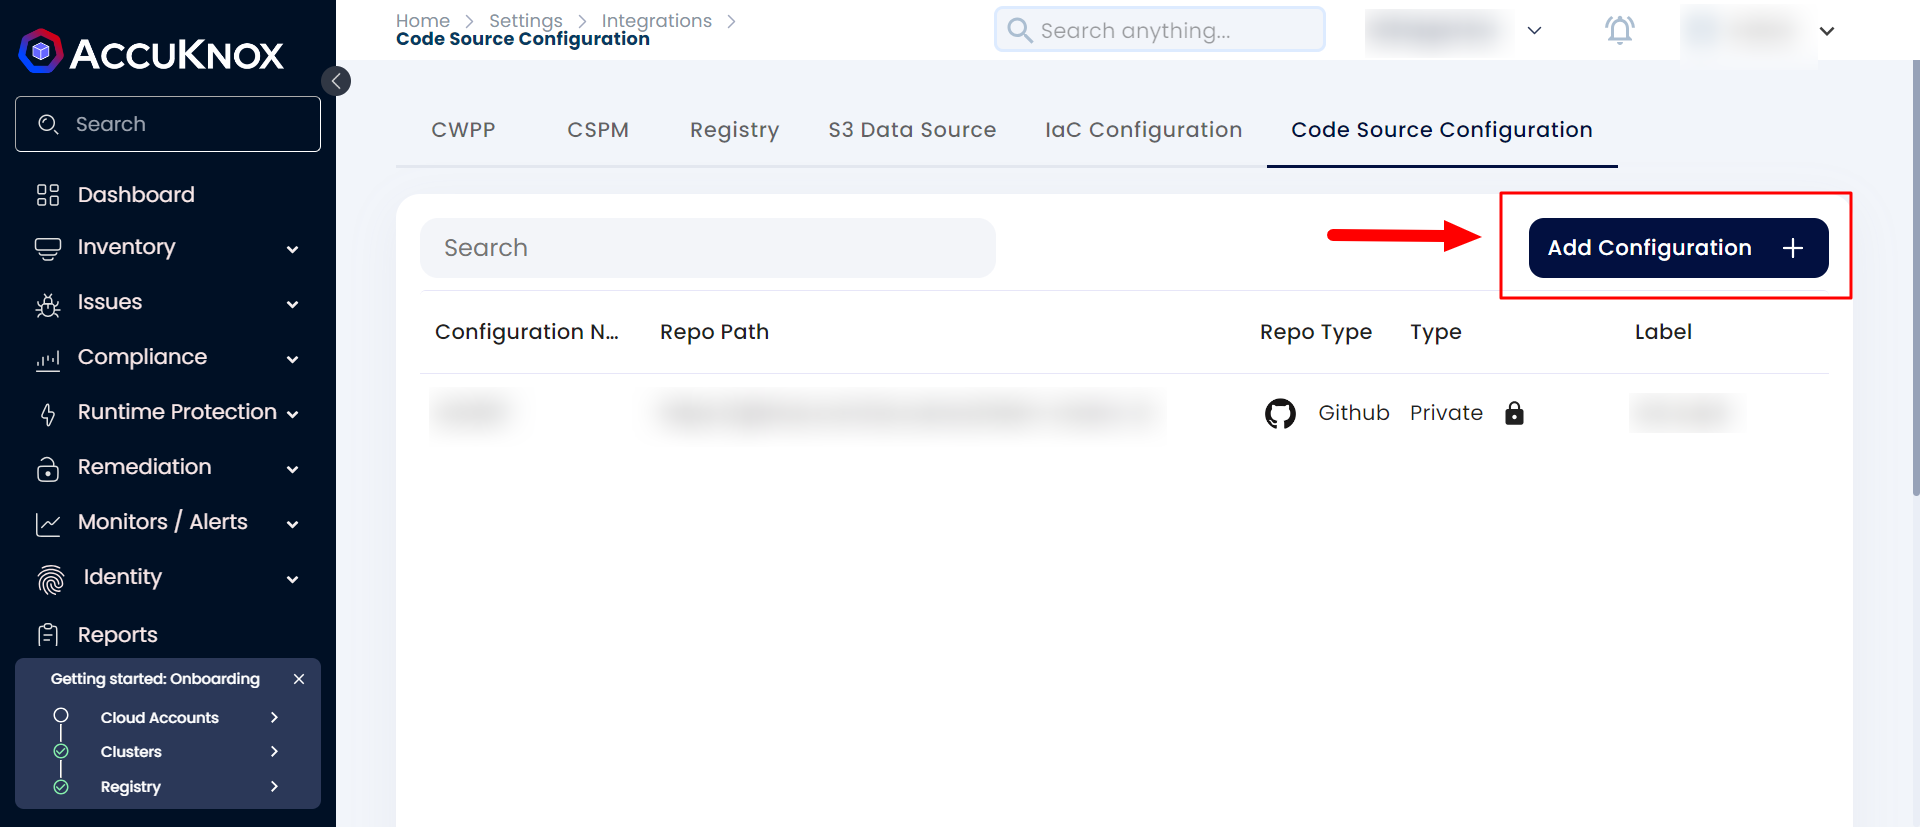
Step 2: Click on the Add Configuration button
Step3: Fill in the name, select the type as GitHub, enter the Repository URL and Fine-Grained Access Token, then click Verify.

Step 4: After successful Verification, you can select the branch and Label name that was created from the SaaS.
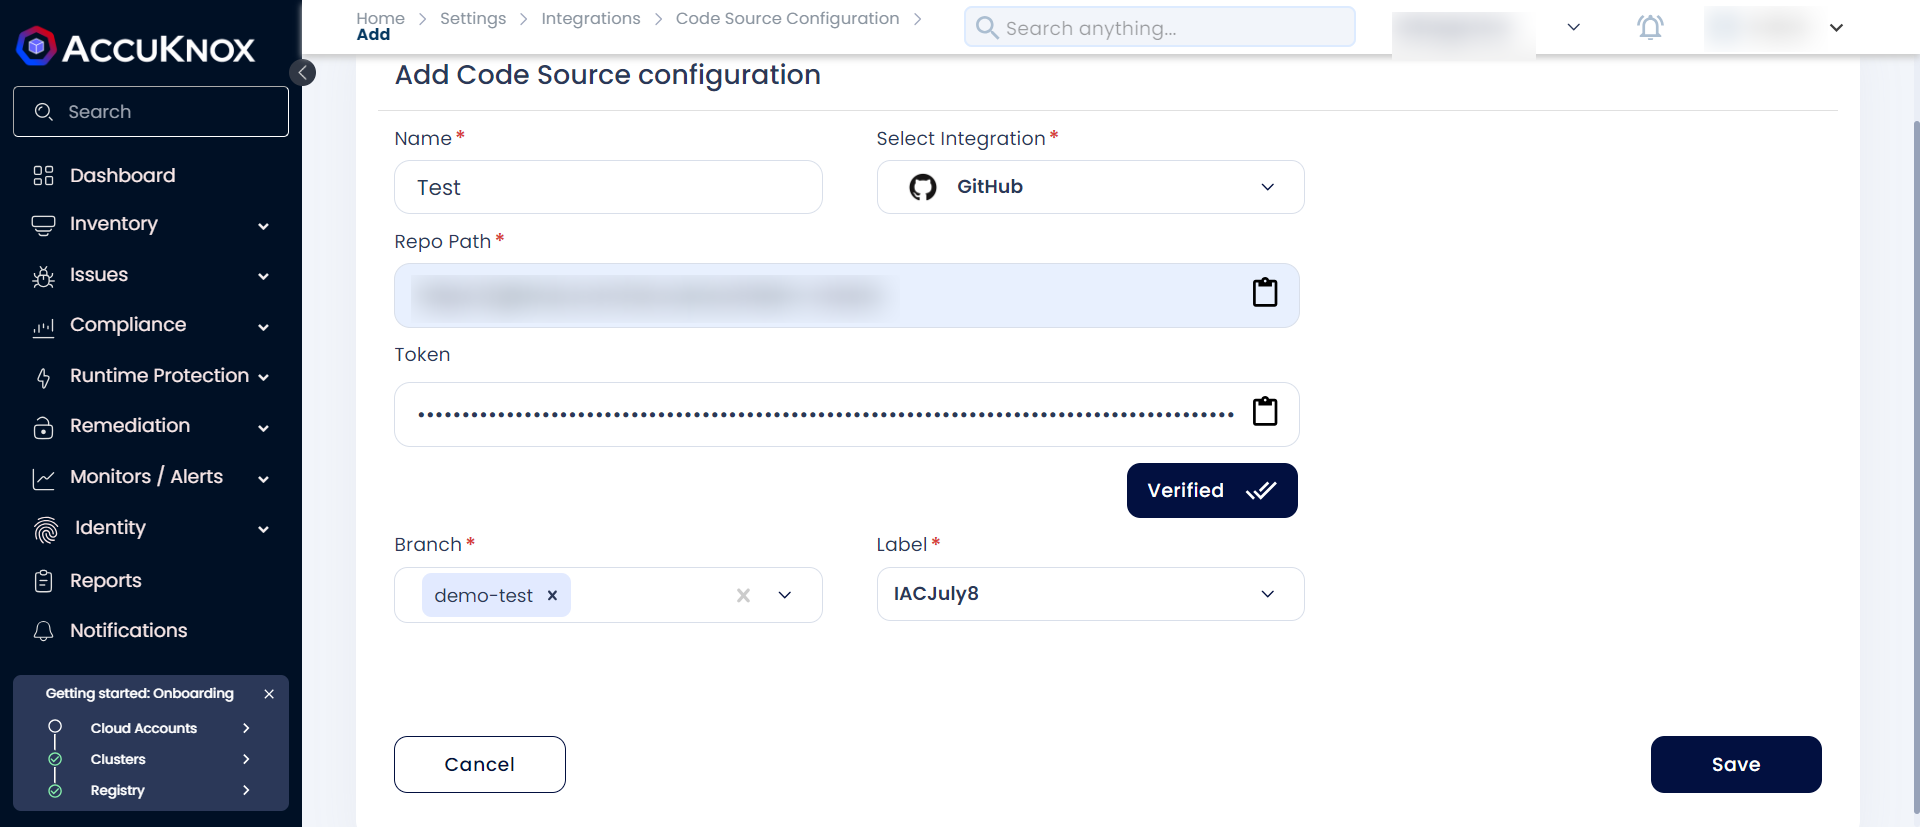
Step 5: Click on save to add the Source code configuration
IaC scan
To create an IaC scan for the added Source Code Configuration users need to perform the following steps.
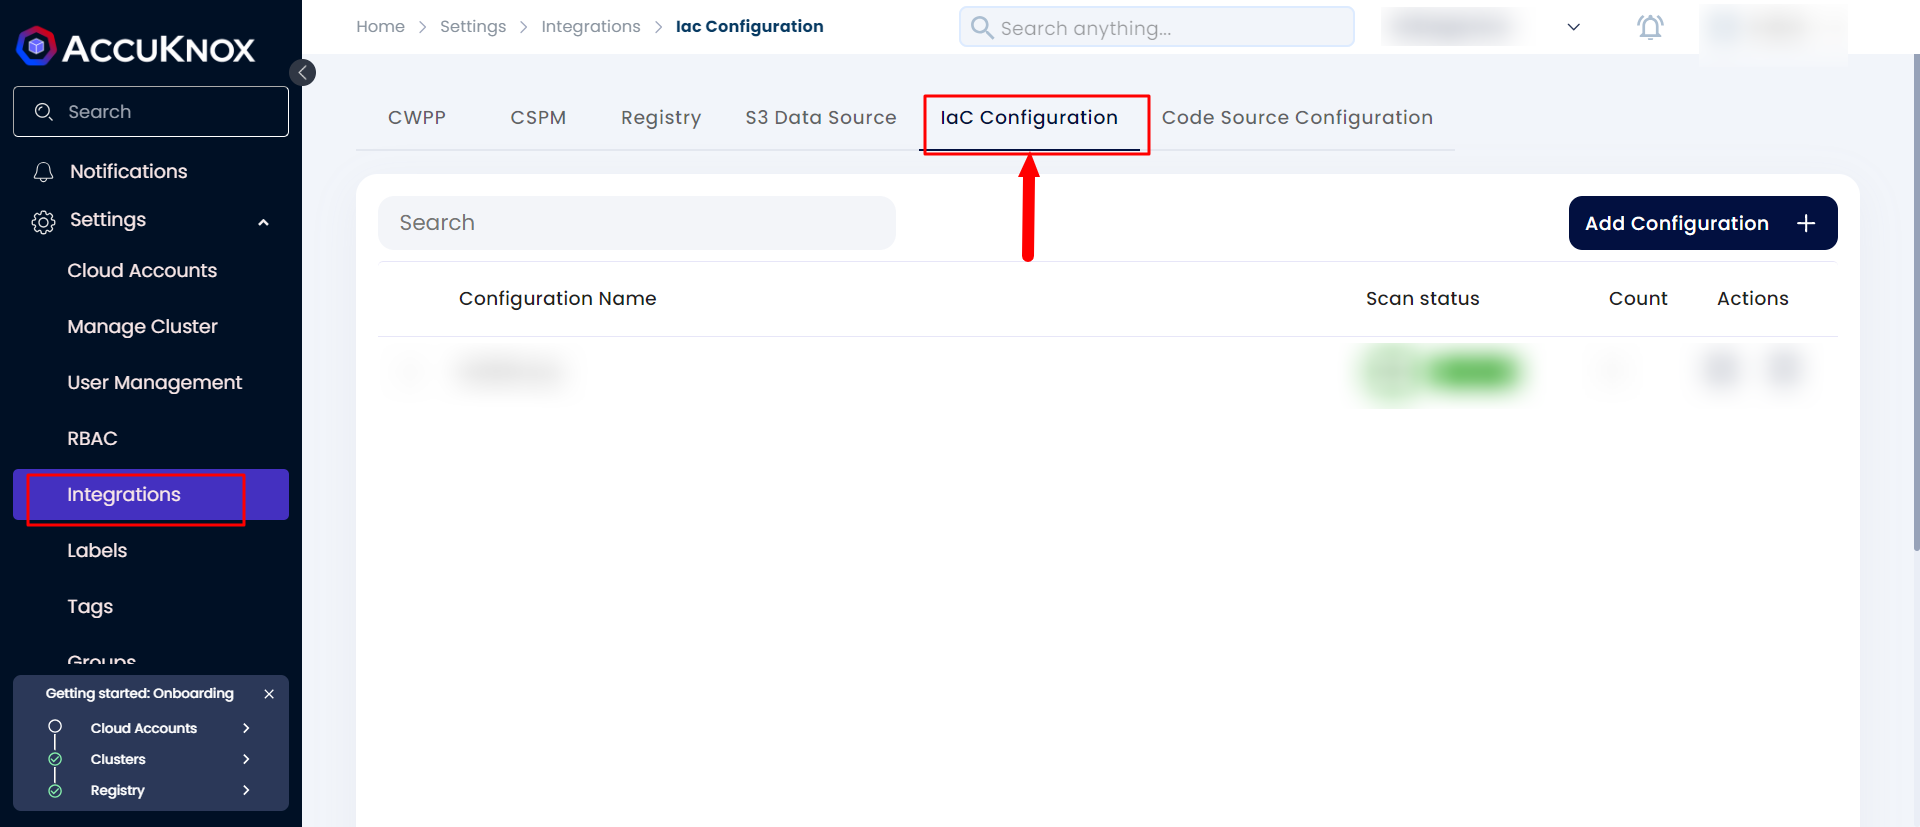
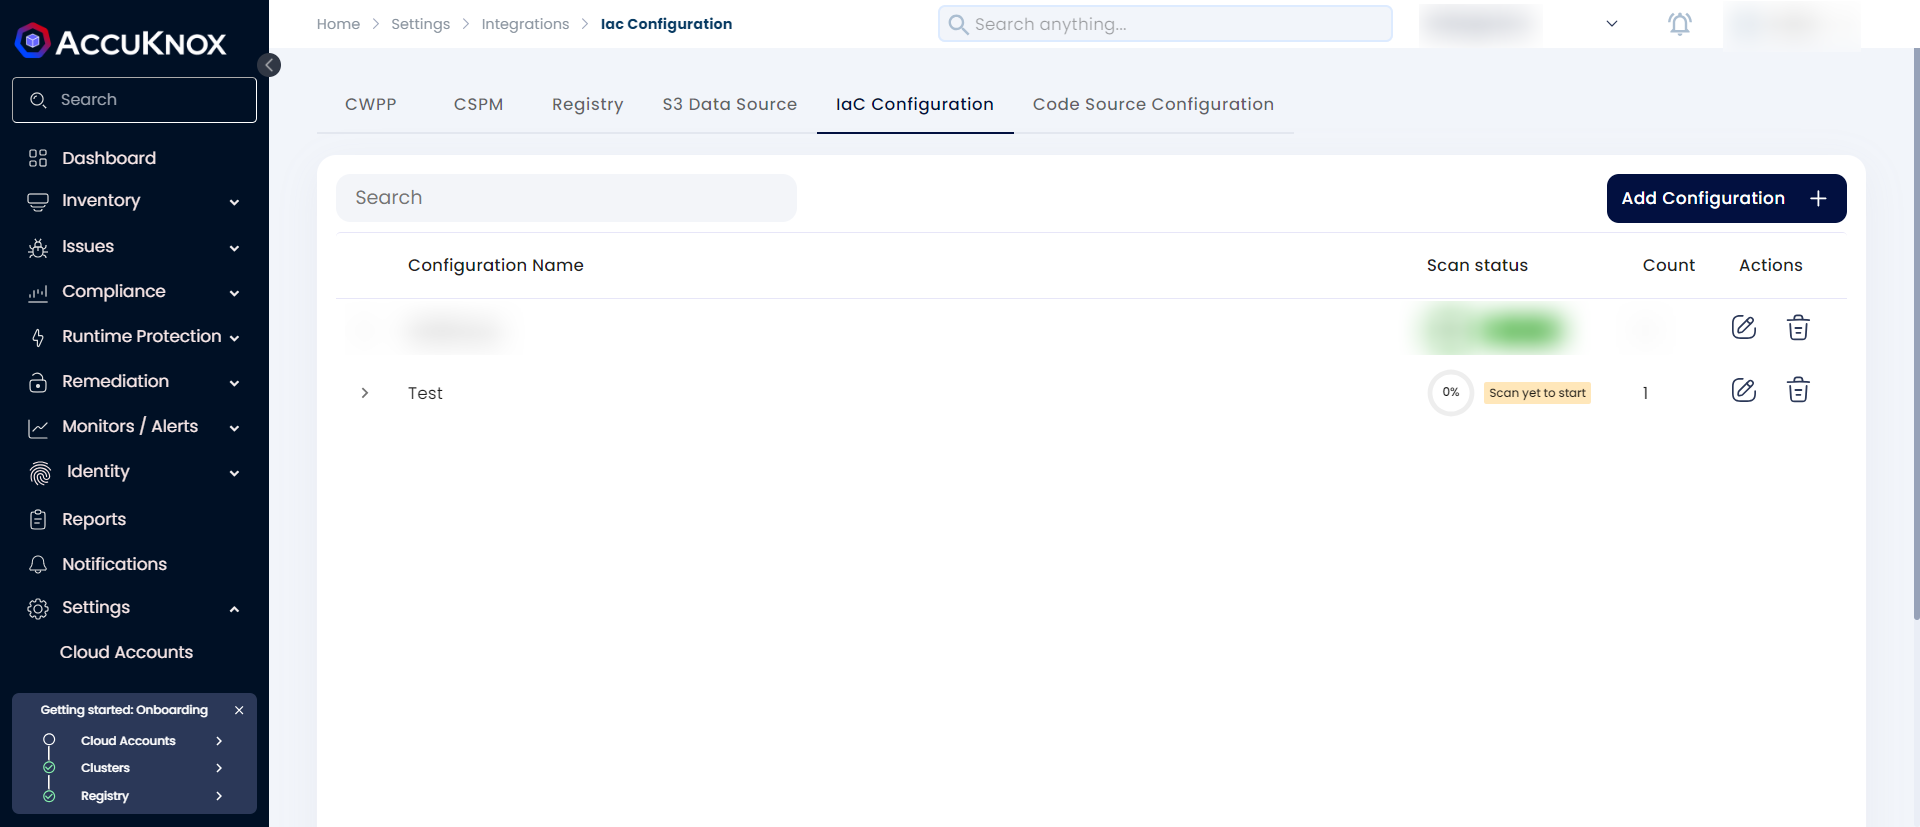
Step 1: Navigate to Settings → Integrations and select IaC.
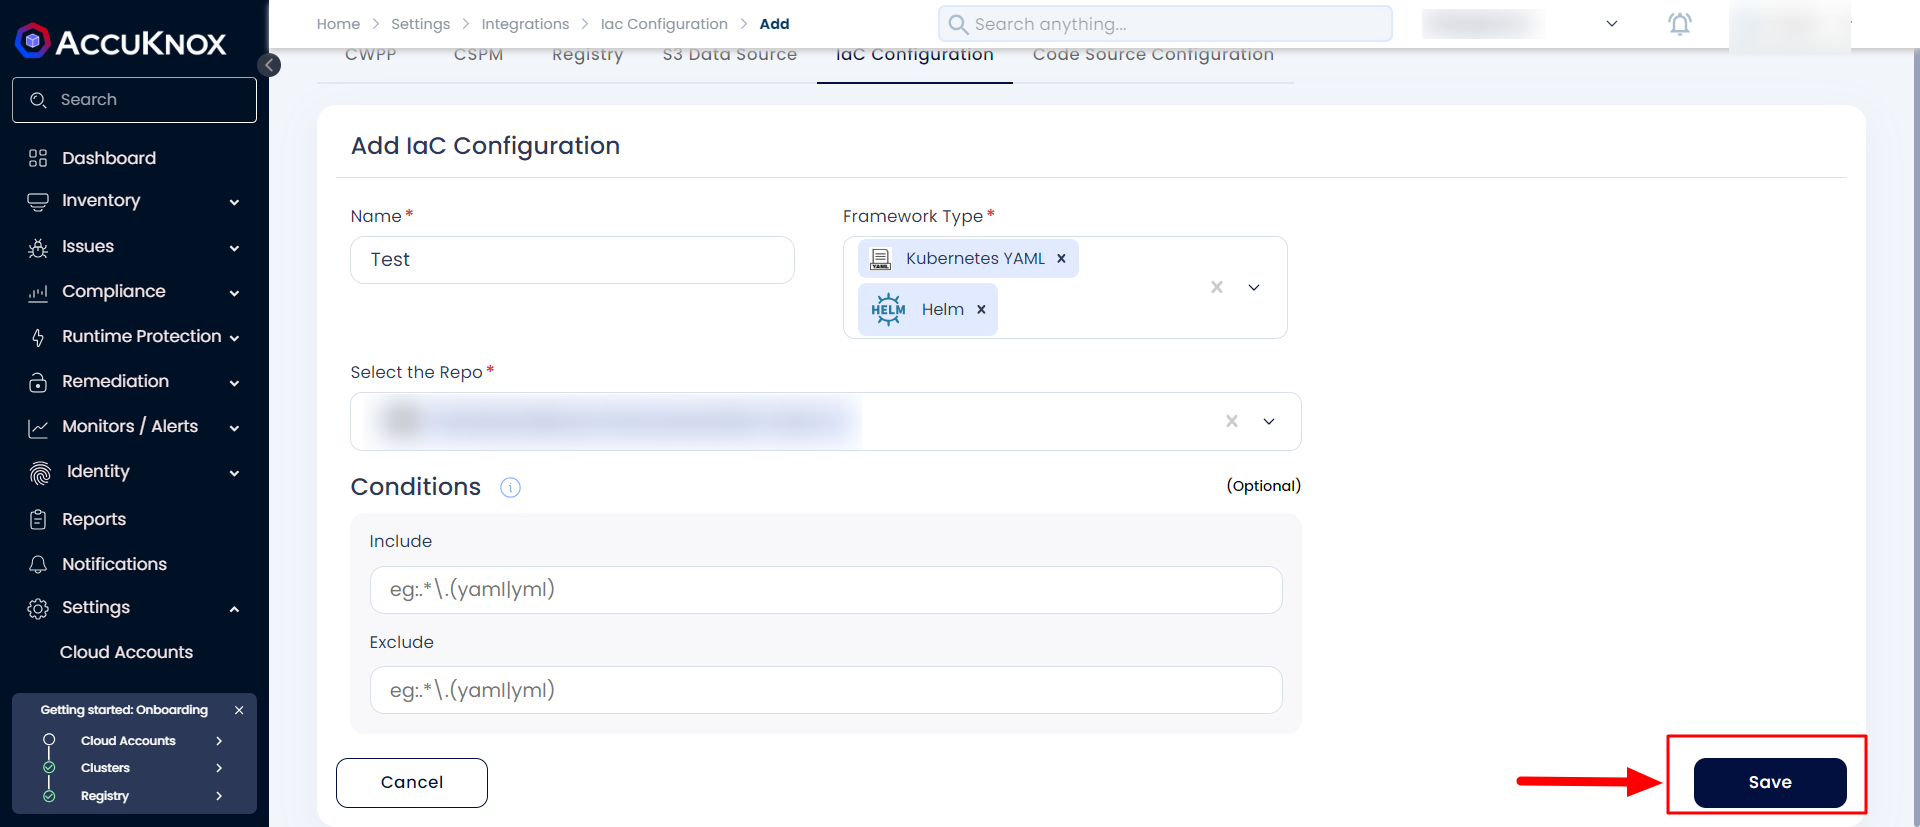
Step 2: Click on Add Configuration give the name and select the Repository for which you want to schedule the IaC Scan. Select the Framework type as Kubernetes yaml, helm, or Terraform and click on save to add the IaC configuration.
Step 3: After saving the IaC Configuration the scan will start in the background and it will be completed sometime.
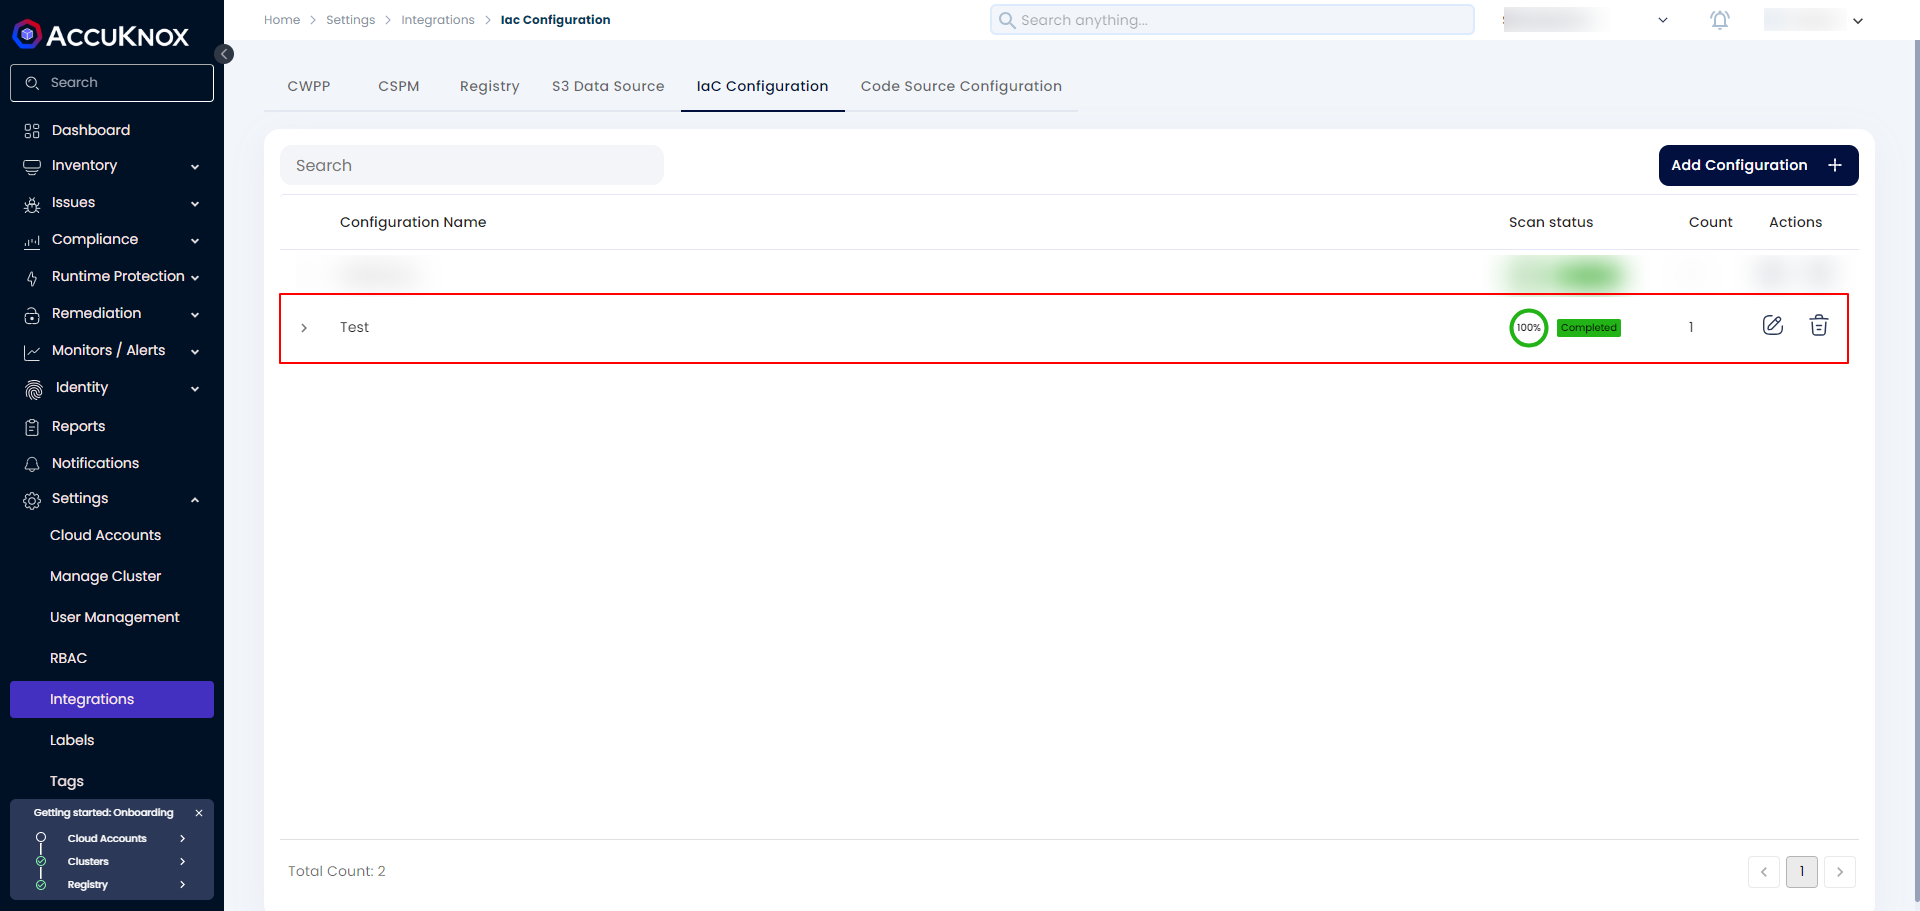
Step 4: After the scan is completed the progress will change to 100% completed
Risk Assessment - Check Findings
After the IaC scan is completed to see the findings users need to navigate to Issues → Findings and select IaC in the filter.
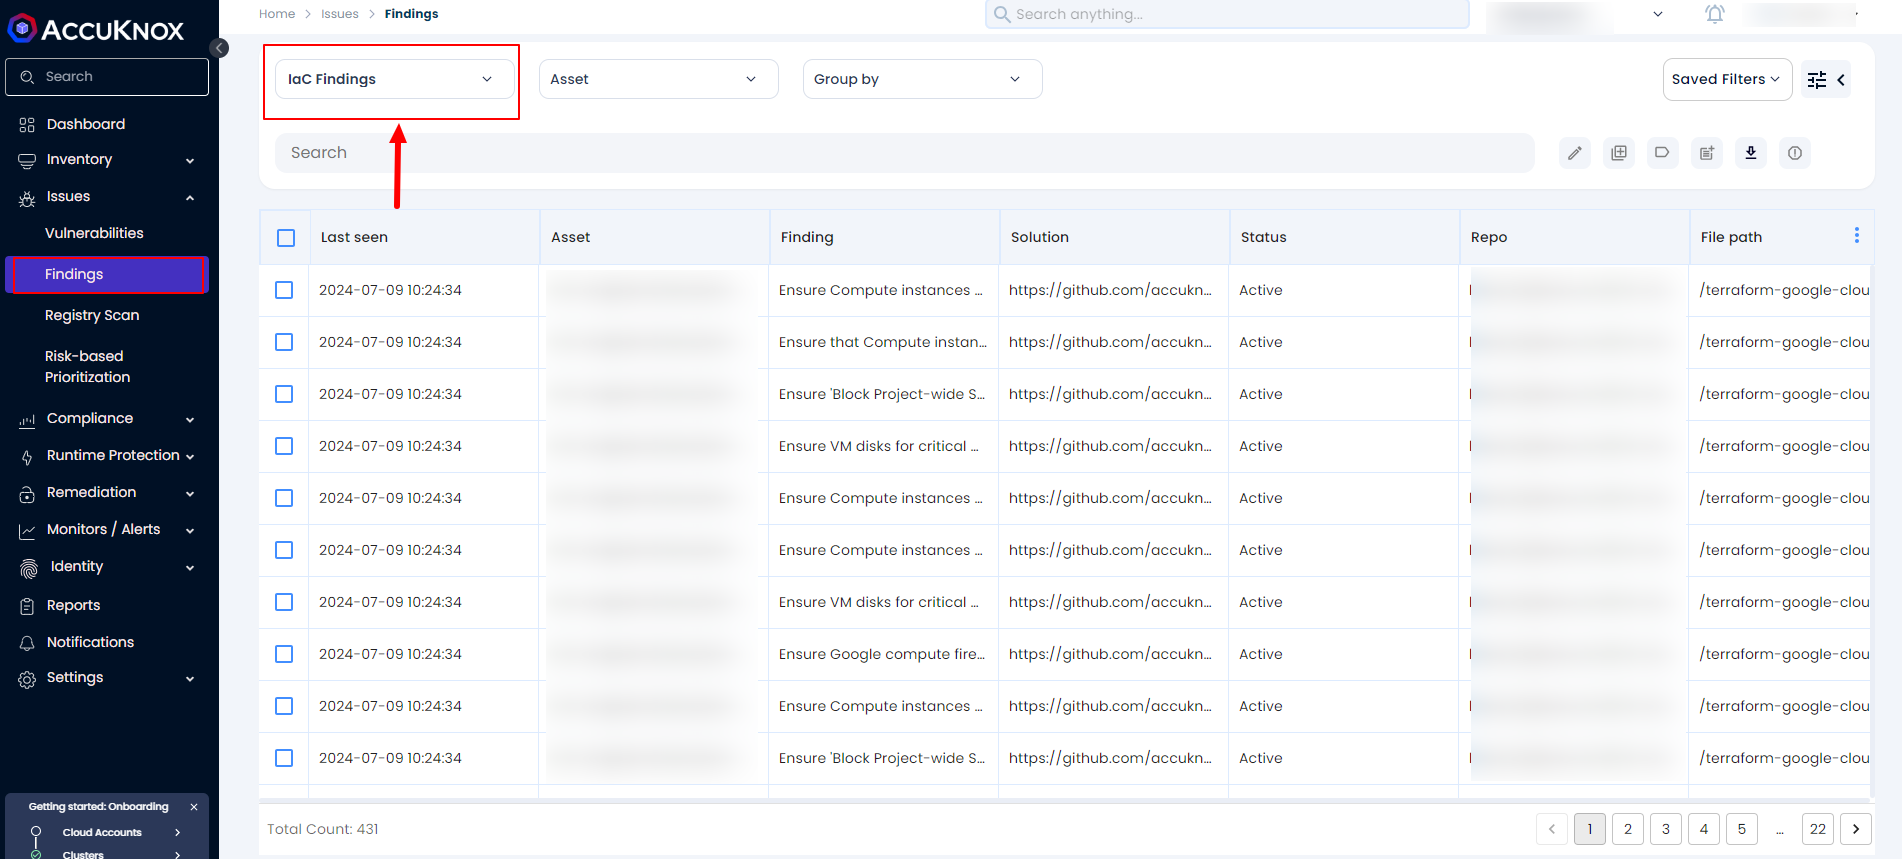
We can filter the findings based on the Repository, Risk Factor, and so on.
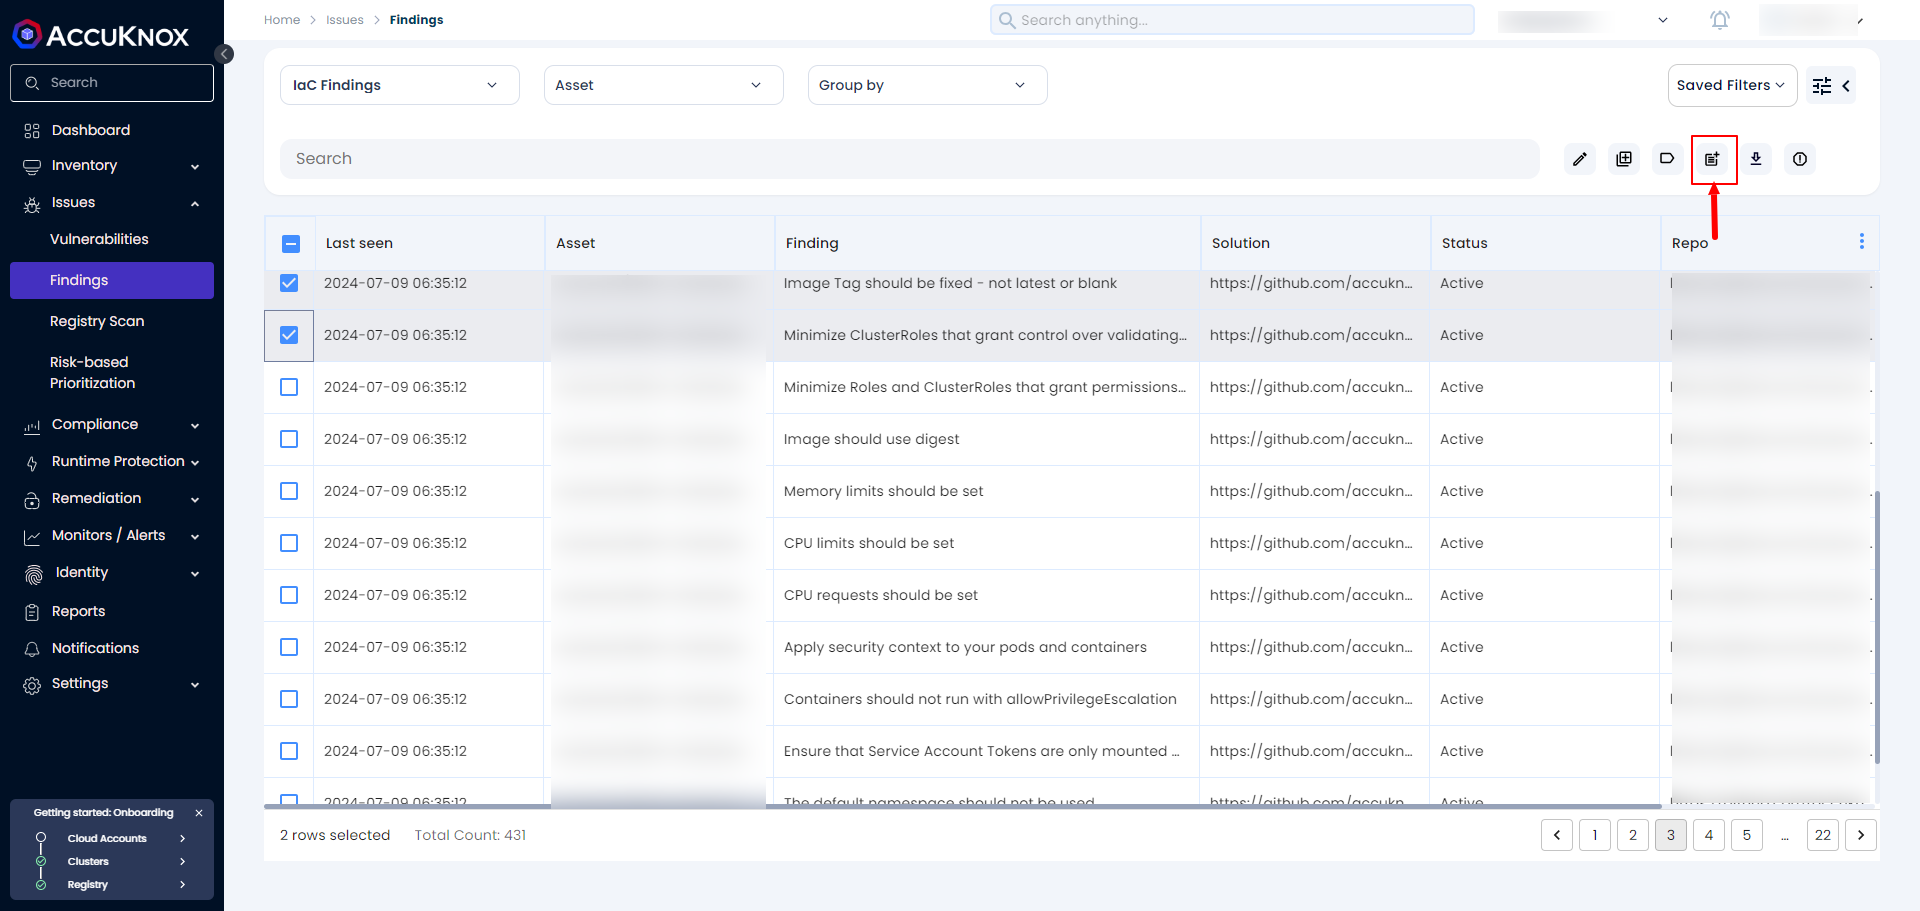
Remediation - Fix Problems/Create Tickets
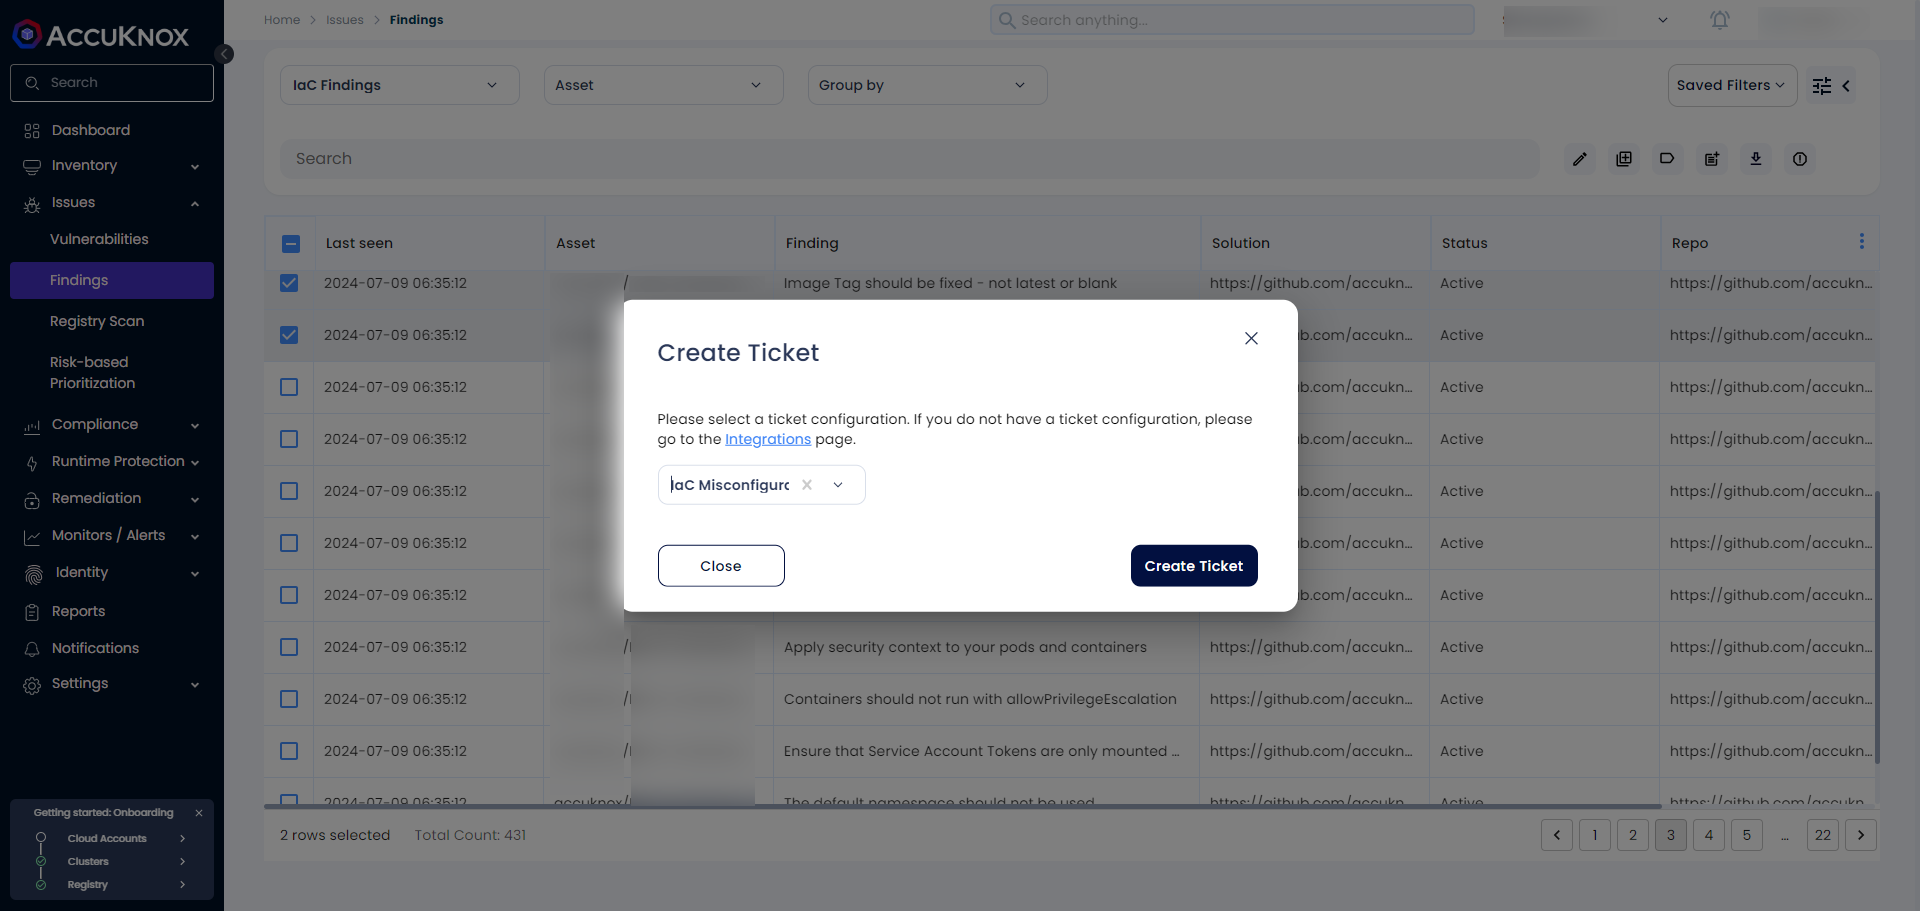
To remediate findings, select the finding or group of findings from Issues → Findings and click Create Ticket as shown below.
NOTE
Before this users must have integrated their Ticketing backend like Jira Servicenow or connects or Freshservice under Integrations → CSPM section
After clicking on the create ticket Icon the next page will popup
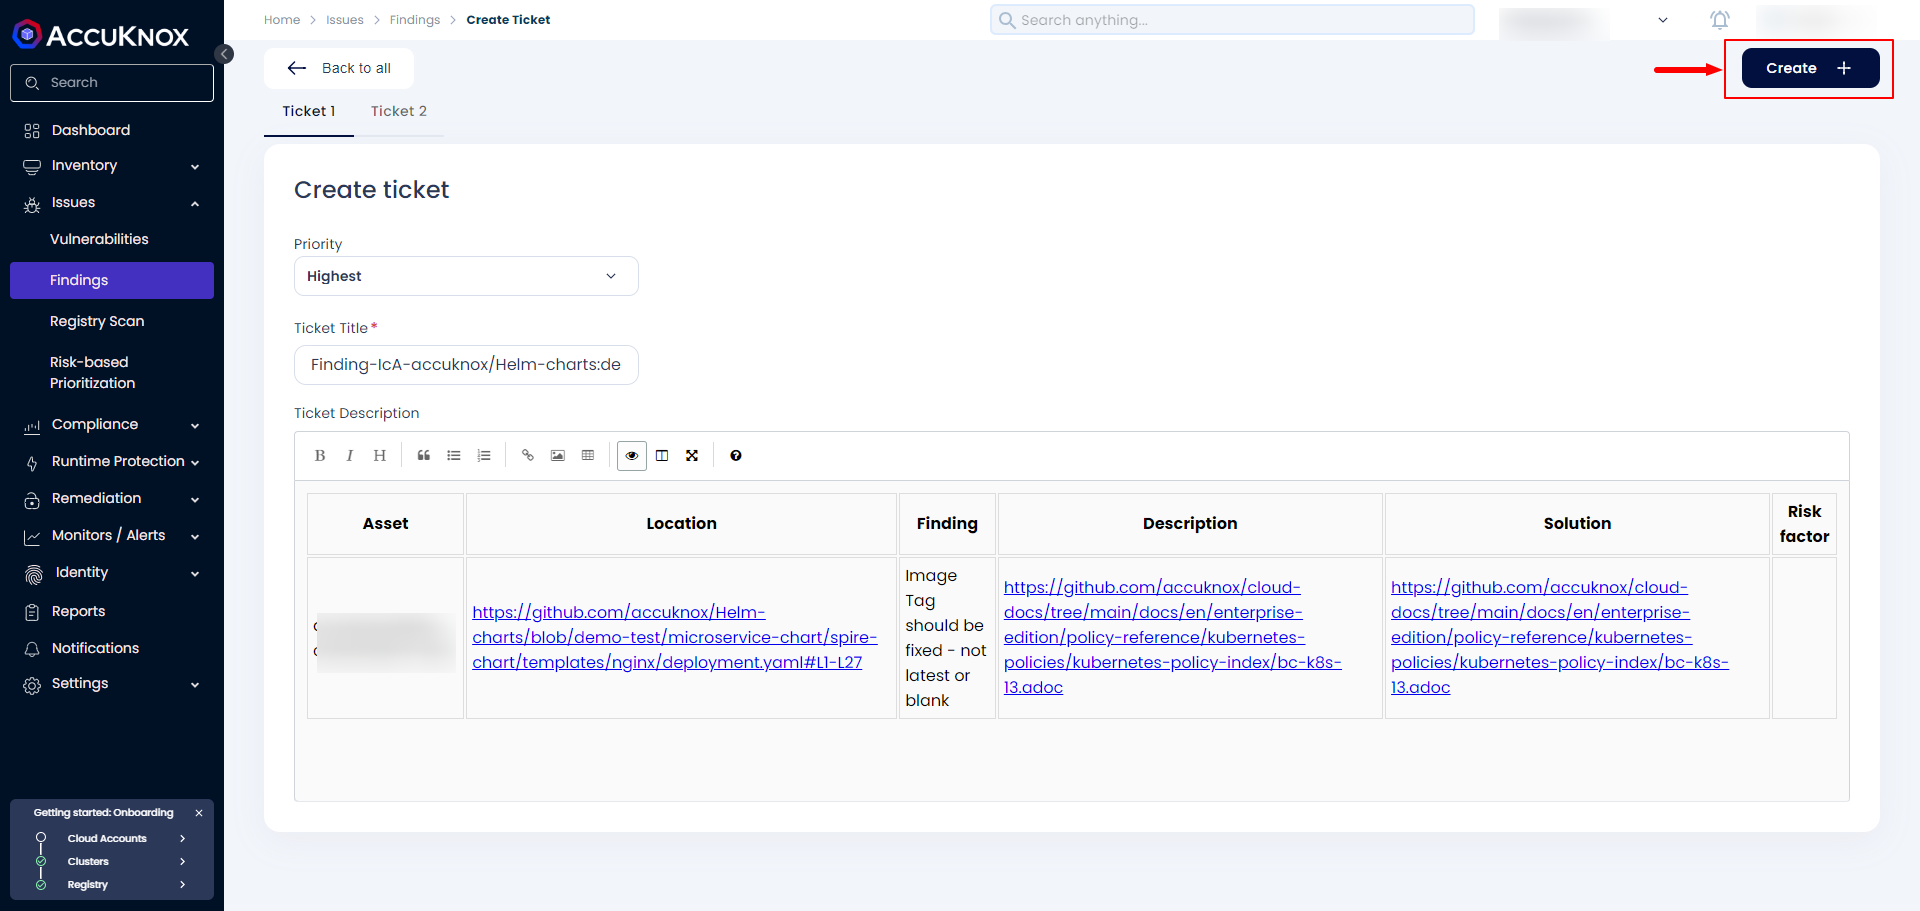
Once the user clicks on Create Ticket new page with all the information related to the IaC findings and with a predefined Priority based on the Risk Factor. The user has to click on Create to confirm the ticket creation.
We support CDK scanning. For more details, refer to AWS CDK Scan.